Using Quest App for 360 virtual tours
Check all the options to navigate 360 tours in SENTIO VR App
Basic: Open Menu & select panoramas/images
Press the A/B buttons on the right controller & open the menu with all the 360 panoramas from your virtual tour. From this menu, you can easily select the scenes to navigate between different points of the virtual tour without moving in a sequential manner
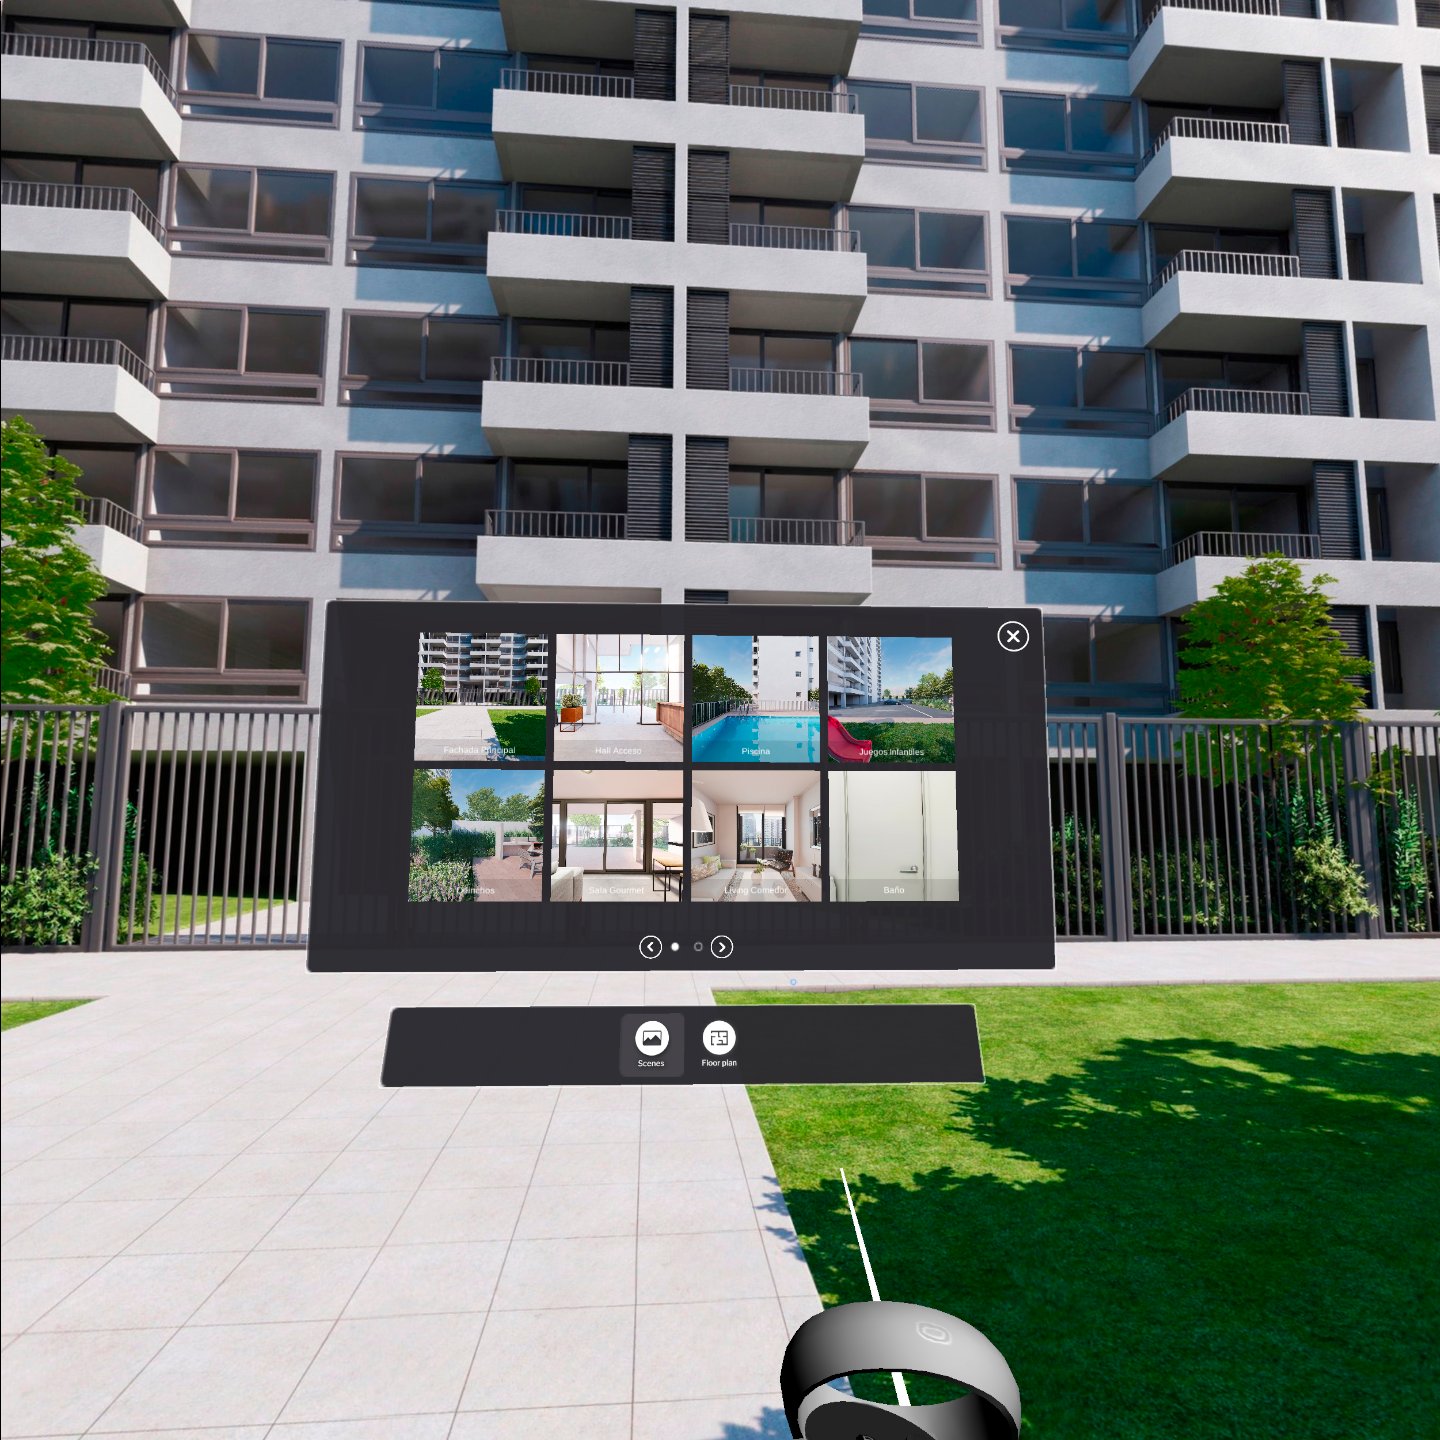
Right Controller: A or B button
Basic: Use hotspots to change images
While creating your virtual tour, use the 360 tour editor to create a hotspot linking different images. Once created, you can use this hotspot inside the VR app to change images by pressing the trigger on the right controller. On click, this will take you to the next image configured previously in the 360 tour.
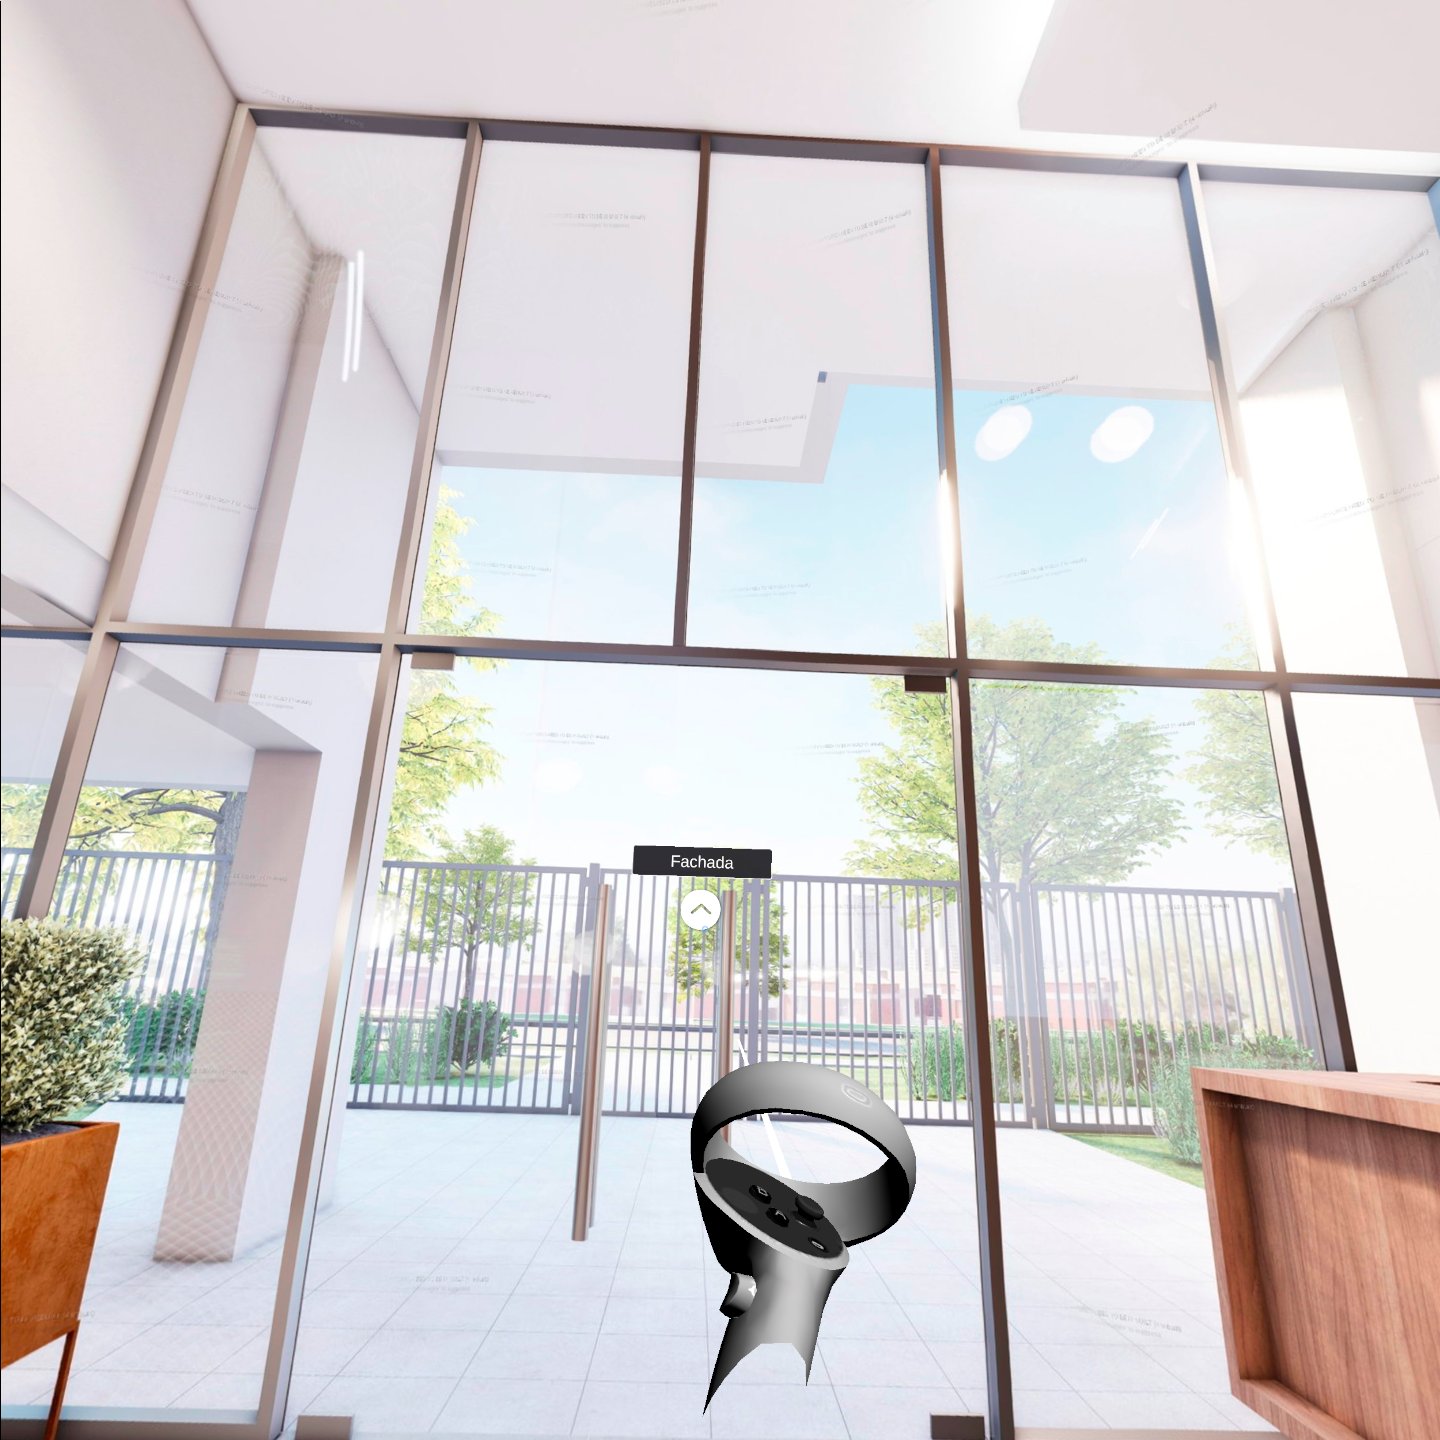
Right Controller: Trigger button
Advanced: Use floor plan to navigate between images
Navigating the space using a floor plan can be a very intuitive way for clients to understand the design. While creating your 360 tours, you can upload multiple floor plans to your virtual tour and link the panoramas using map points. Once configured, you can use the A/B buttons on the controller to fetch the menu & click on the "Floor plan" tab. Here, you can choose any map point to move to the particular 360 panorama understanding the context of the space.
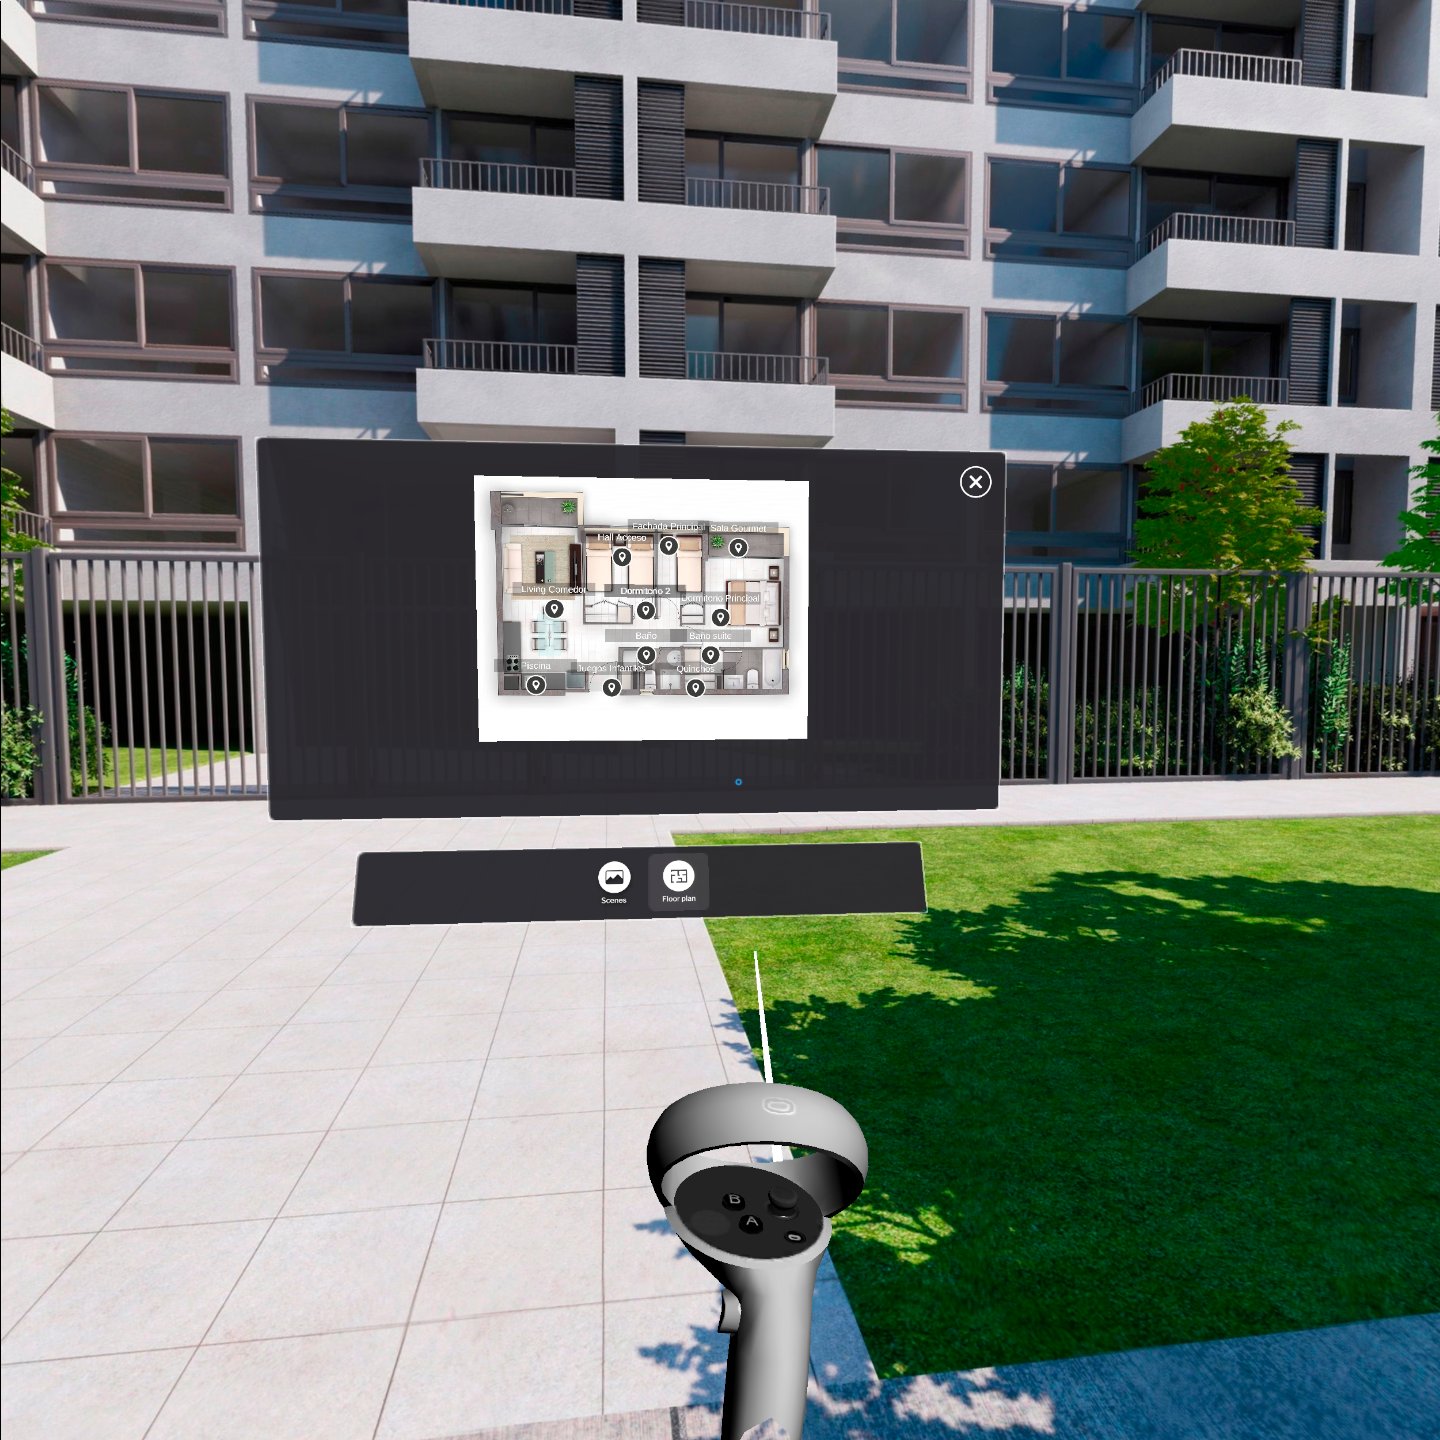
Left Controller: Press Joystick
Go back to the Projects Menu
Use the button with 3 lines on the left-controller to go back to the Projects Menu while continuing in the SENTIO VR App
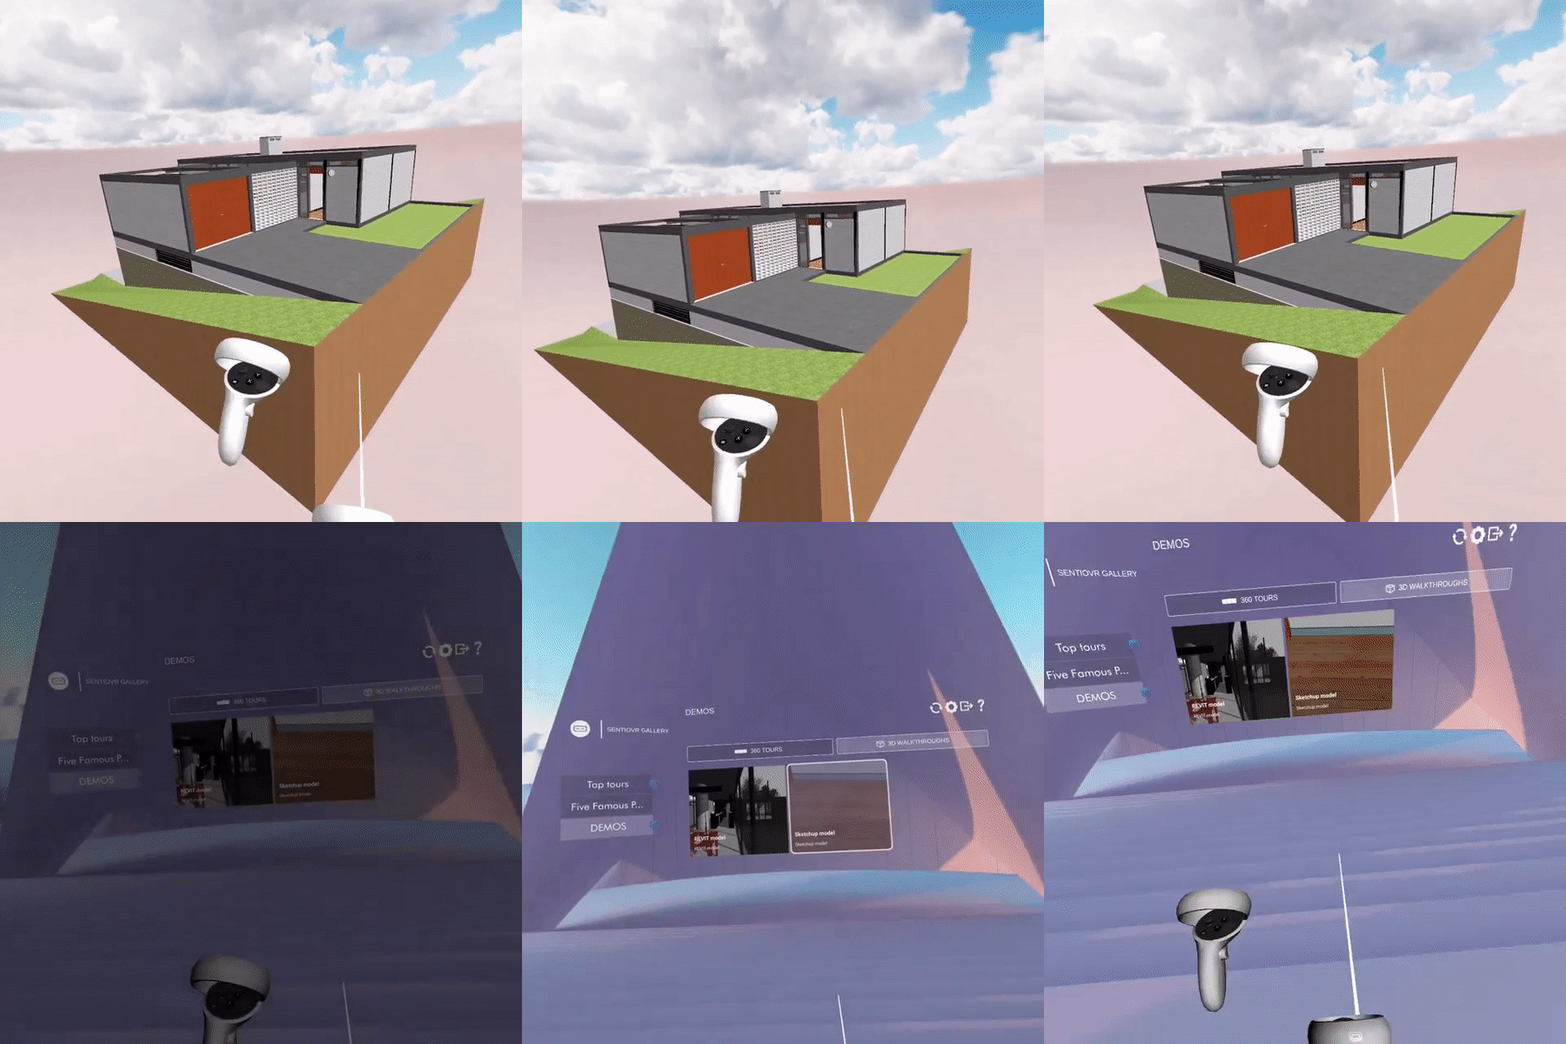
Left controller: Button with 3 lines
Quit SENTIO VR App
Use the Oculus button on the right-controller to go back to the Oculus Menu quitting your sessions in the SENTIO VR App
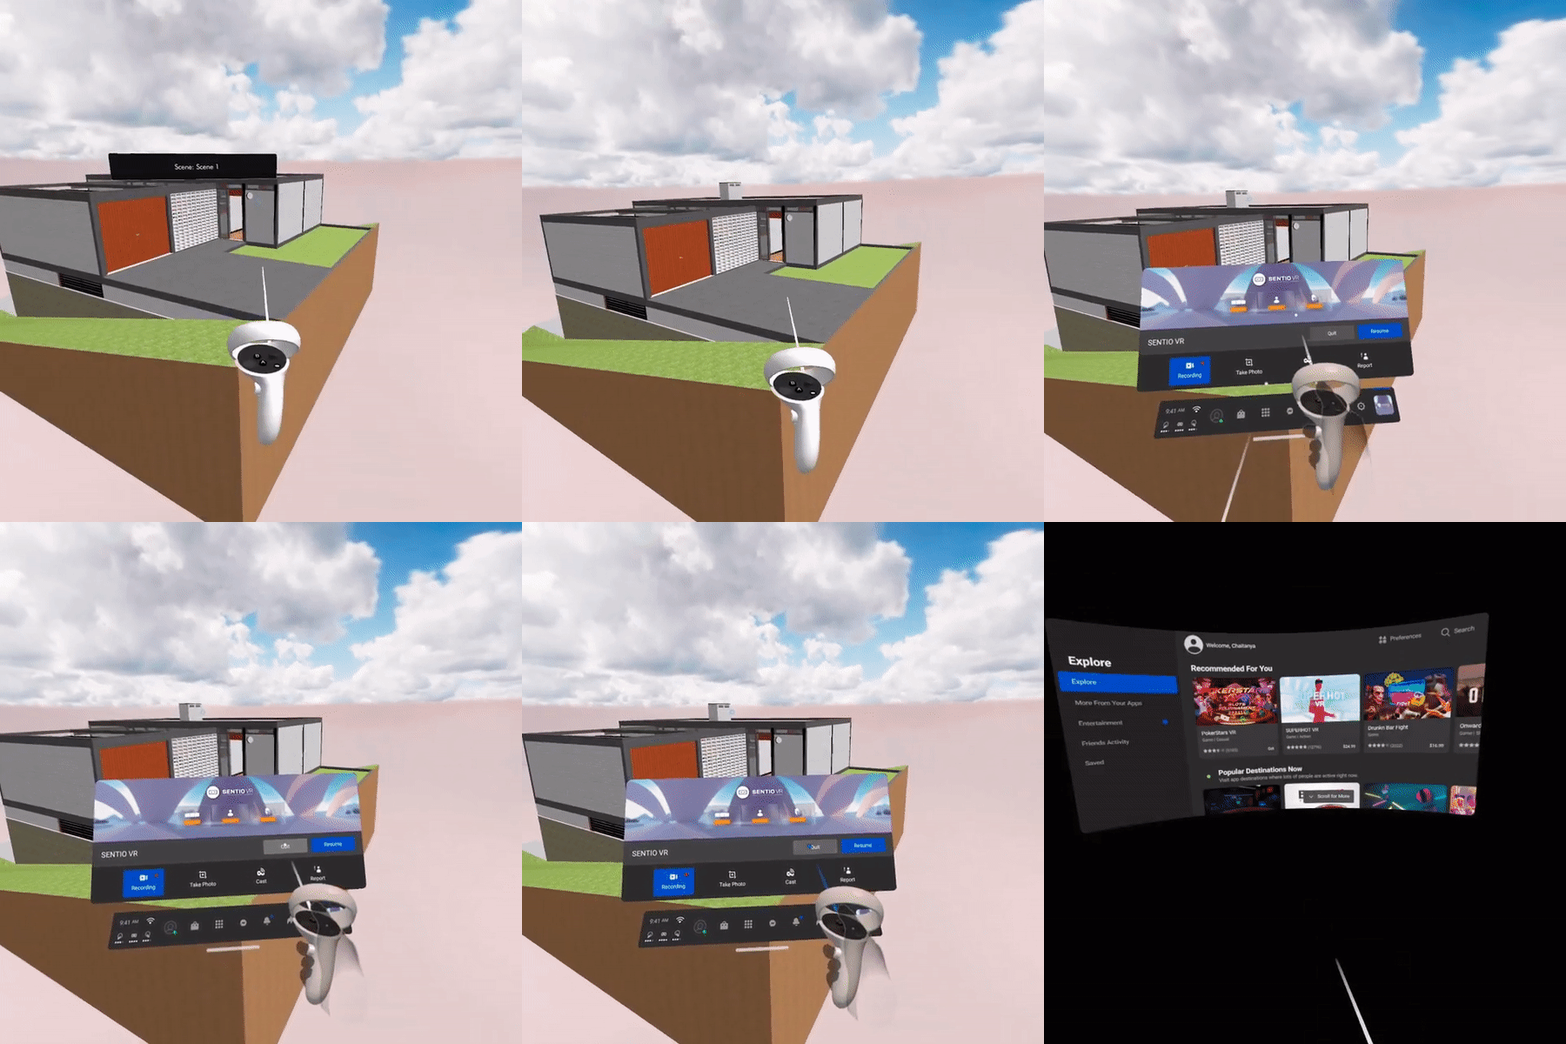
Right controller: Oculus button
Updated 4 months ago
