360 images using Sketchup
How to create 360 renders using Sketchup ?
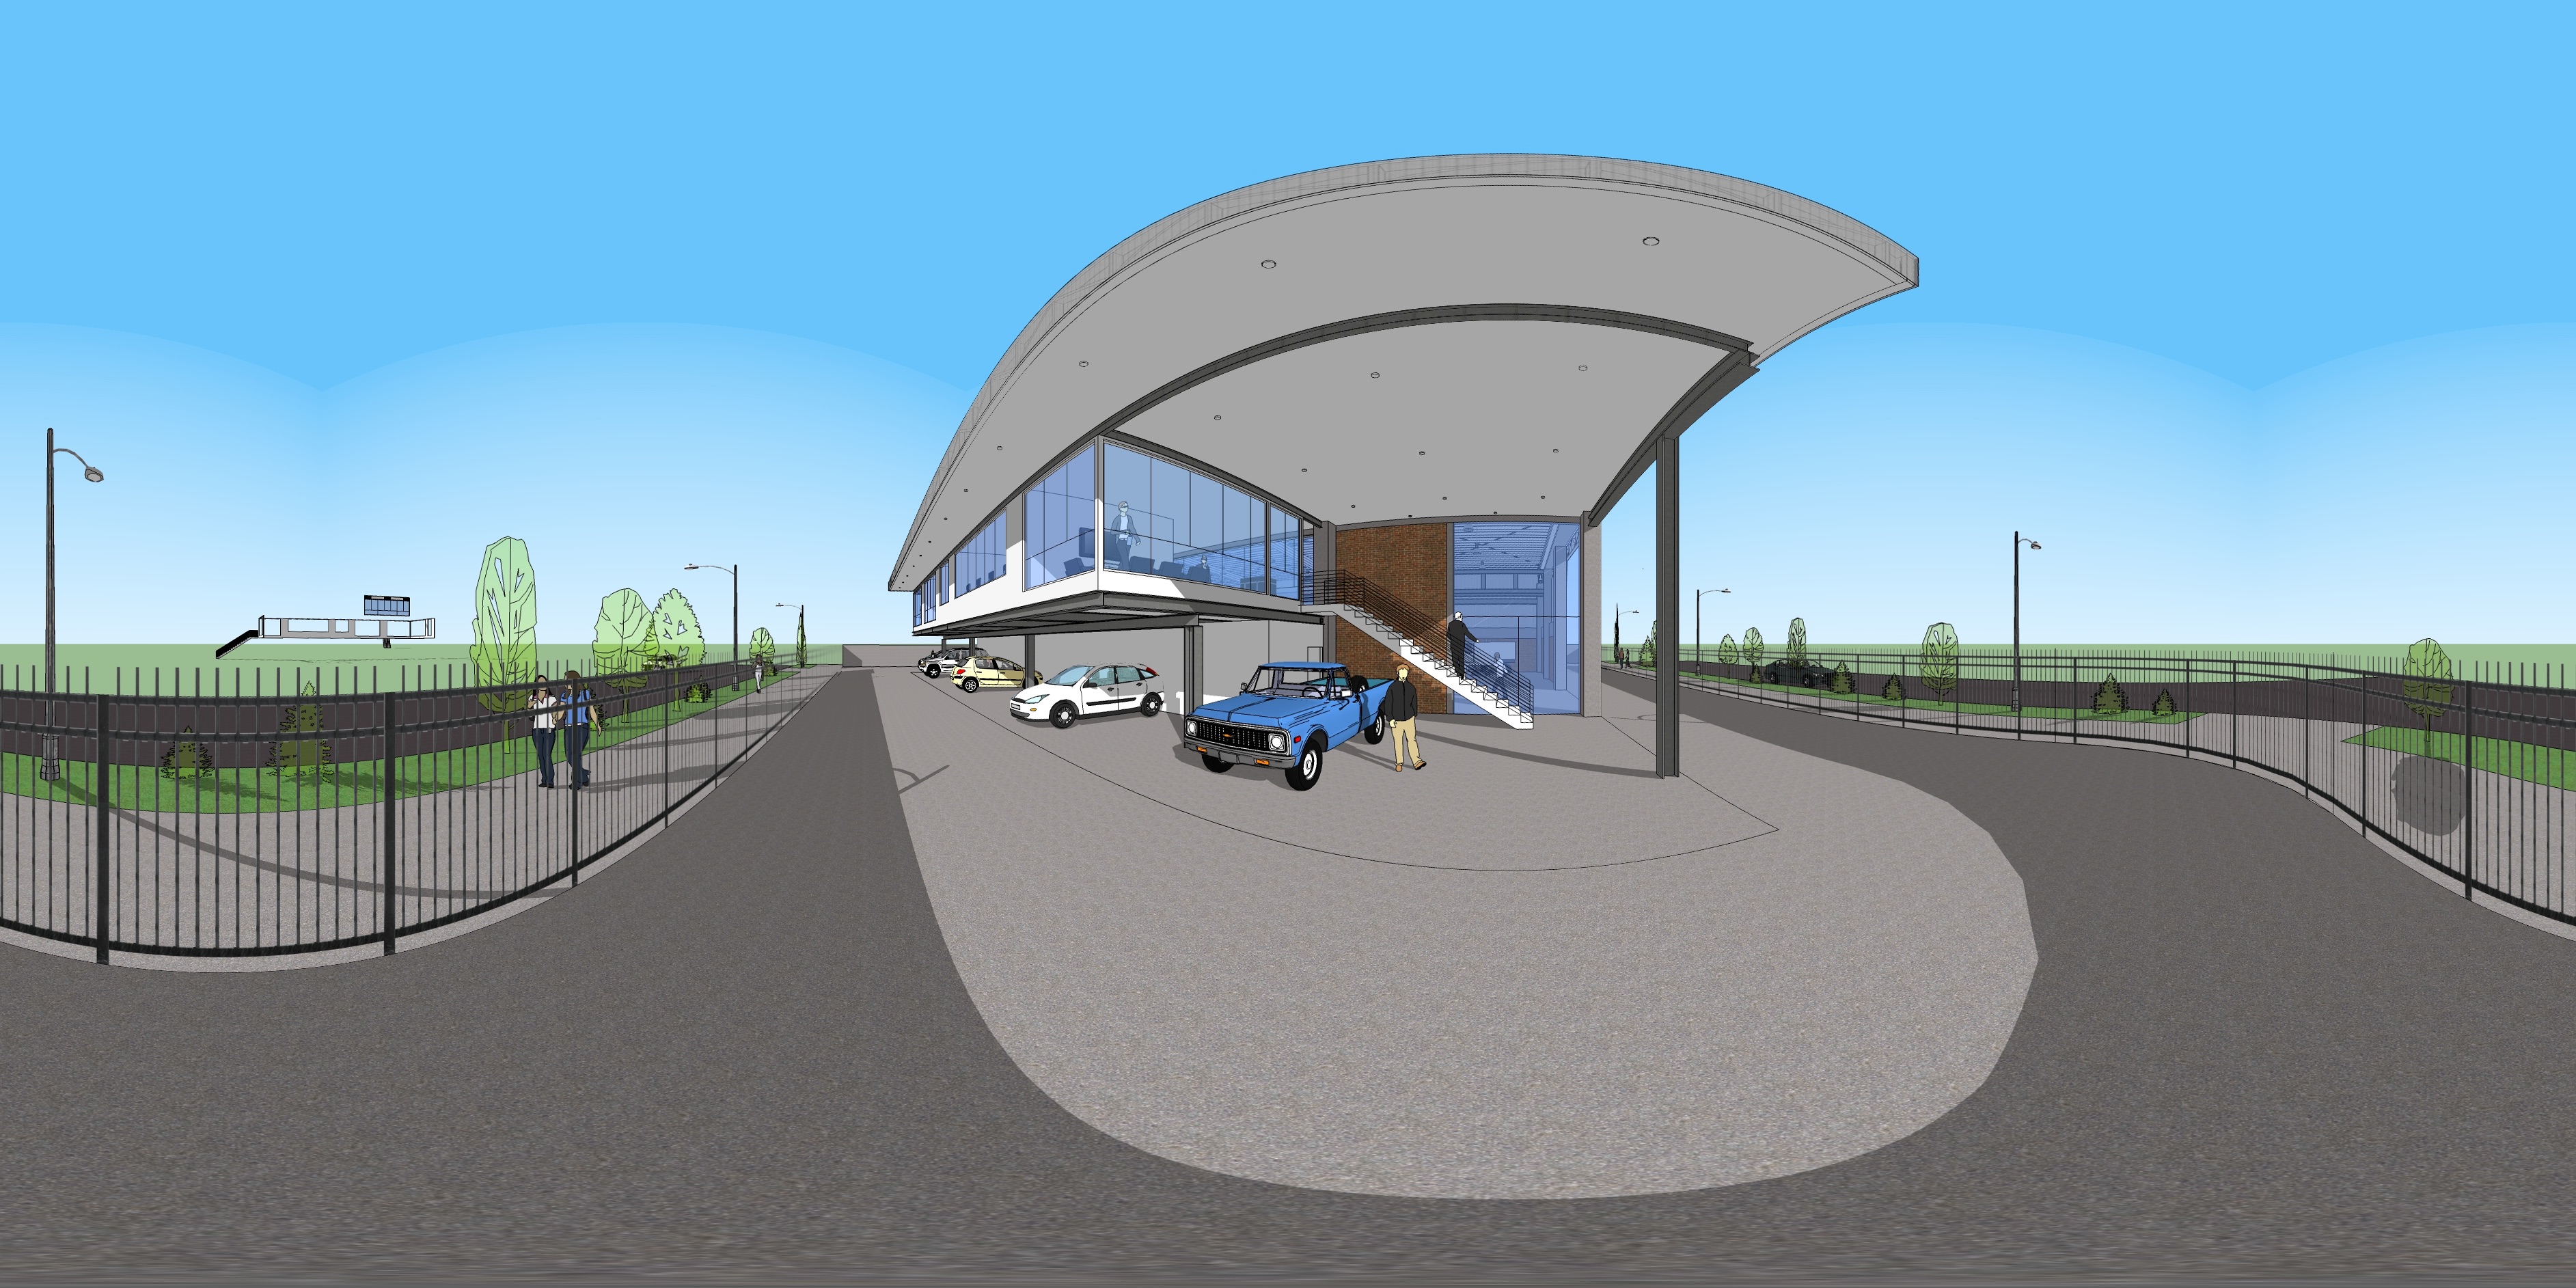
Click on the image to download this sampler!
**1. To create 360 panoramas using Sketchup, download & install the plugin using the link below.
**
If you use a Mac, use these steps for installing the plugin:
Open a new Finder window, press and hold the Option key on your keyboard, the click Go in the menu bar > Library > Application Support > SketchUp # > SketchUp > Plugins)
The plugin creates 6 images: Up, Down, Right, Left, Front, Back.
Link to download Sketchup Pluginhttps://sentiodownload.s3-us-west-2.amazonaws.com/cubicpanoout.rb
2. Once you have installed "Cubic Pano Out" on your PC or Mac, it's time to use it! Go toSketchUp and open your 3D model.
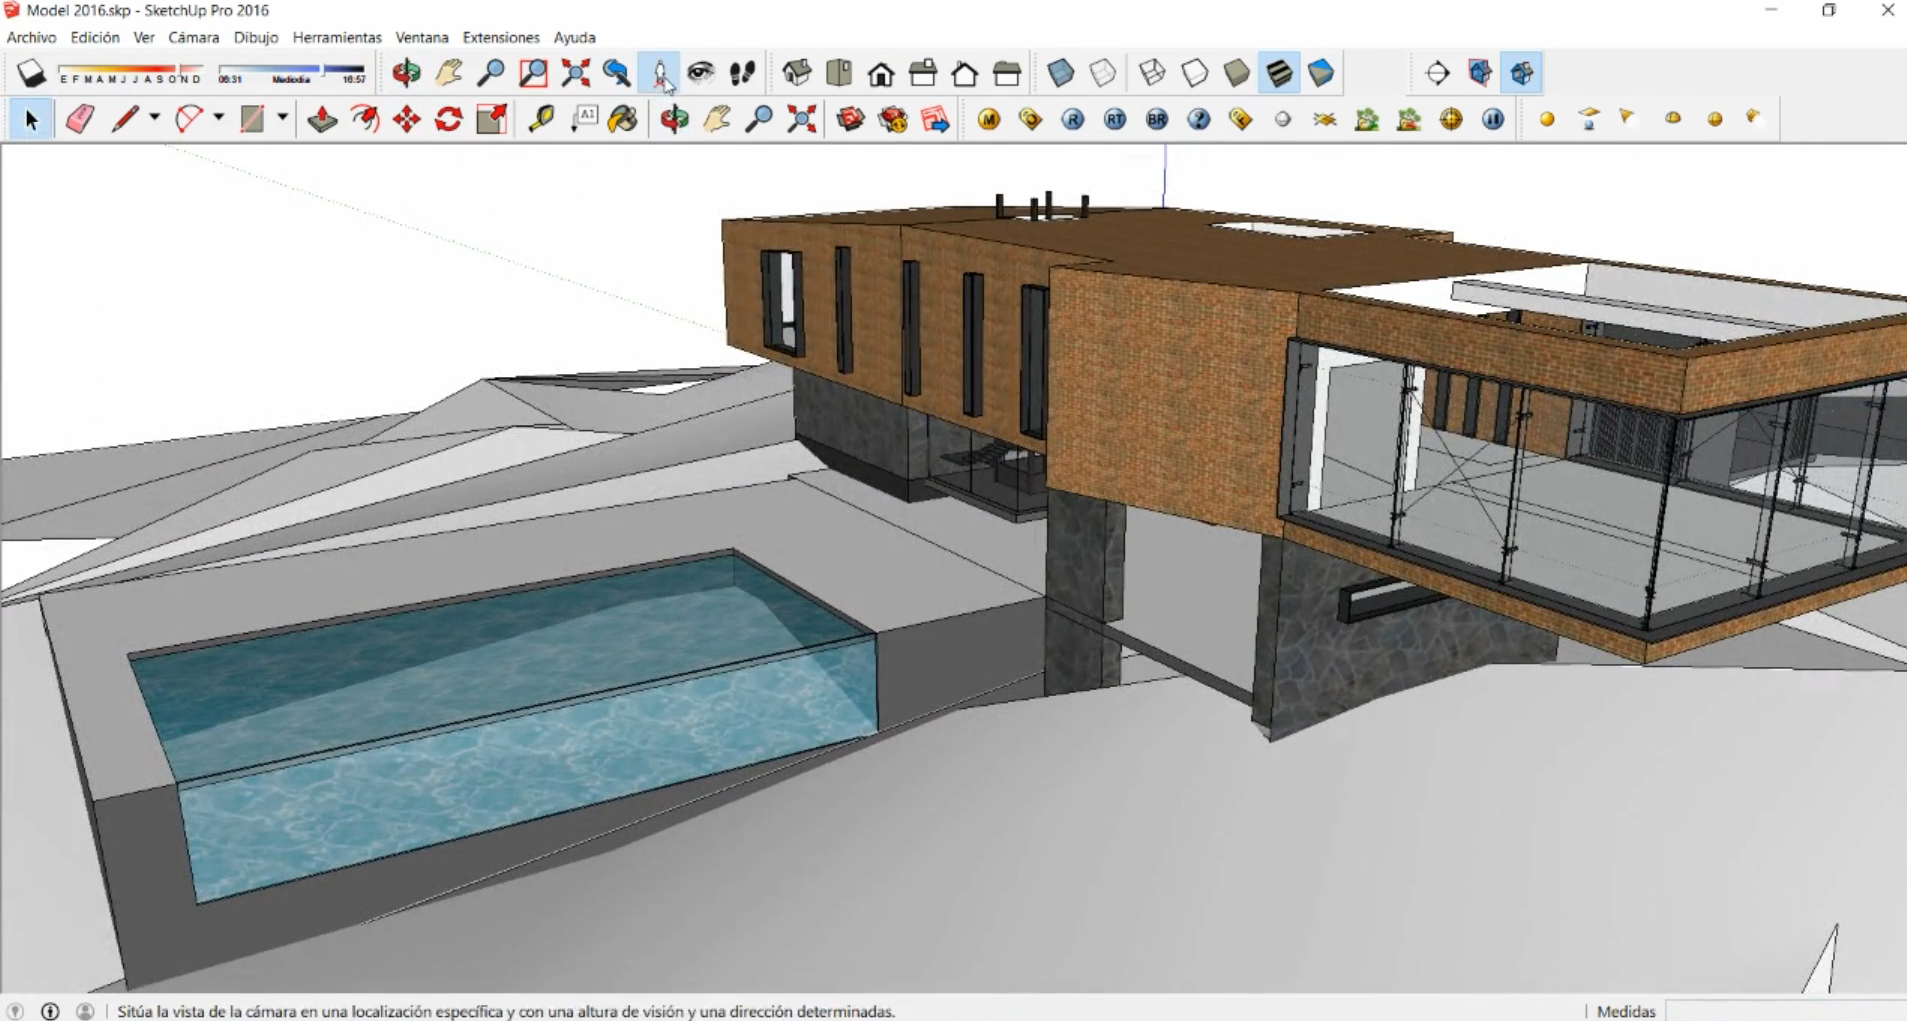
3. Locate a Camera
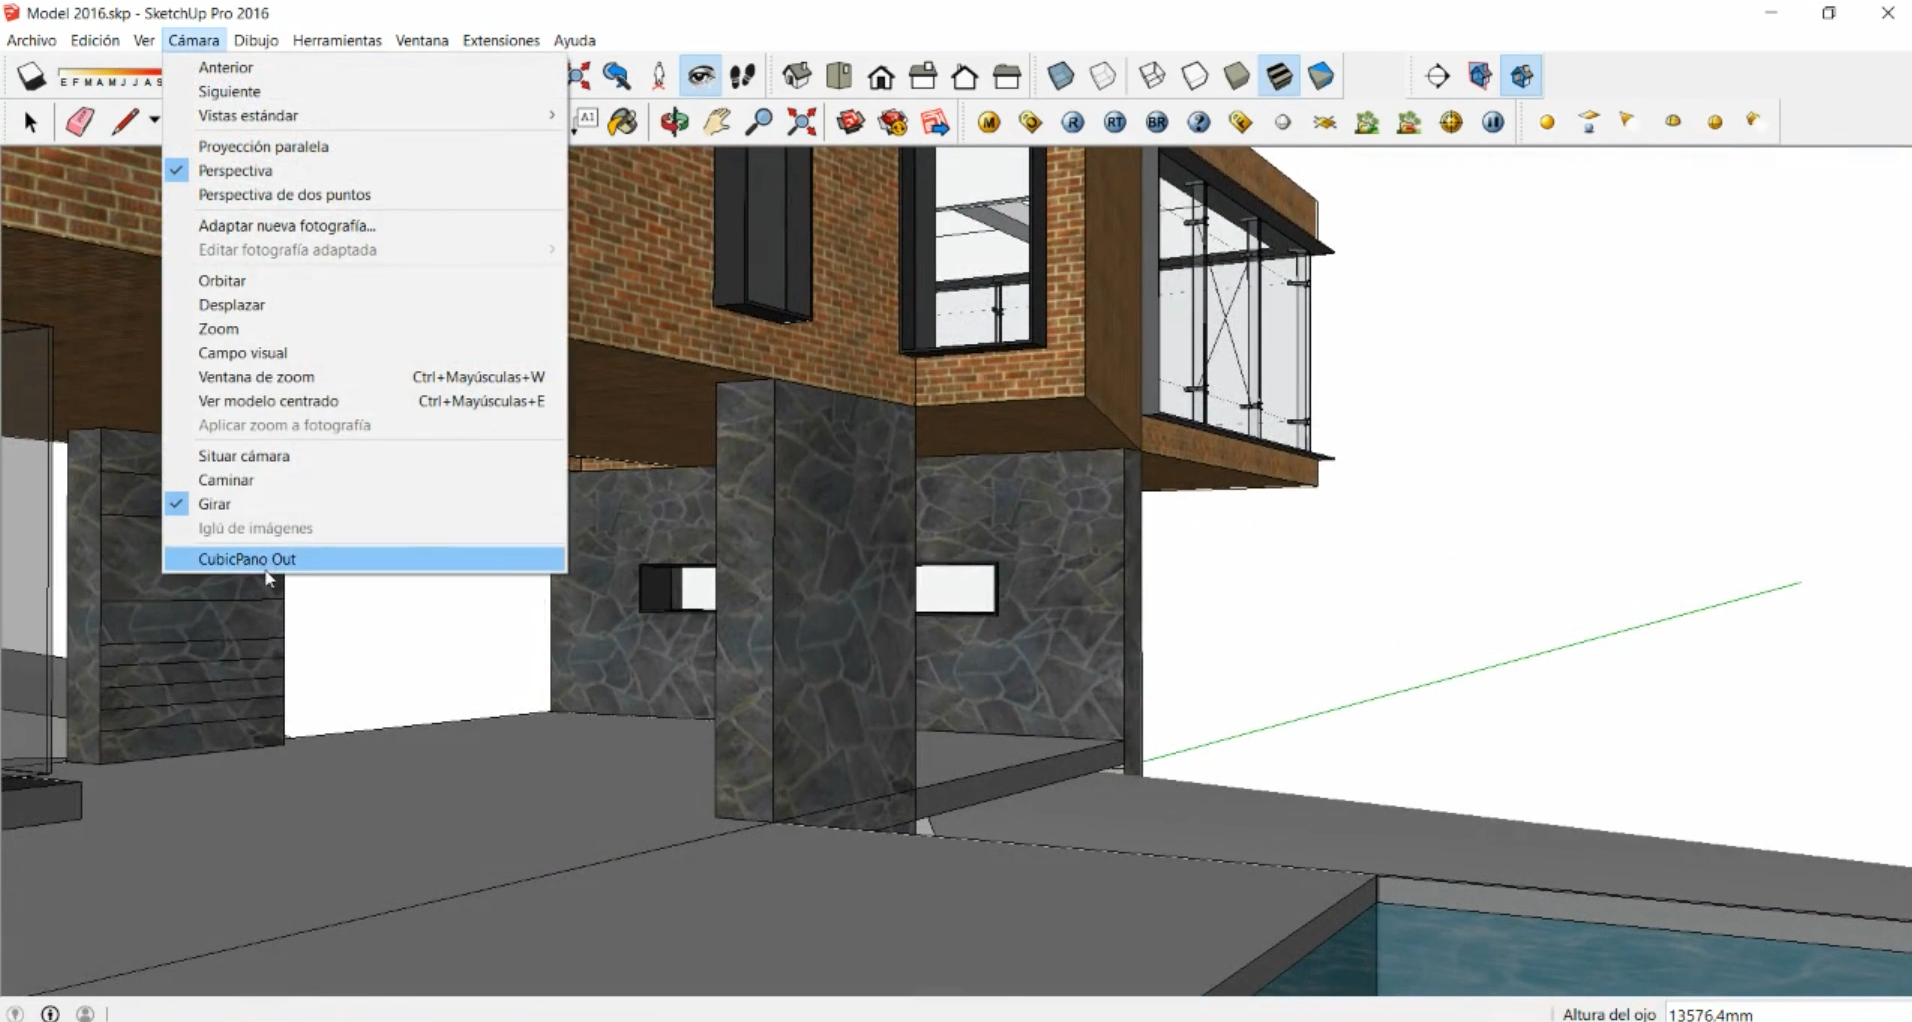
Go to the Camera Tab, and select the Plug In you installed; CubePano Out.
4. Set up your Cube Map A new window will show up there select how you want you cube map to look like.
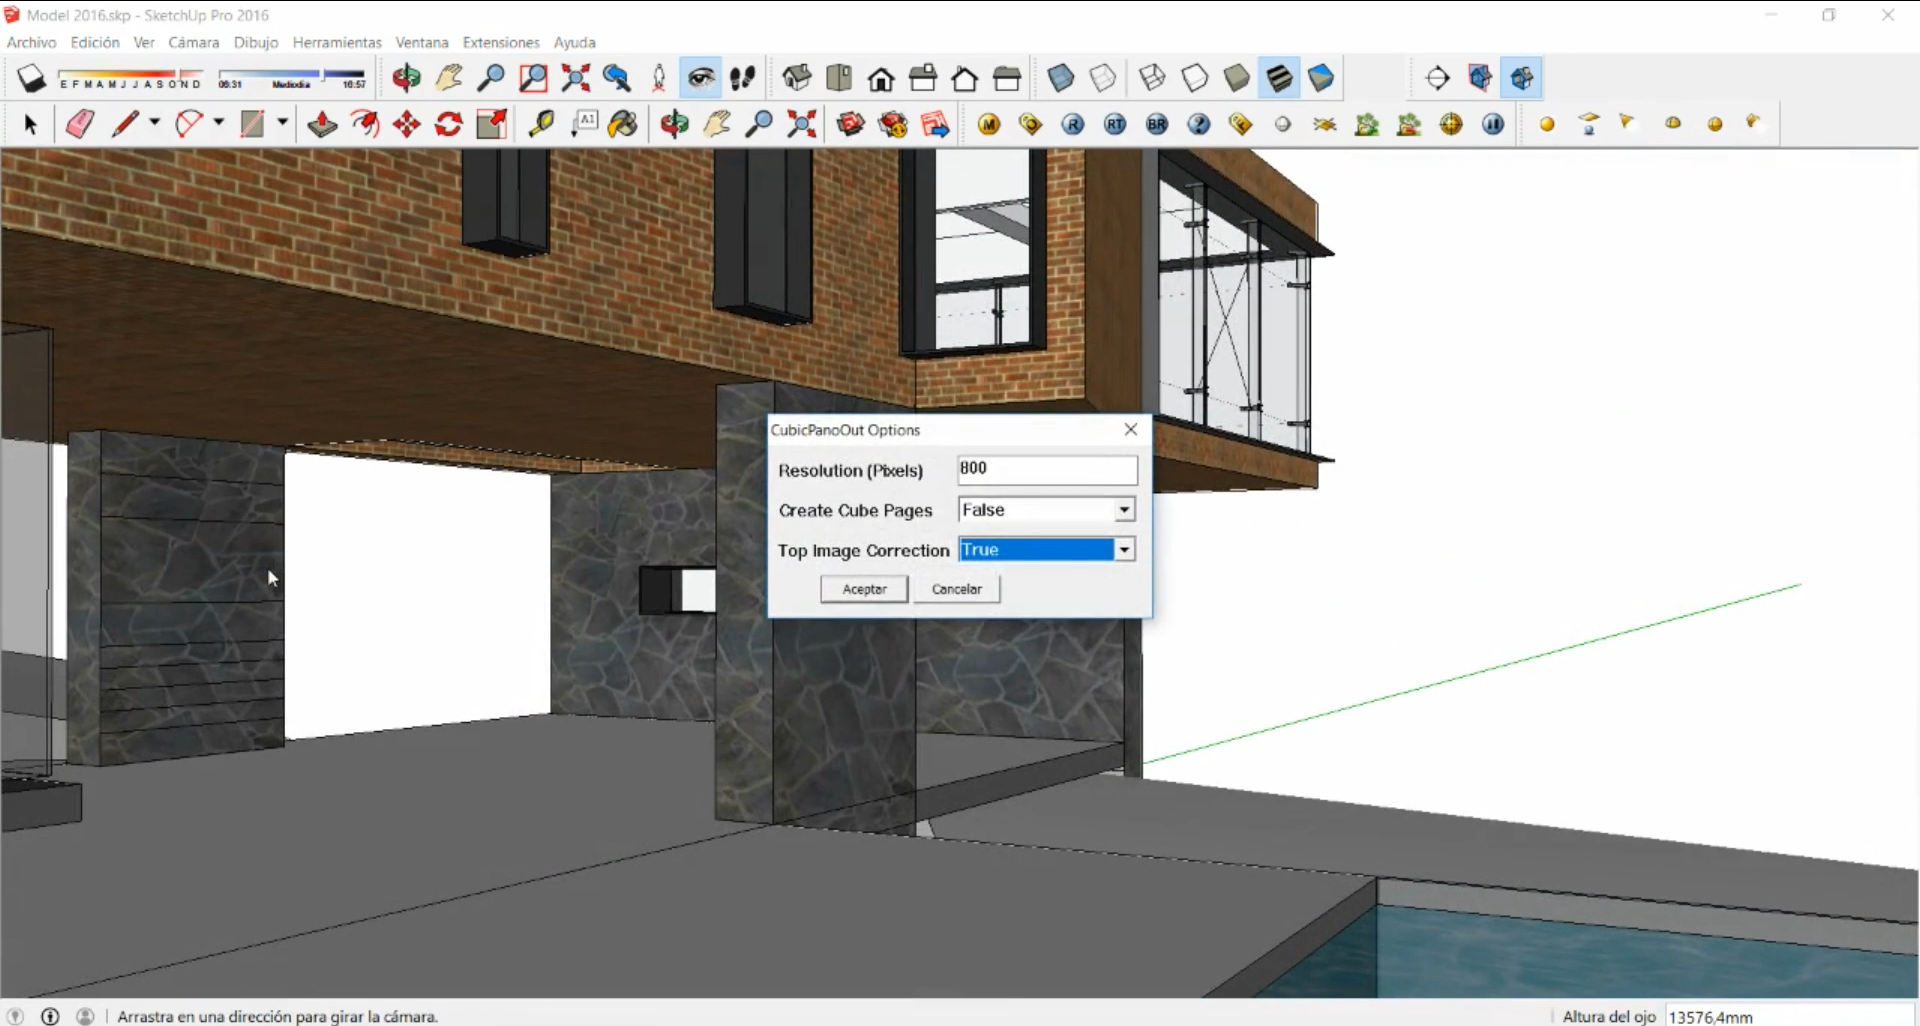
5. Save it to your Local Files and assign a name to your project.
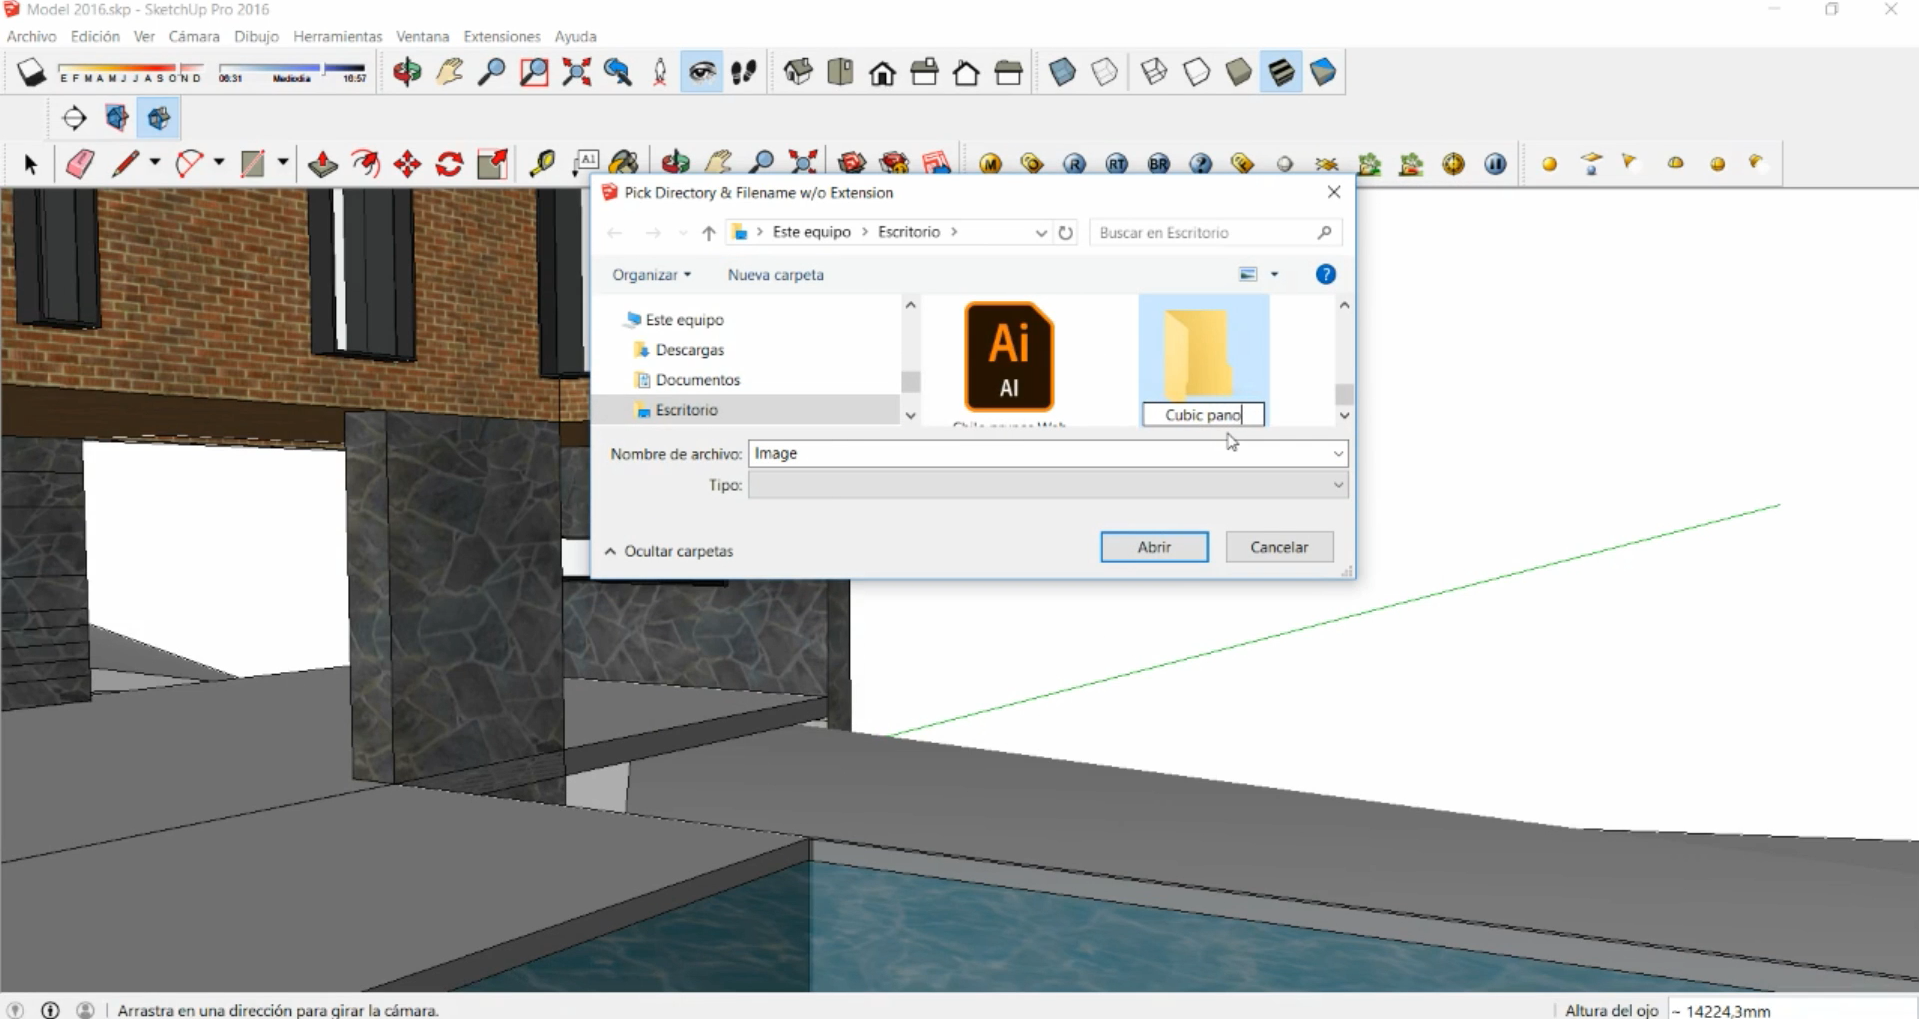
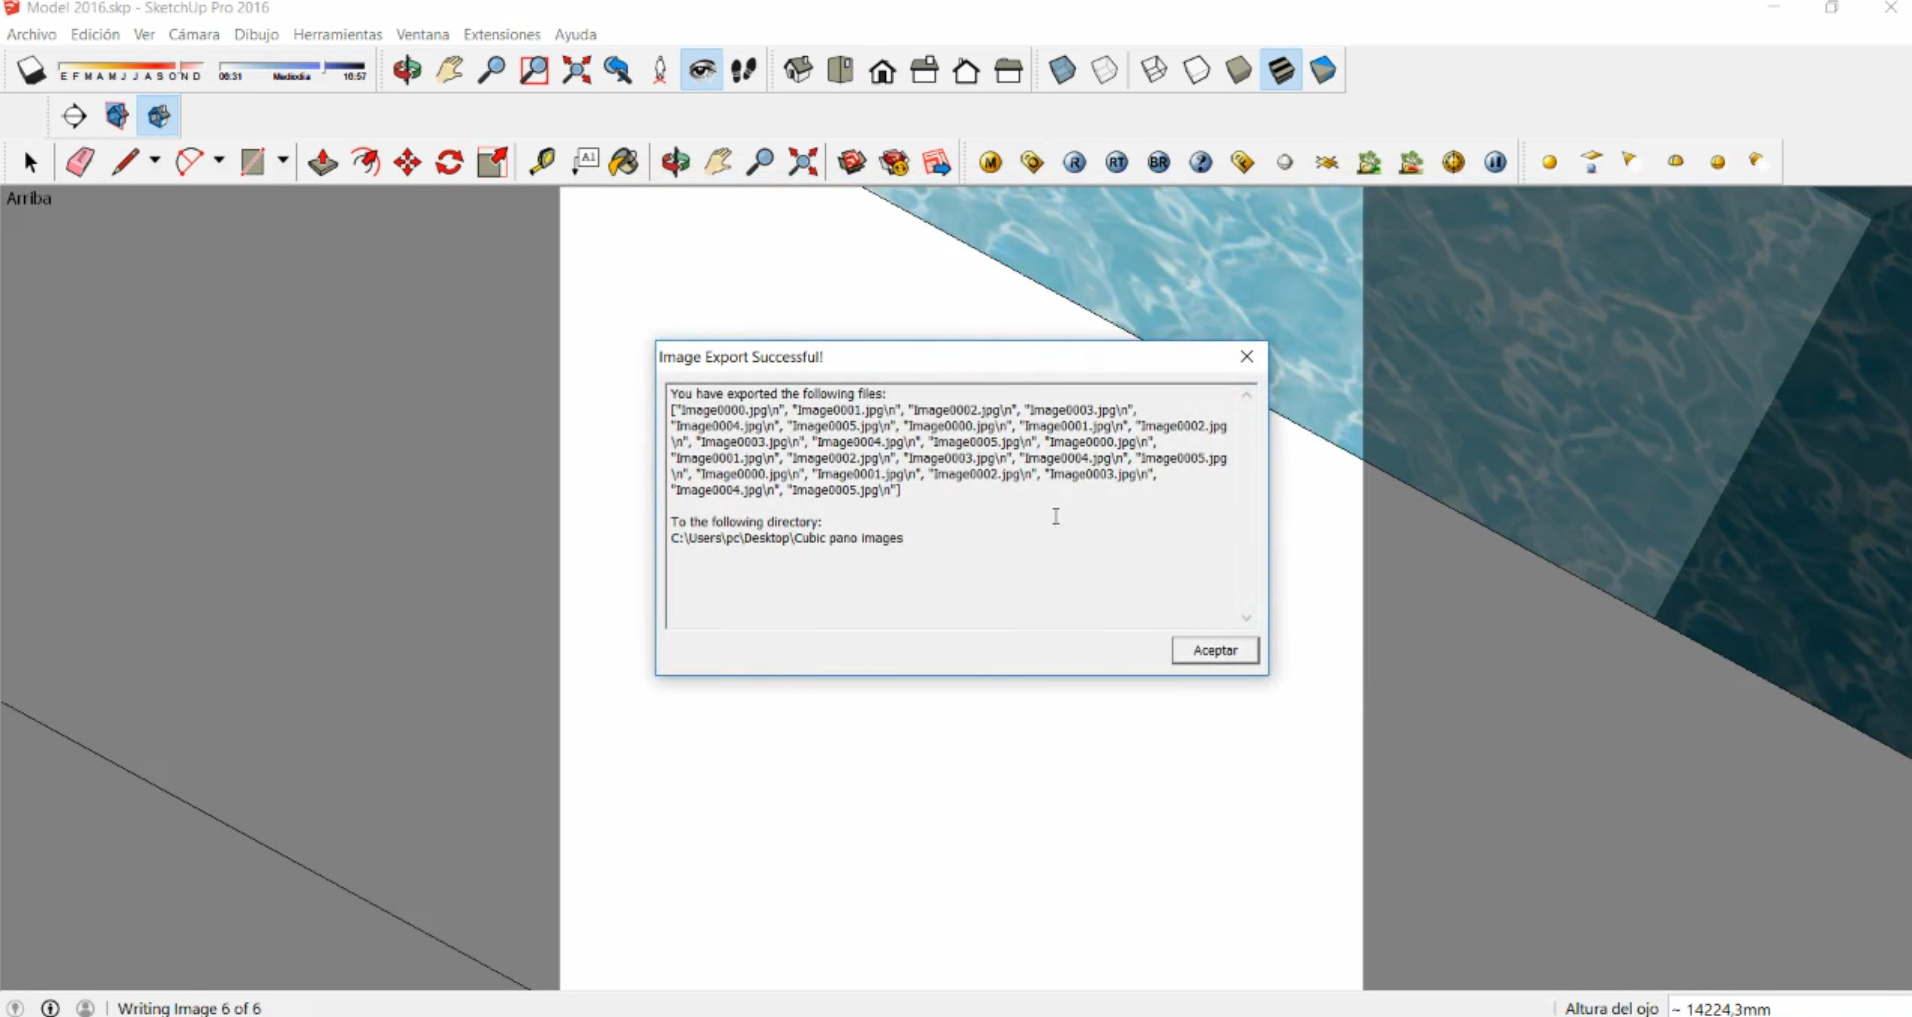
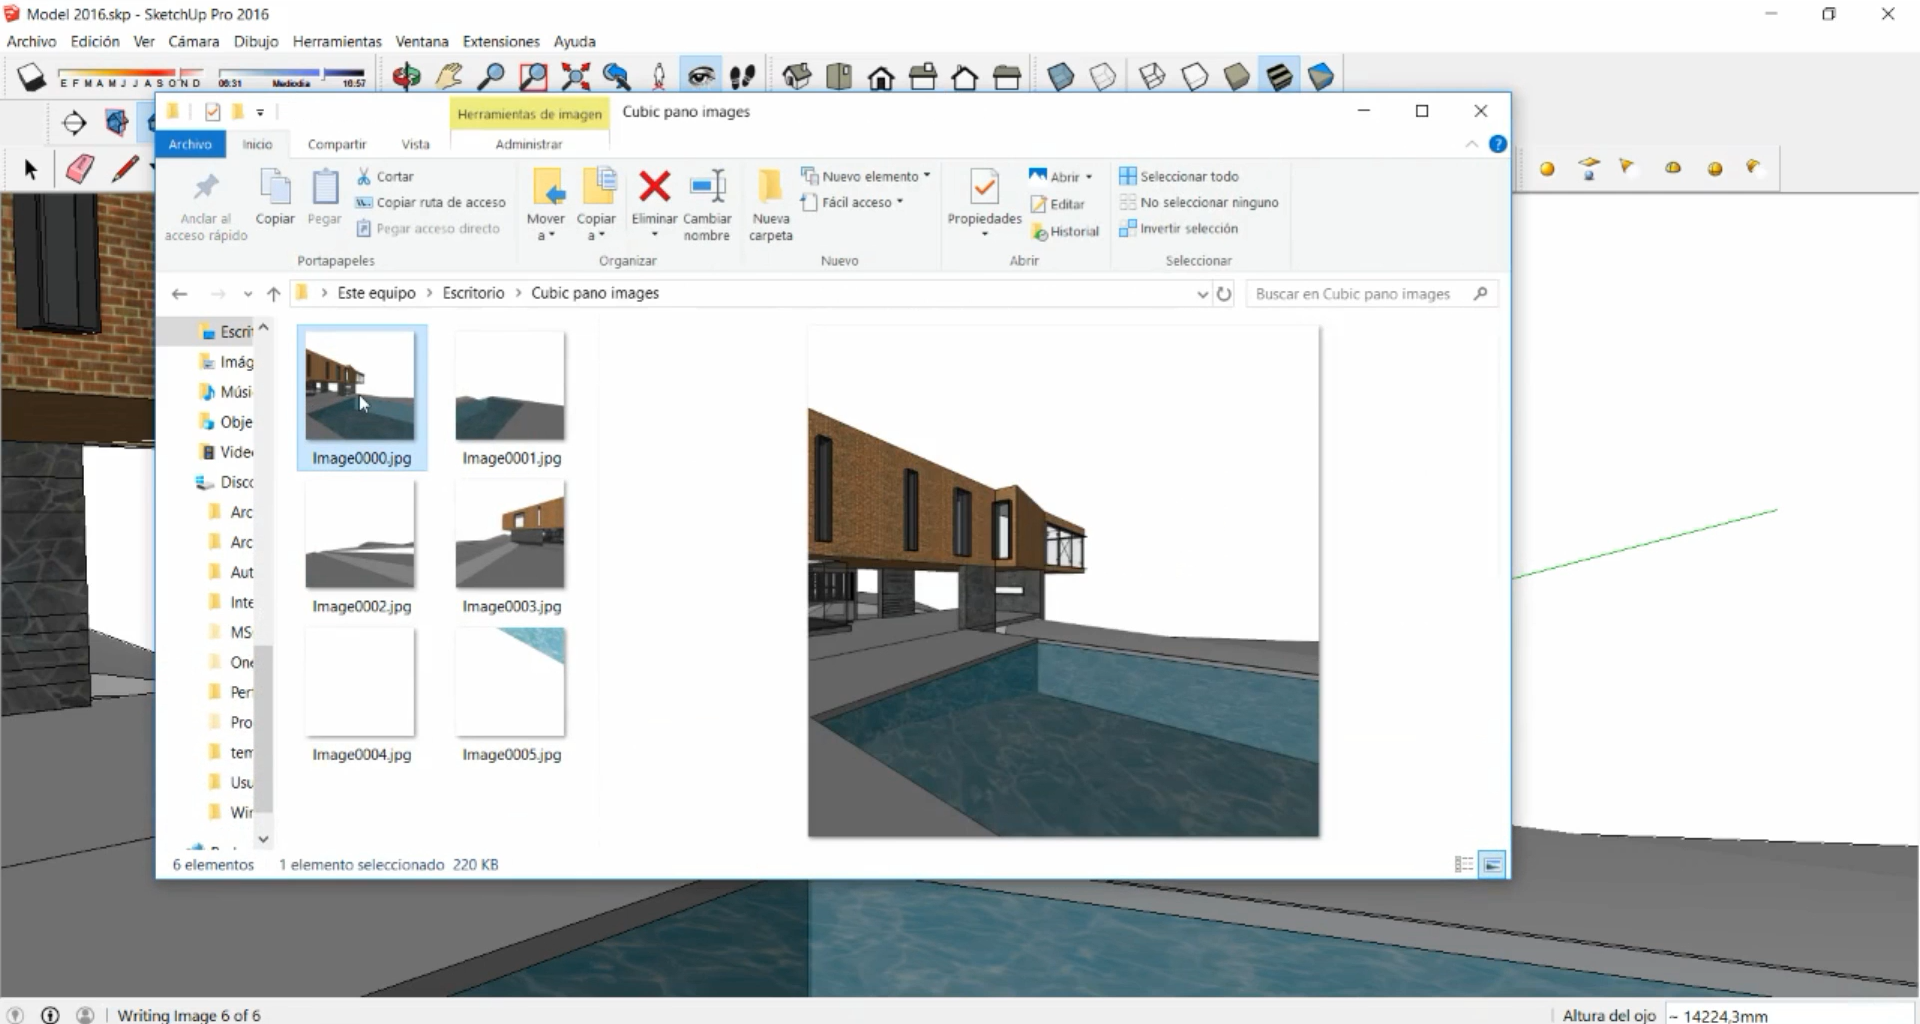
6. SketchUp will save 6 pictures form your project, imitating a Cube.
**7. Use our link to join these 6 images & create a single panoramic image
**
pano.sentiovr.com
Your 360 render is ready for upload and creating a VR walkthrough !
Updated 7 months ago
Create your account free on SentioVR
