360 images using Enscape for Revit
How to create Panoramic renders from Enscape using Revit?
Creating 360 image using Enscape is very simple. Here's a step-by-step tutorial
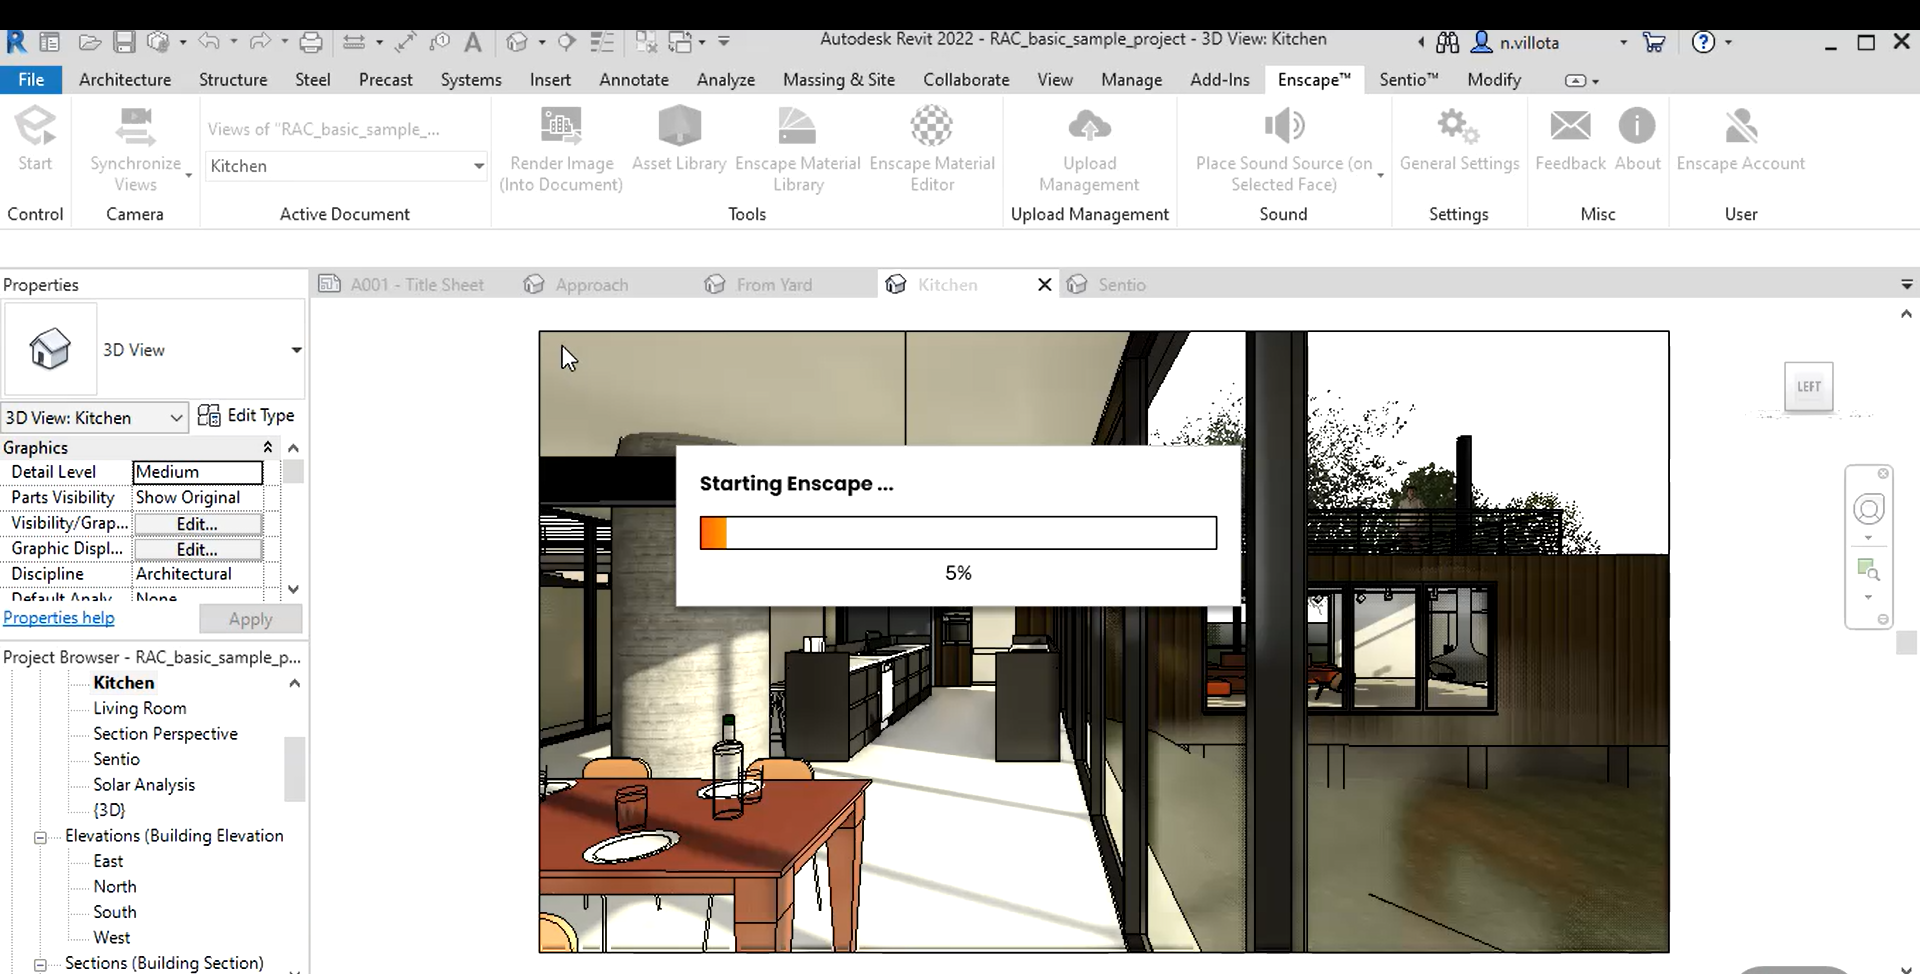
1. Navigate to the desired View
Open your 3D modeling software from Revit and launch Enscape. Navigate to the desired view in your Enscape scene.
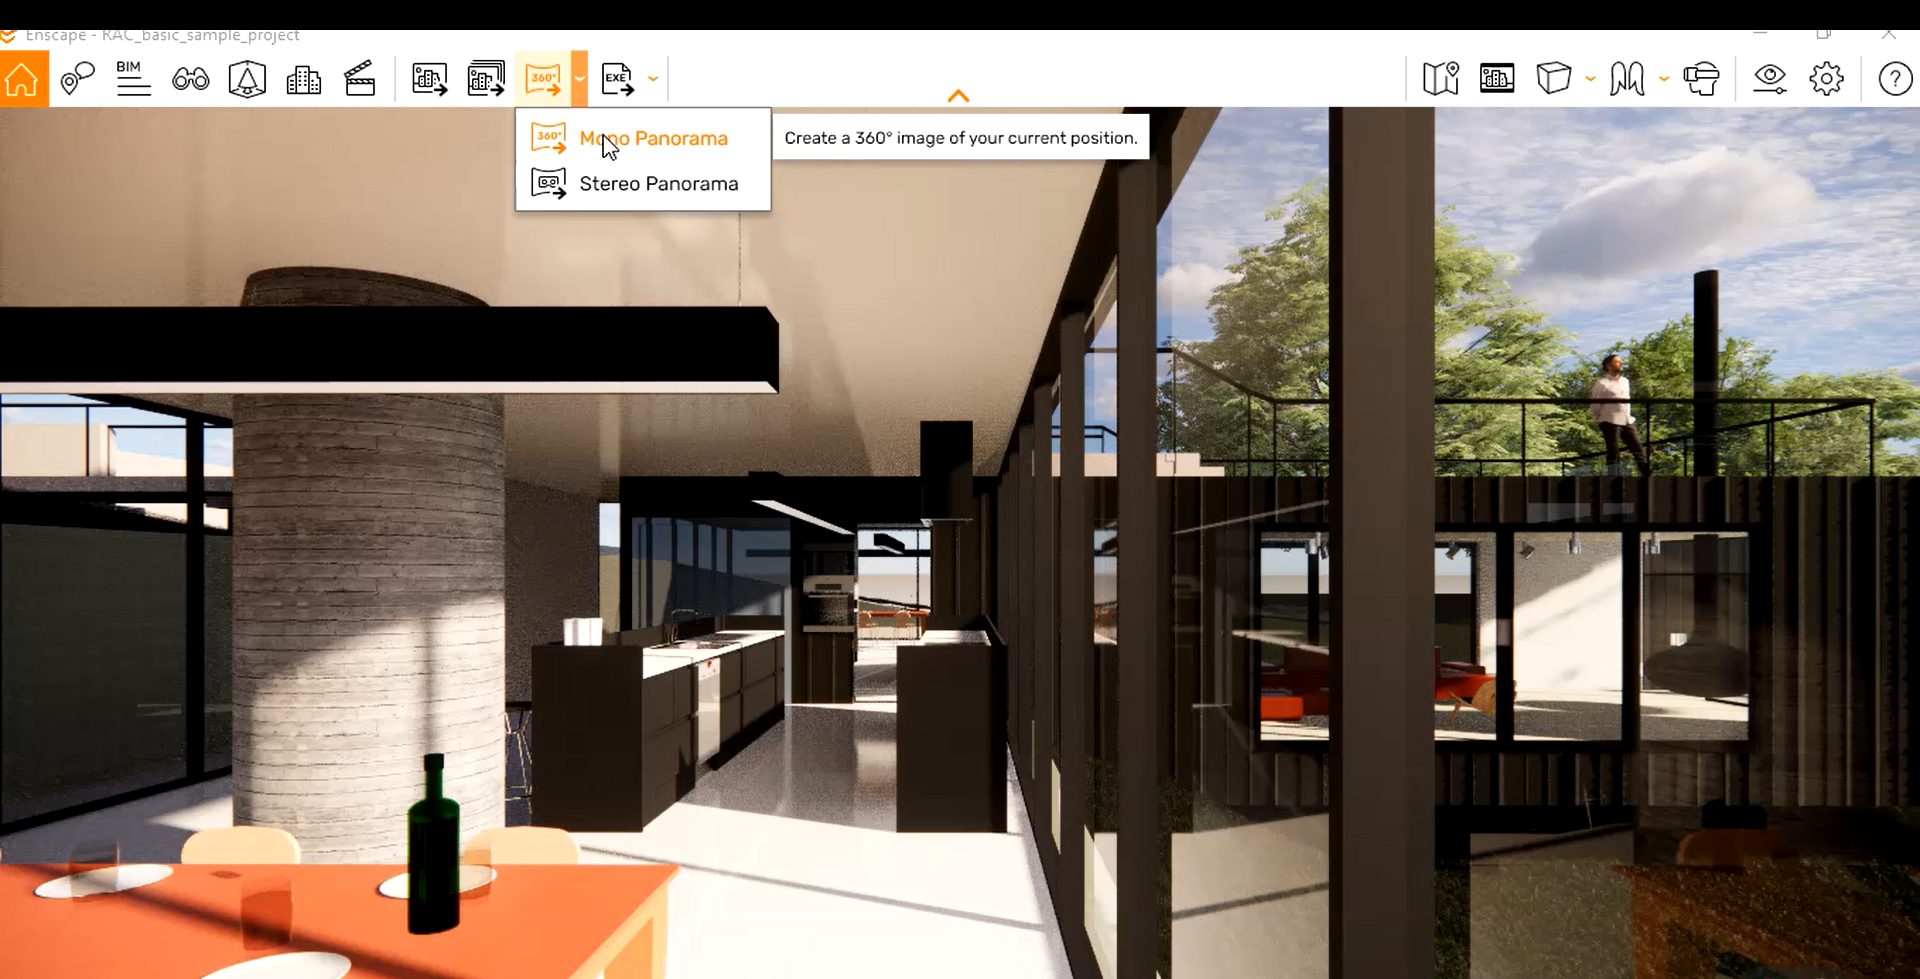
2. Create a mono or stereo Panorama
Locate the Panoramic button and access the panoramic settings. Choose either to create a mono or stereo panorama. We recommend stereo panorama for VR experiences.
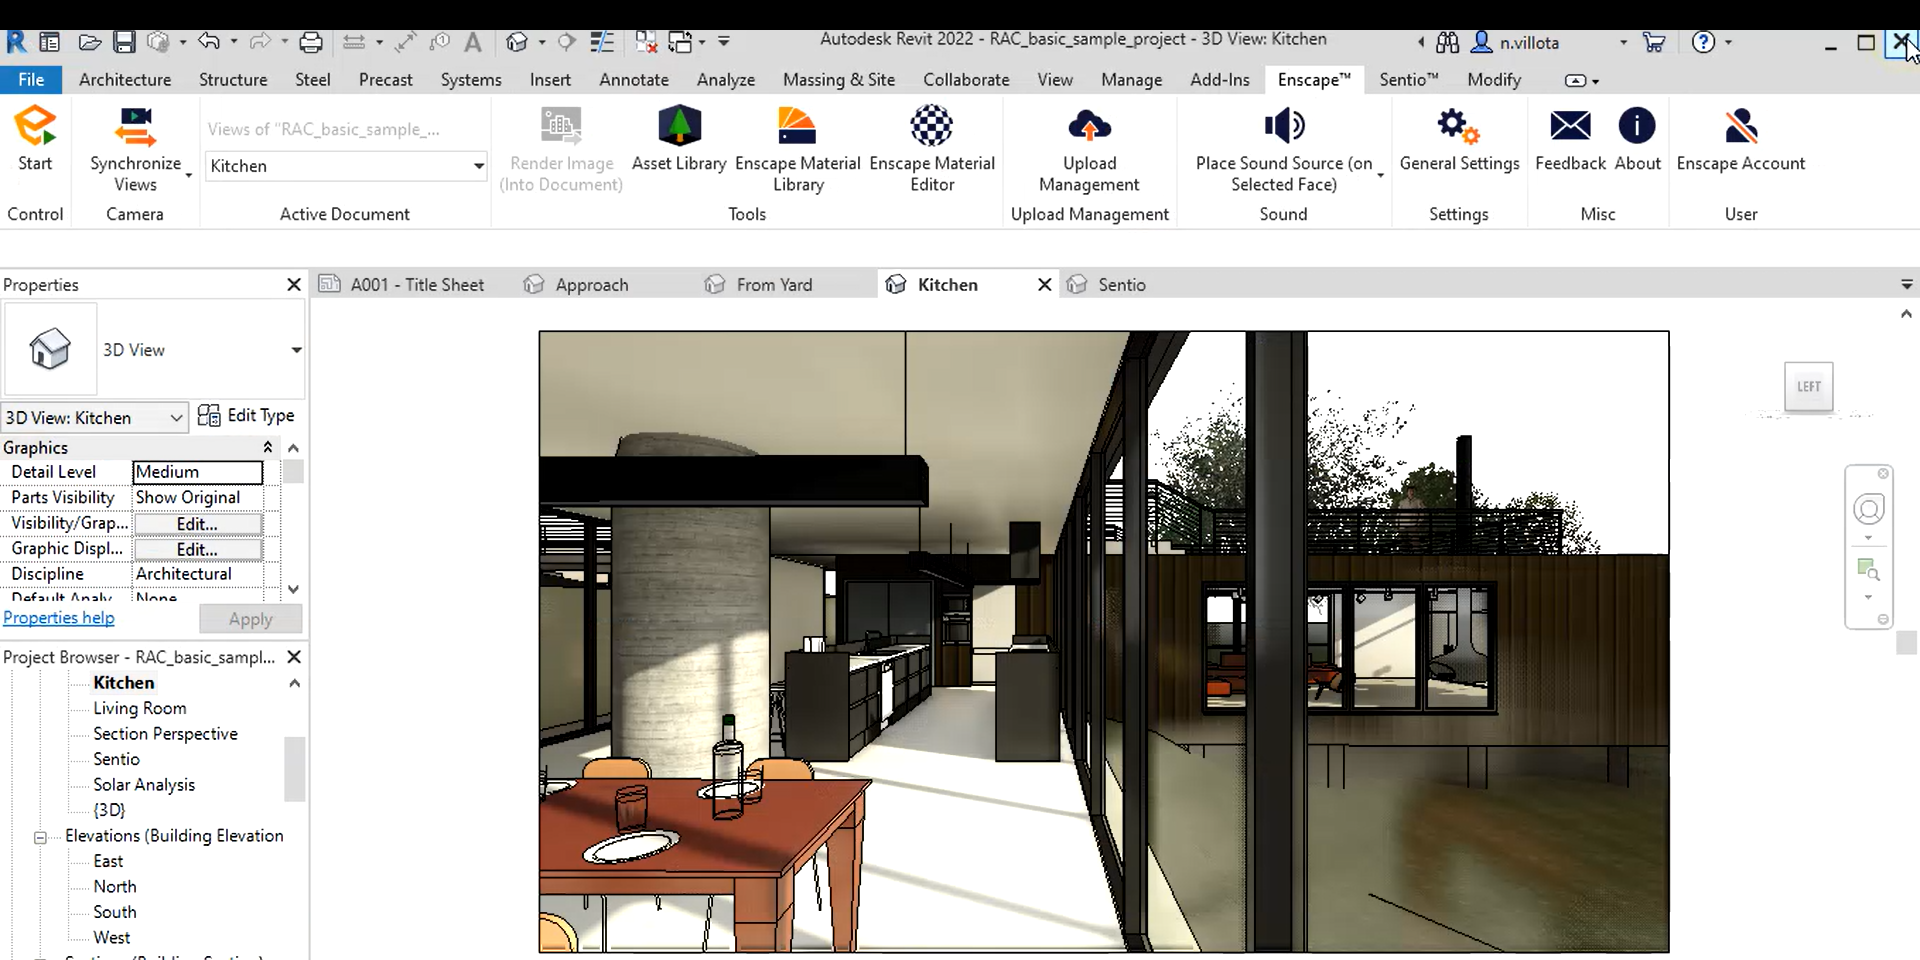
3. Export Panoramas to PC
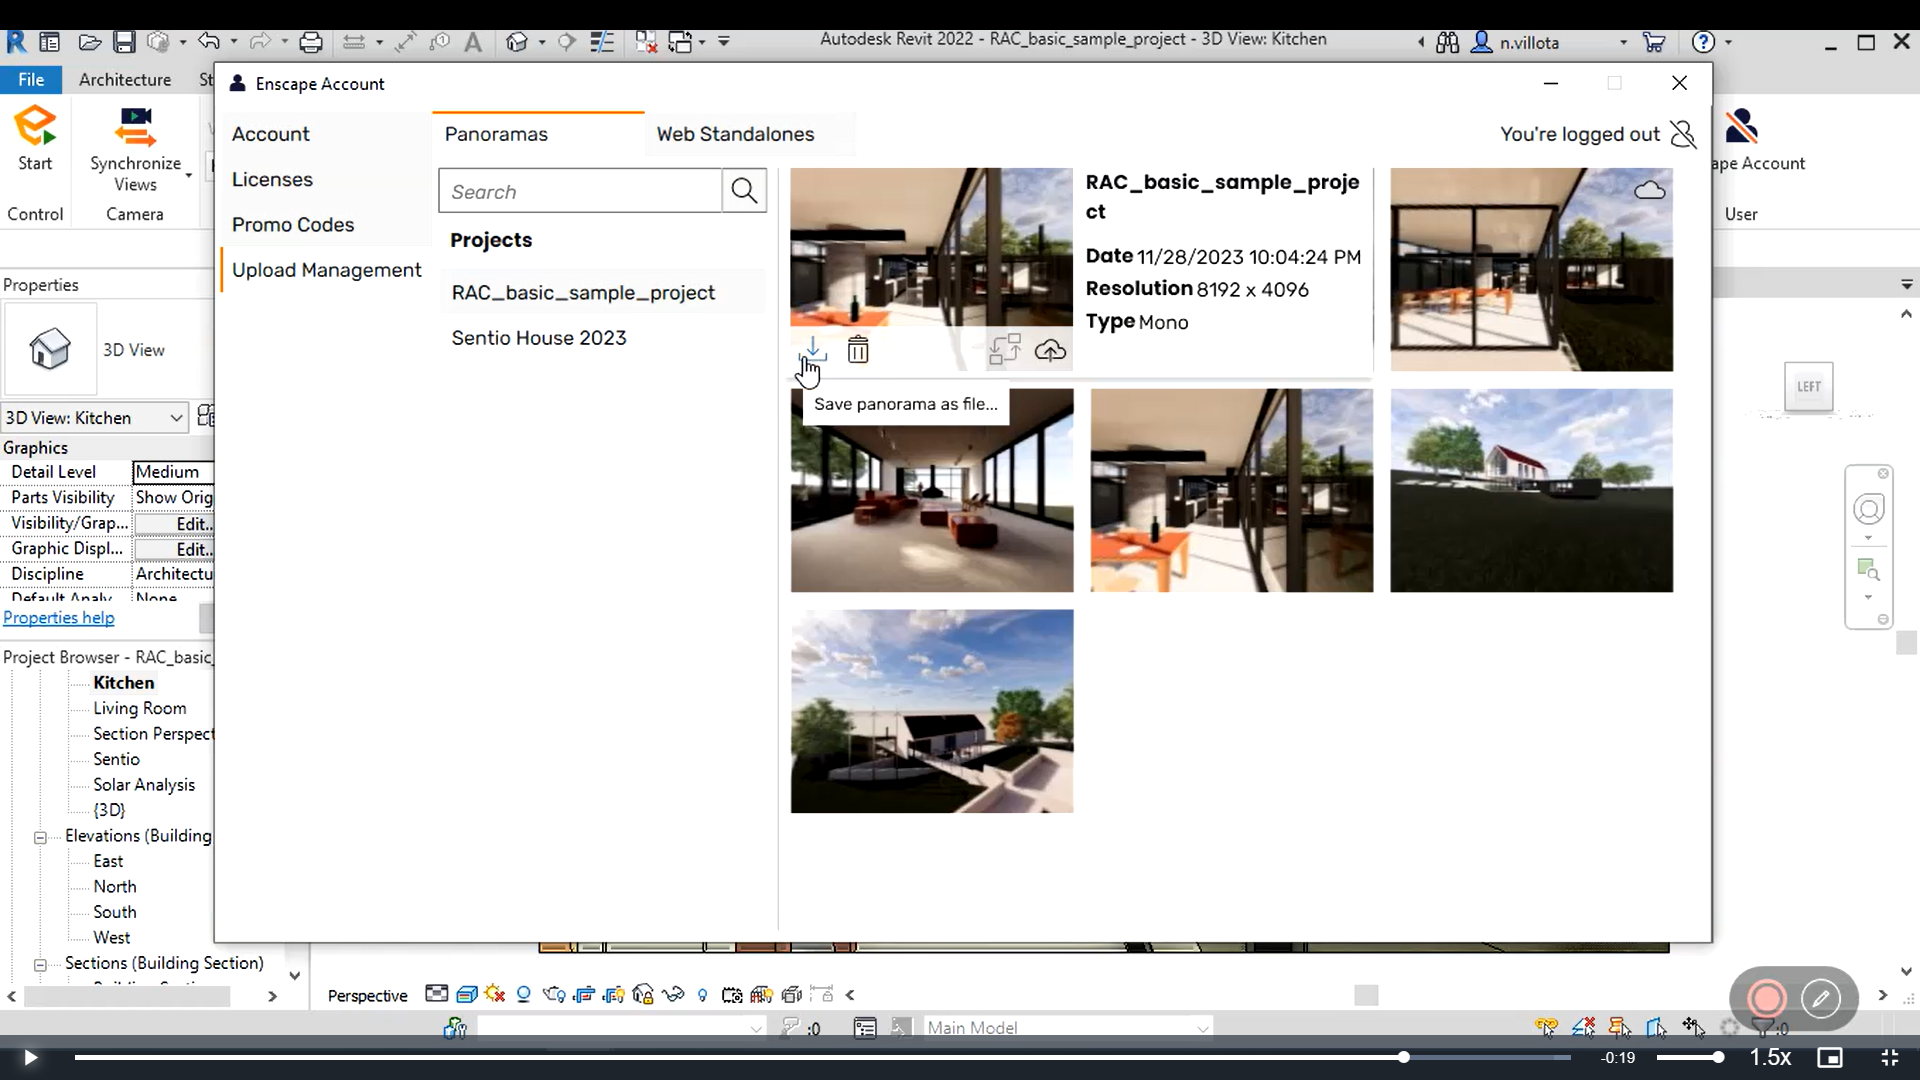
Export the Panoramas to your PC, click on ''Upload Management'' to view your Panoramas
4. Download your Panoramas
After clicking on Upload Management, you'll find an option to save your Panoramas as files on your PC
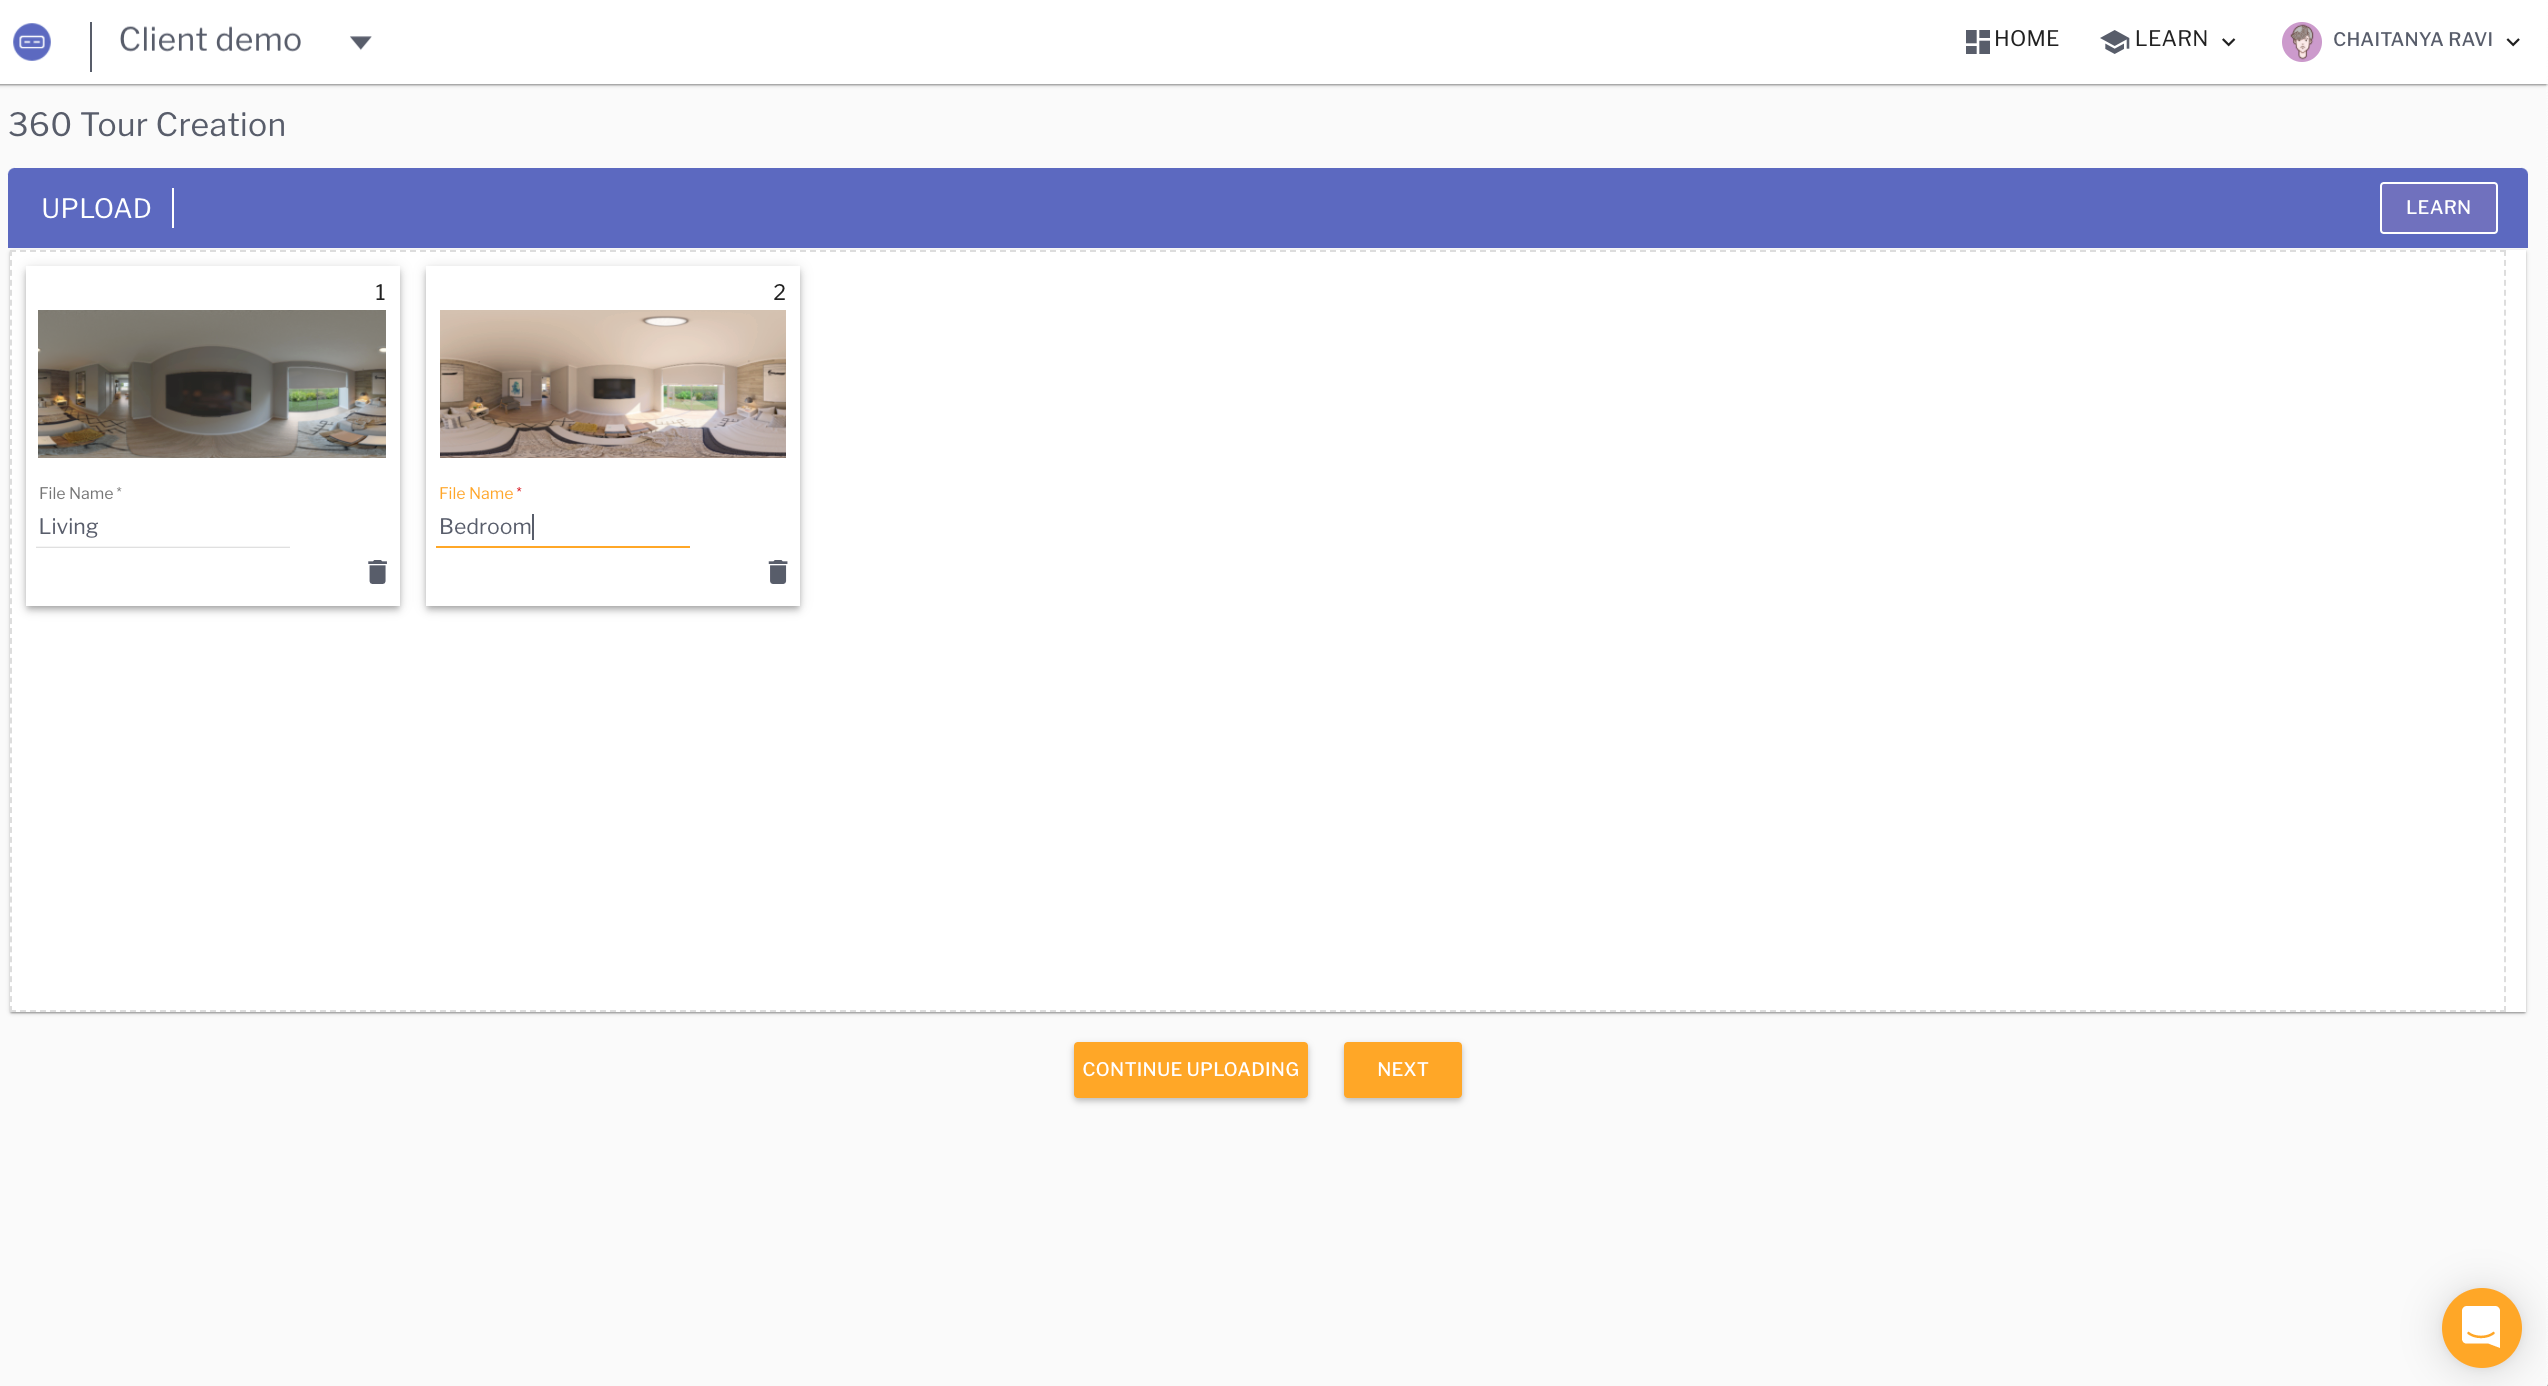
5. Login to your Sentio account, upload panoramas and create a tour
- Go to https://app.sentiovr.com and log in to your SENTIO VR account.
- Click Create New Project (or open an existing project).
- Upload the 360 panoramas exported from Enscape.
- Arrange the panoramas, add hotspots if needed, and create your 360 tour.
- Save the project once the tour setup is complete.
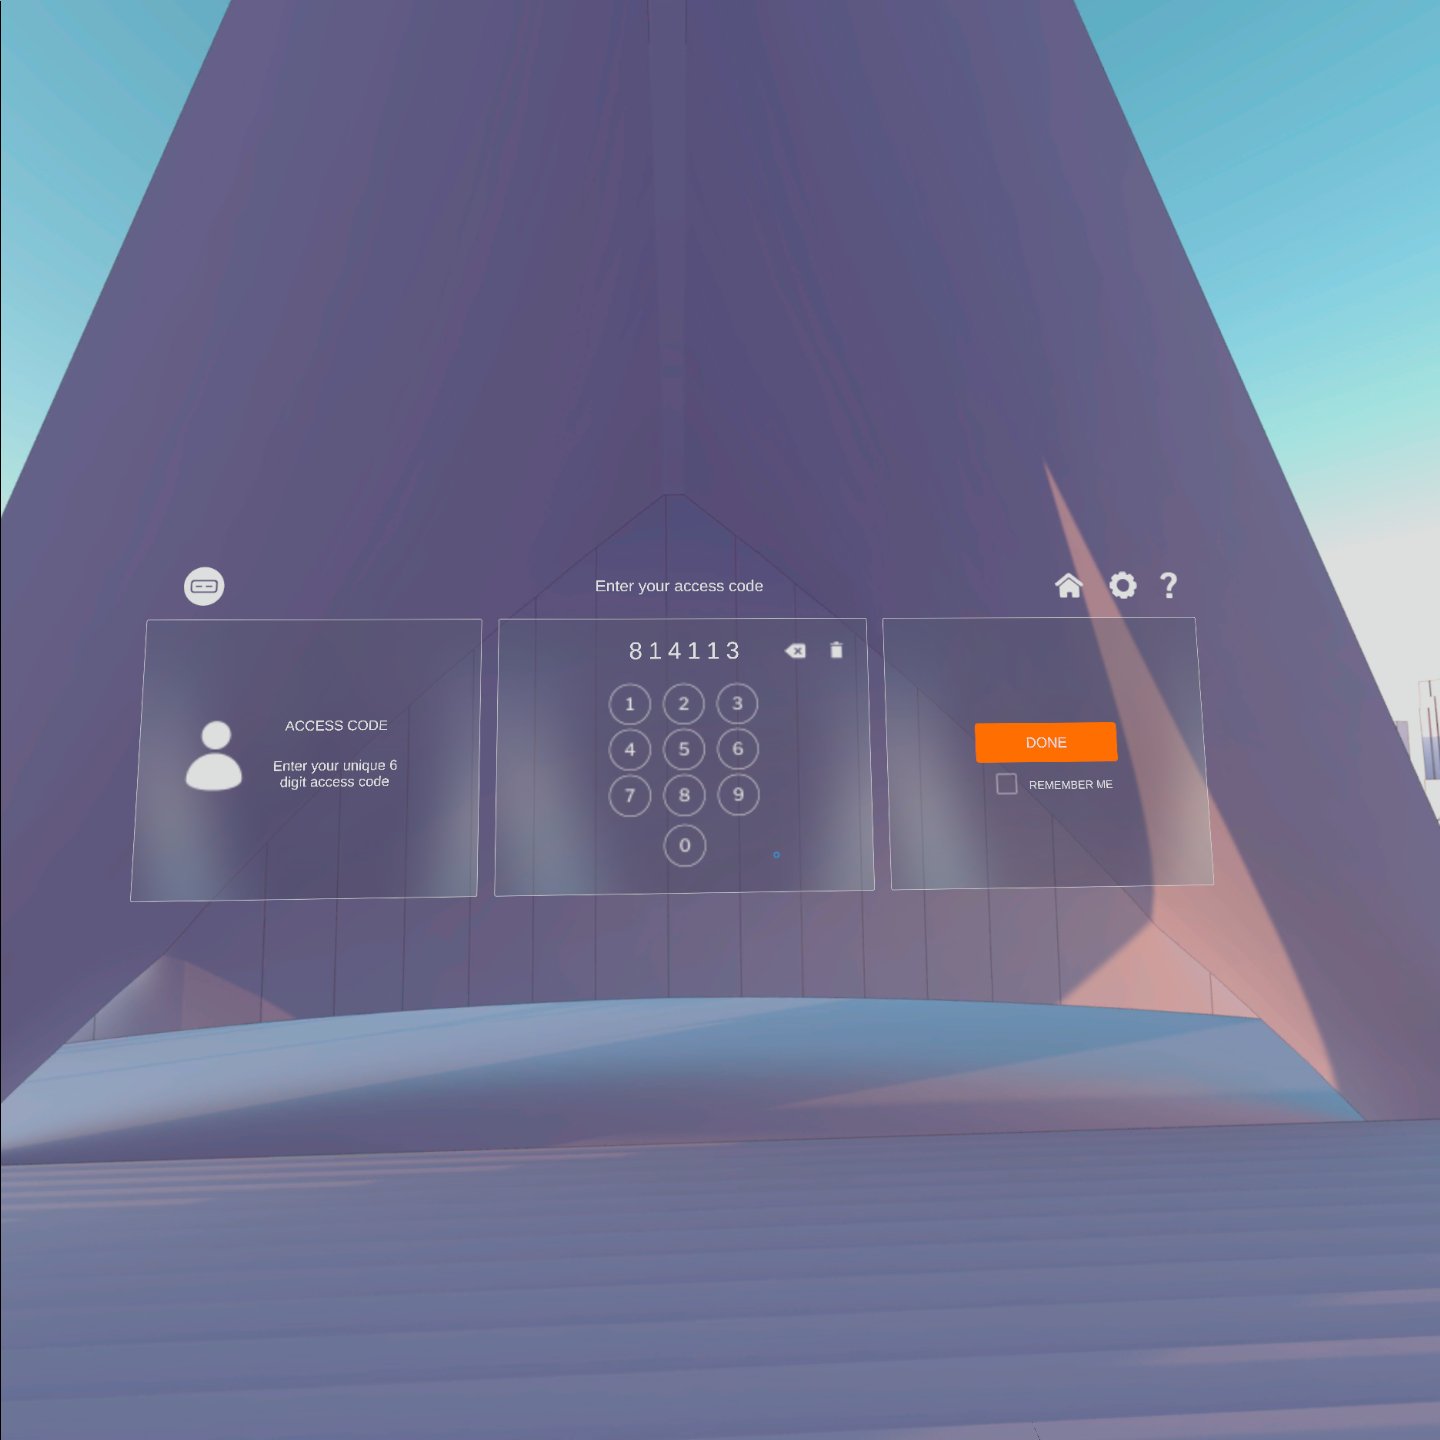
6. Note your 6-digit code and view in Meta Quest
- Open the SENTIO VR app on your Meta Quest headset.
- On the we portal, note the 6-digit access code
- Enter this code in your SENTIO VR app
- Select your project and start viewing the 360 tour in VR.