
360 images using Vray for Revit
How to create 360 images using V-Ray for Revit?
Step 1: Prepare your 3D model
Before you start rendering, ensure your 3D model is ready in Revit with all the necessary details such as lighting, textures, etc
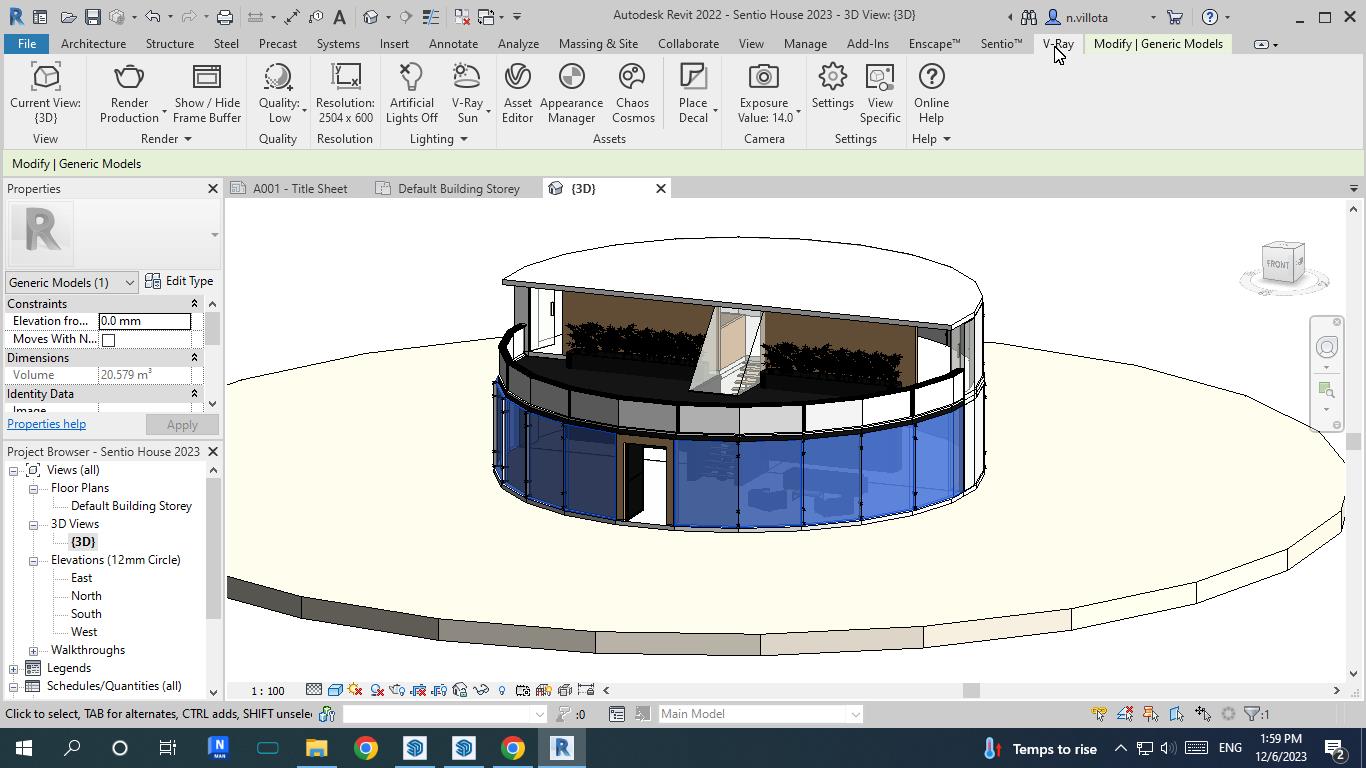
Step 2: Setup the 3D views

Step 3: Open the Render Setup Tool from V-ray
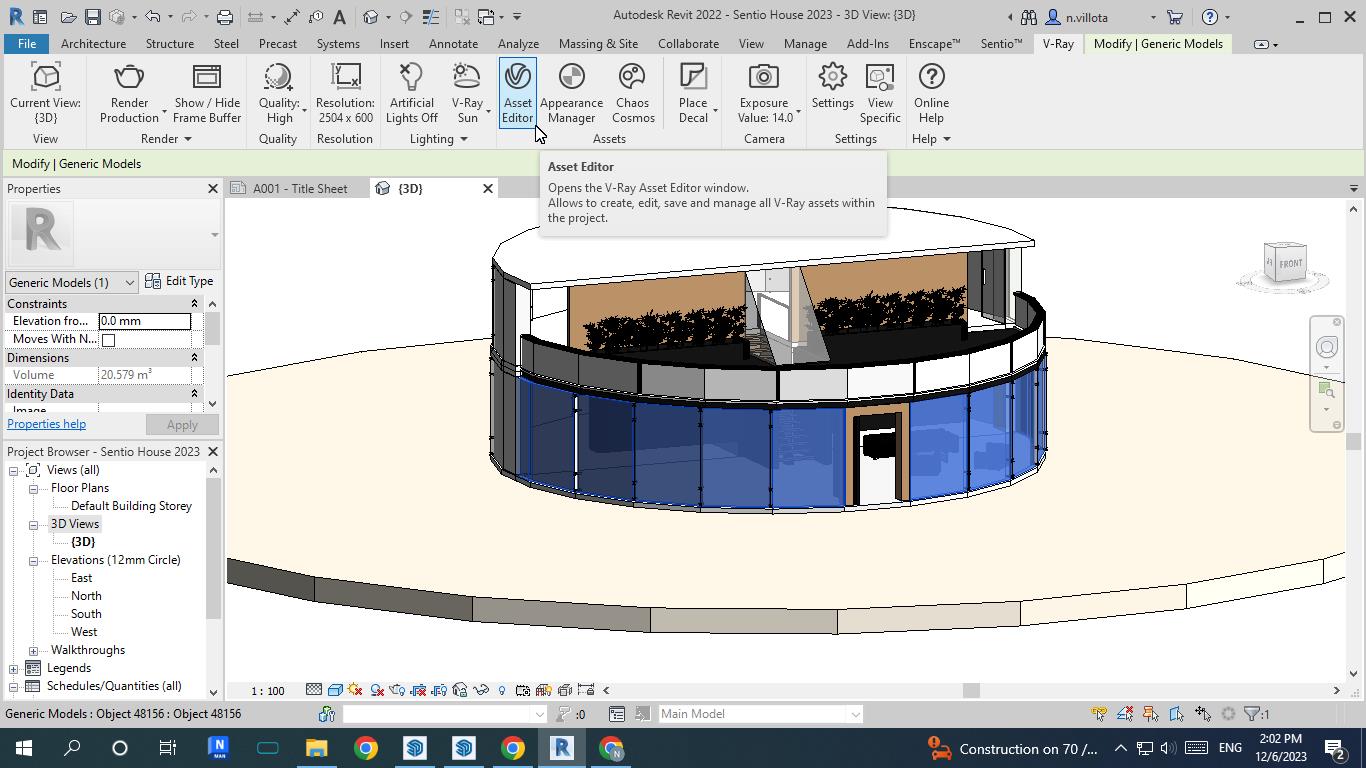
Step 3.1: From the V-Ray Asset Editor Setup Camera (Spherical)
Select the type: VR Spherical Panorama or VR Cubemap
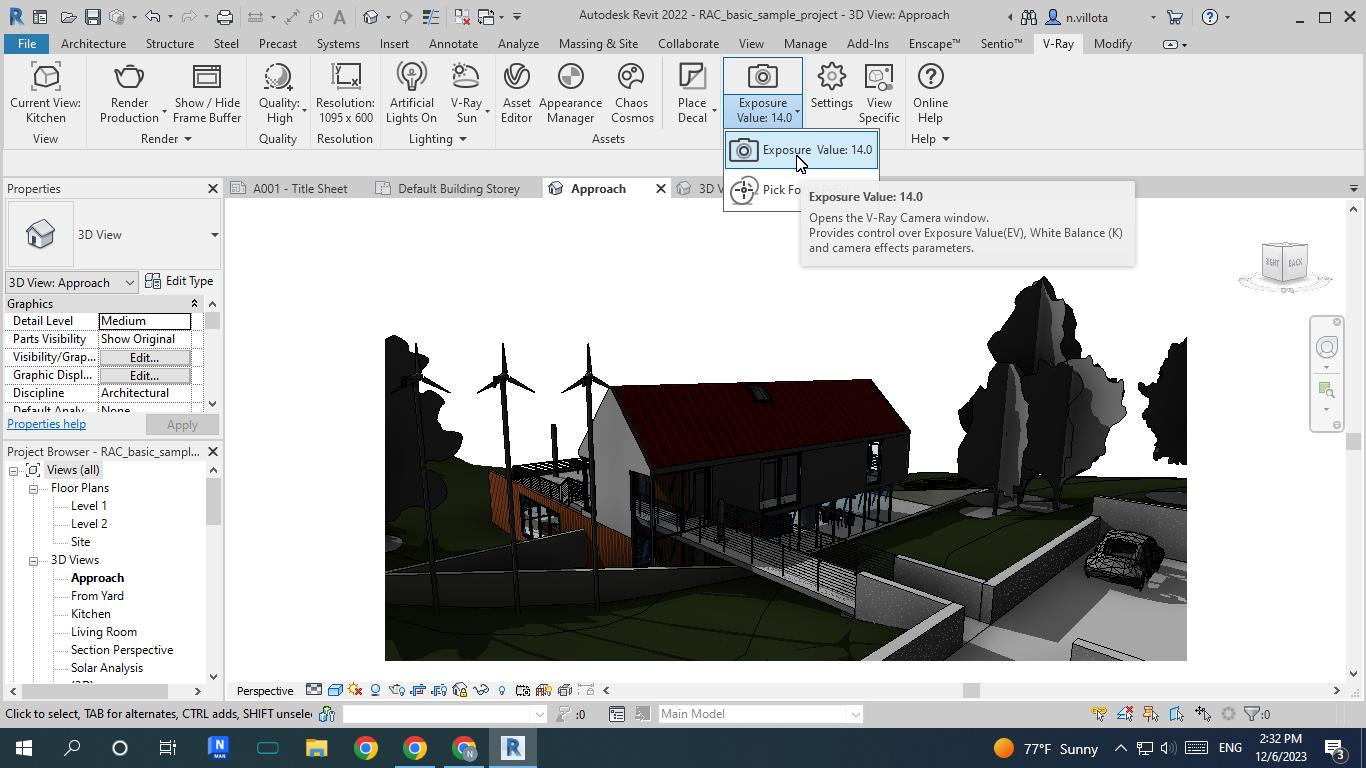
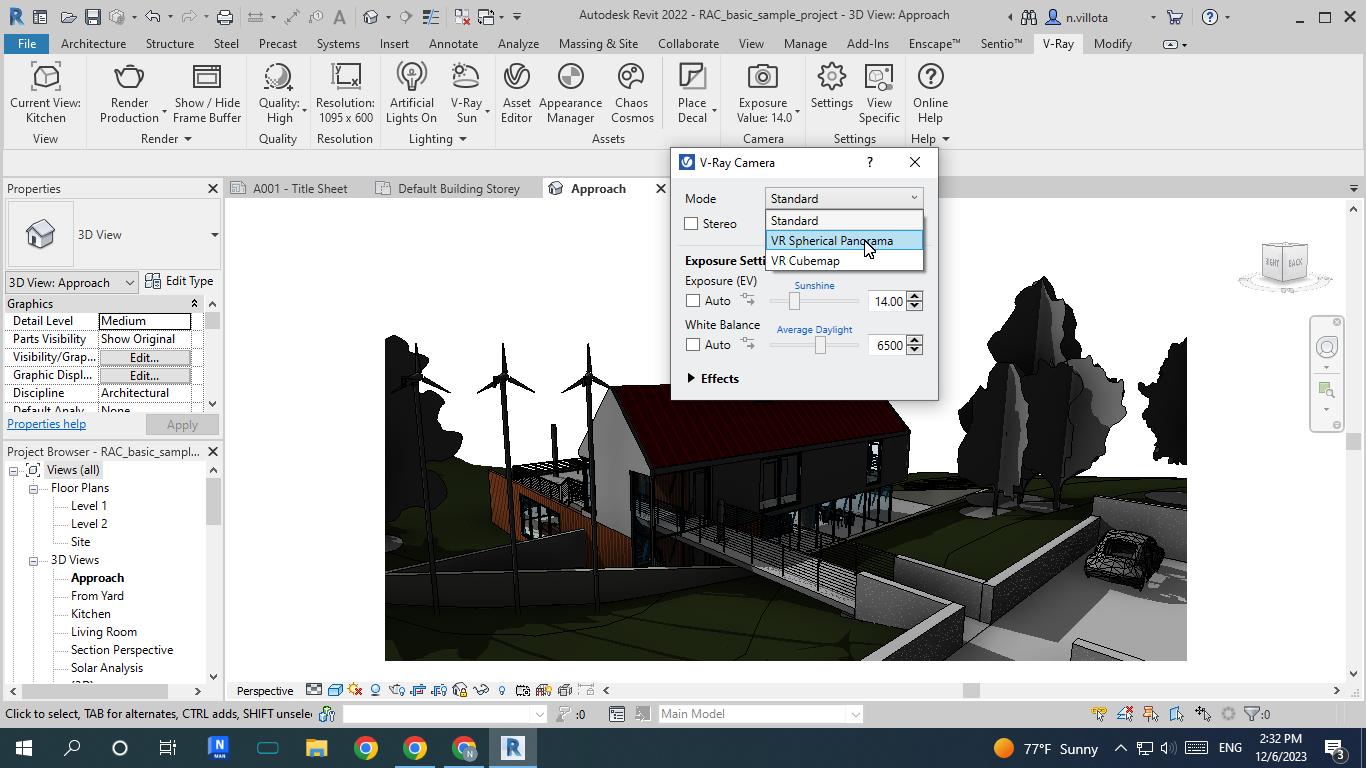
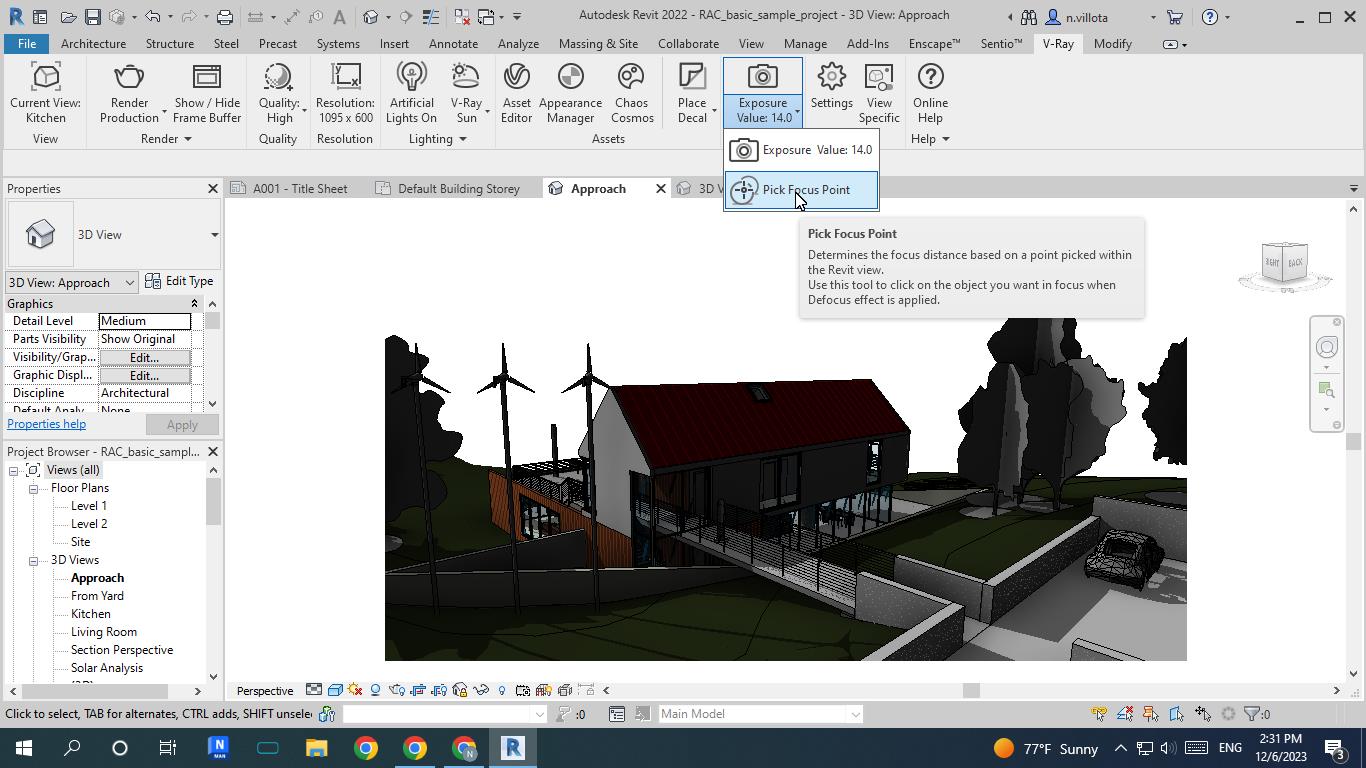
Note: If you have blocked the mode to choose spherical or cubemap your camera and you find a important icon and you can not change because you have only standard view, check this msg> from chaos vray When the current view is set to an ortho 3D view, the Mode is locked to Standard Camera, while VR Spherical Panorama and VRCubemap are unavailable, change the view or click on pick focus point
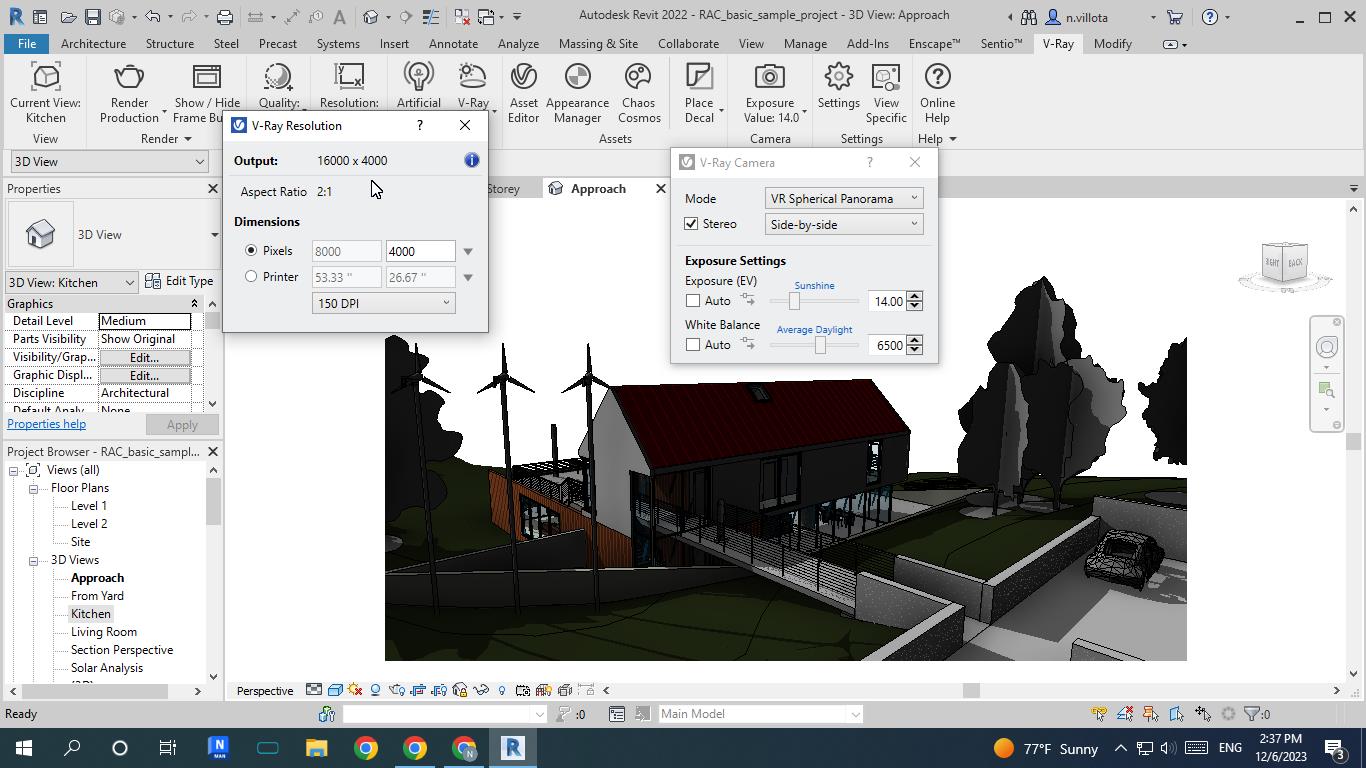
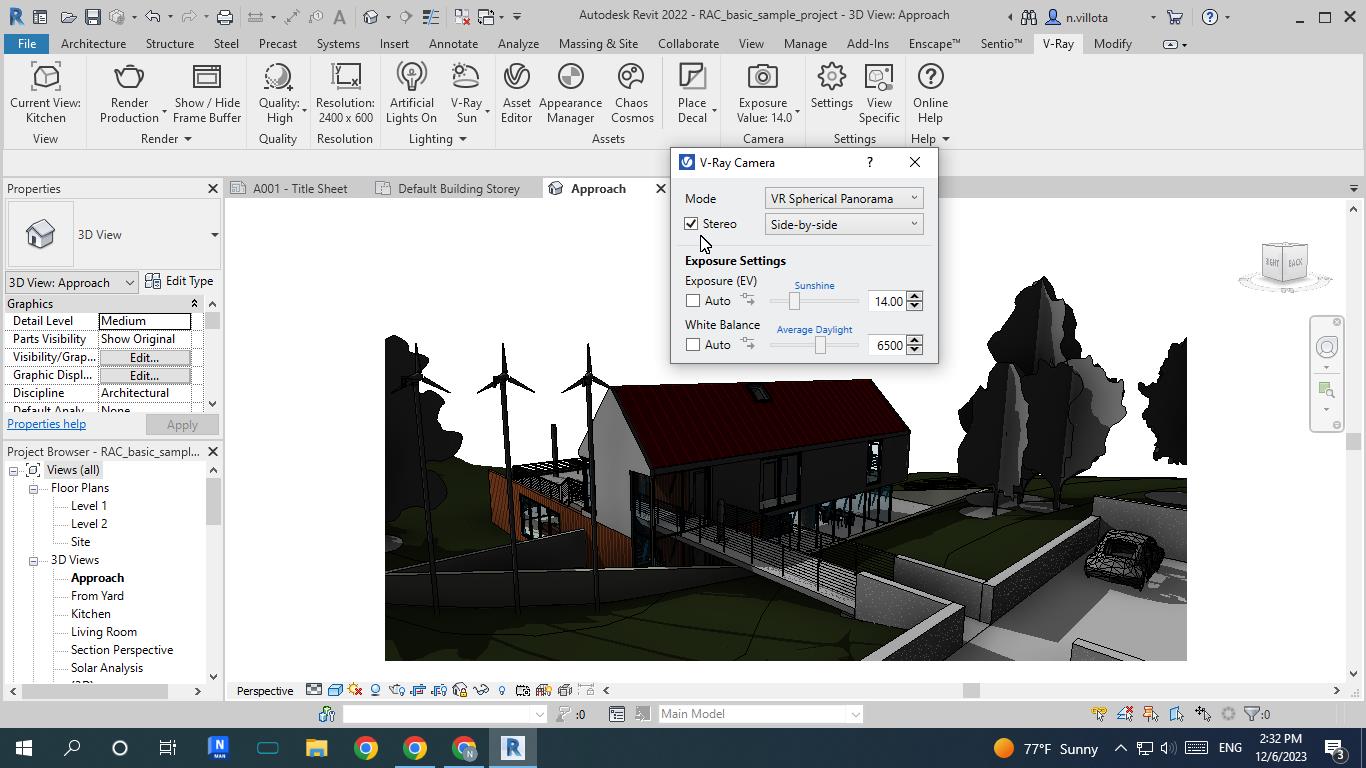
Step 3.1: From the V-Ray Asset Editor Setup Camera (Stereospherical)
Select the type:VR spherical panorama or VR cubemap and then activate the option “Stereo”
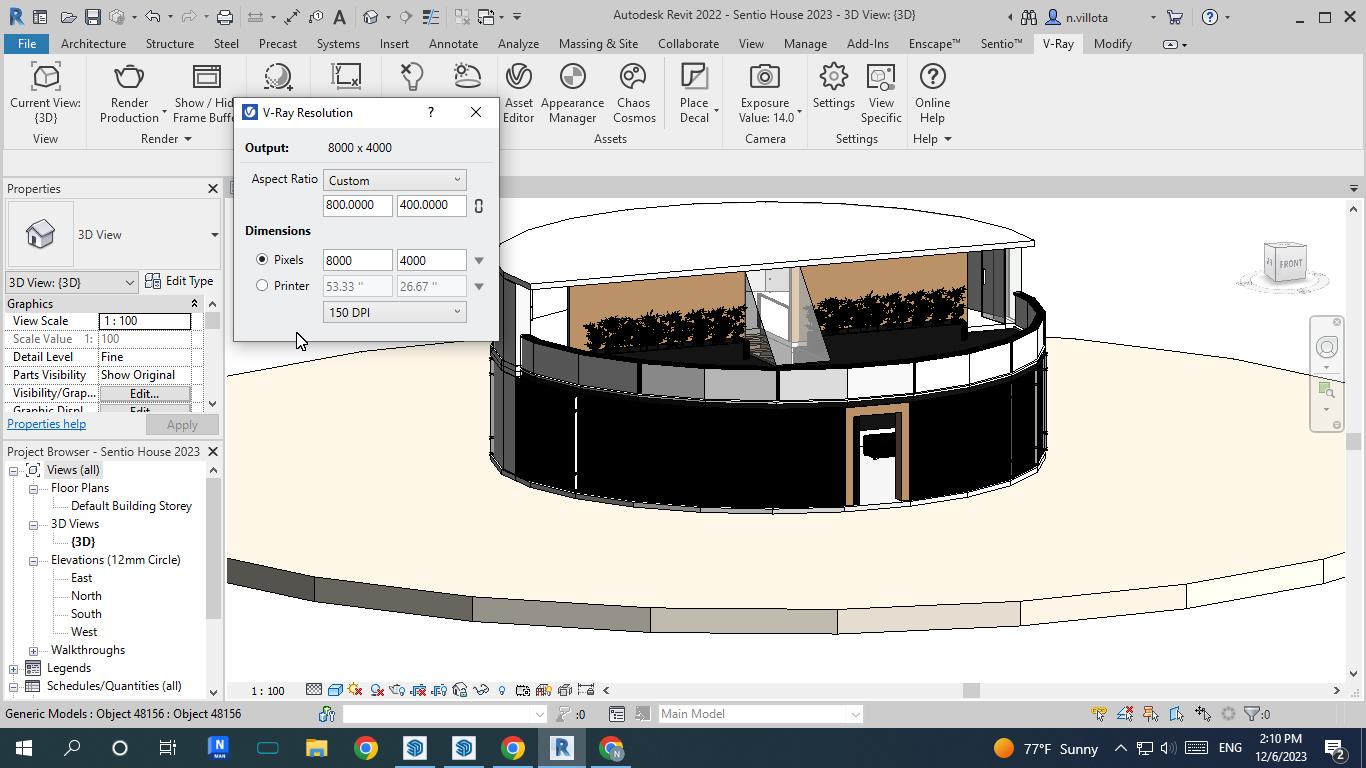
Step 3.2: From the V-Ray Asset Editor Setup Render Output, set the image “Width & Height” (Spherical)
Select render size (we recommend 8000x4000)
Step 3.3: Click on Render

Spherical rendering
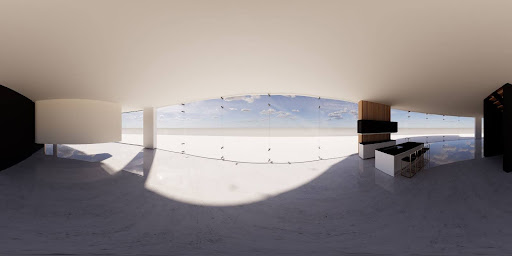
Spherical Panorama
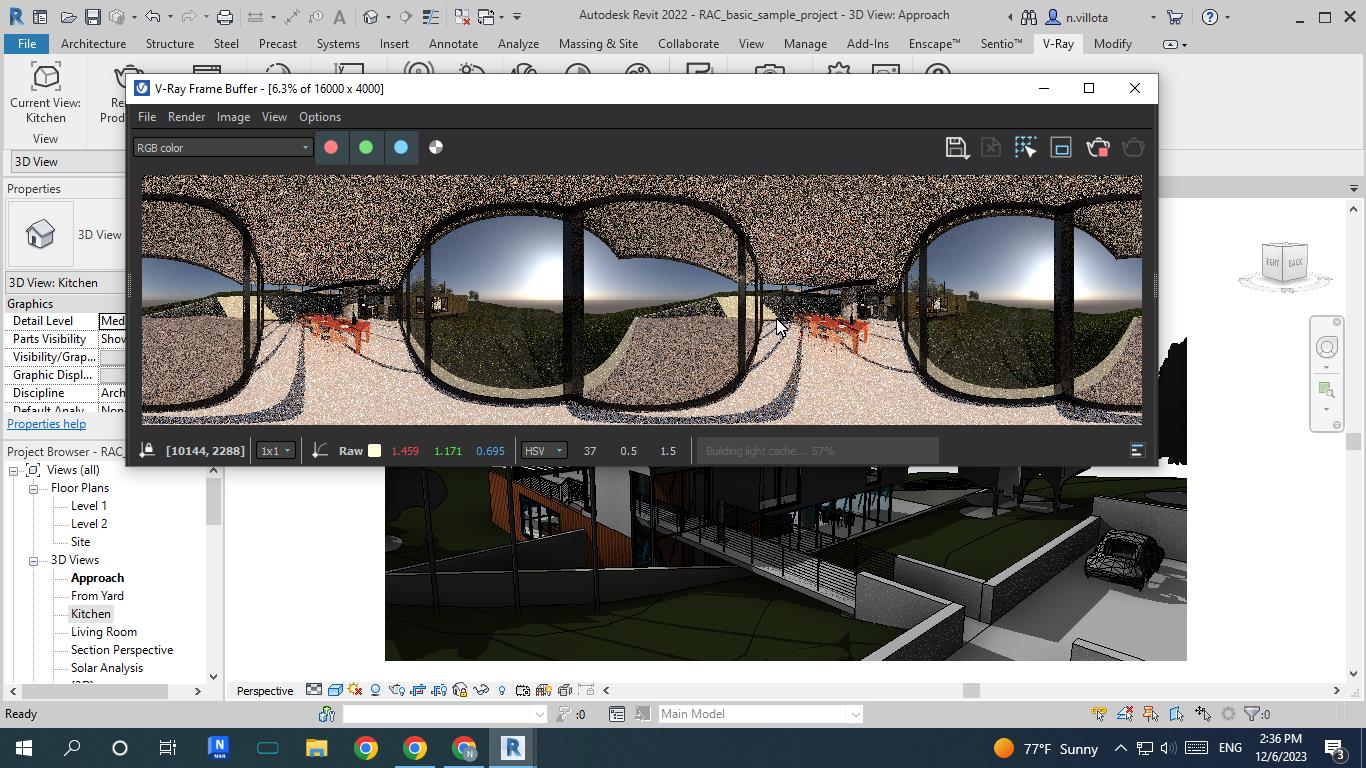
Stereospherical rendering
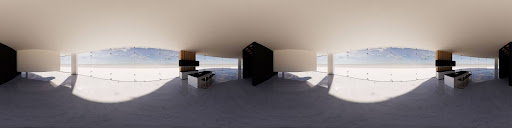
Stereospherical Panorama
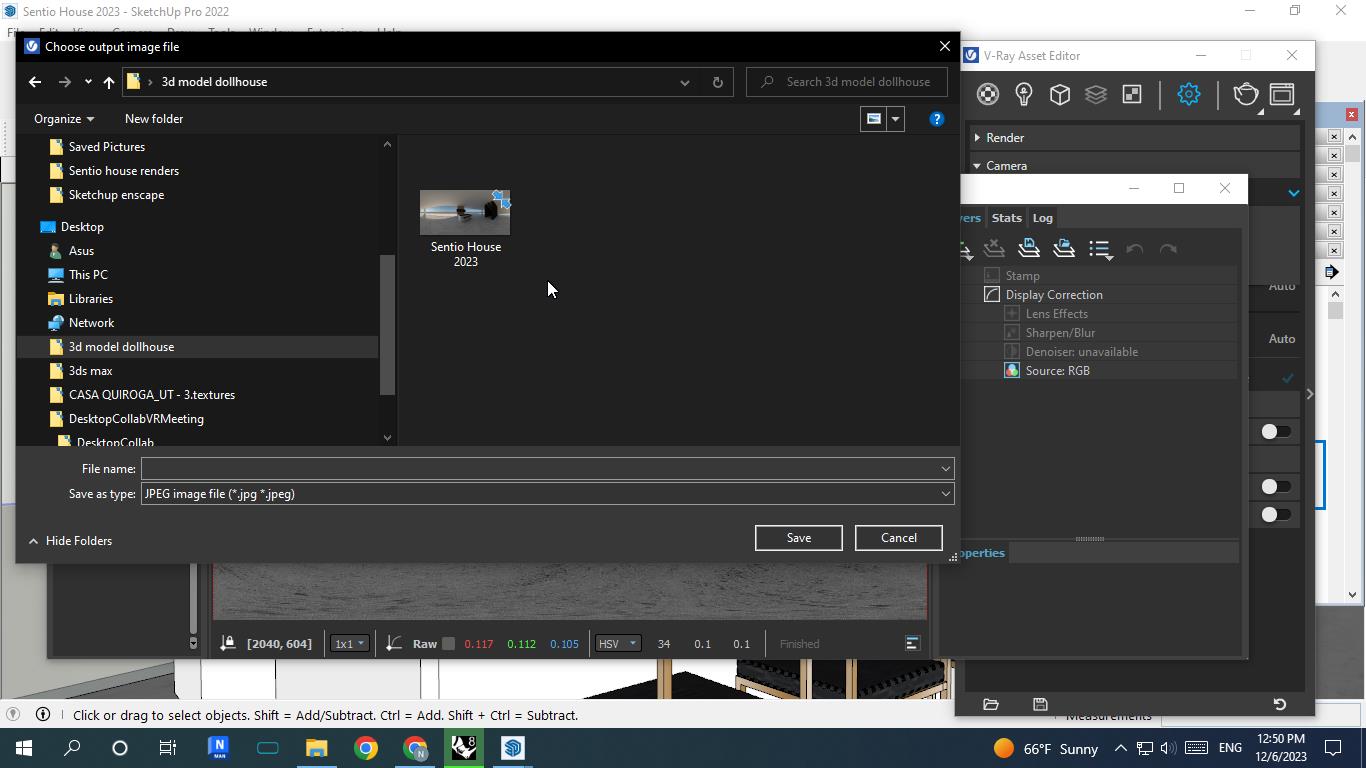
Step 4: Save your render on the desktop
Updated 19 days ago