
360 images using Vray for 3Ds Max (Spherical)
How to create 360 images using V-Ray for 3Ds Max (Spherical)?
Creating 360 image using V-Ray for 3Ds Max is very simple. Here's a step-by-step tutorial
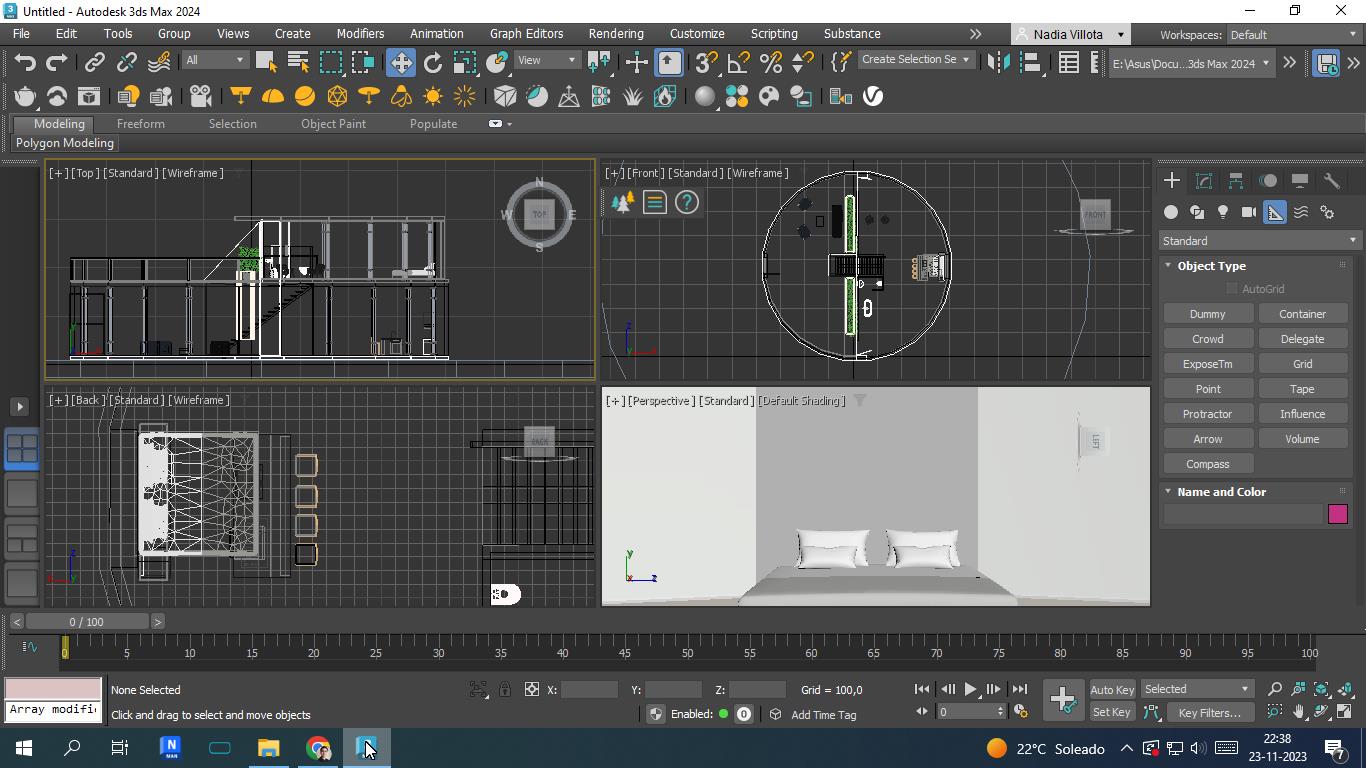
1. Prepare your 3D model
Before you start rendering, ensure your 3D model is ready in 3ds Max with all the necessary details such as lighting, textures, etc
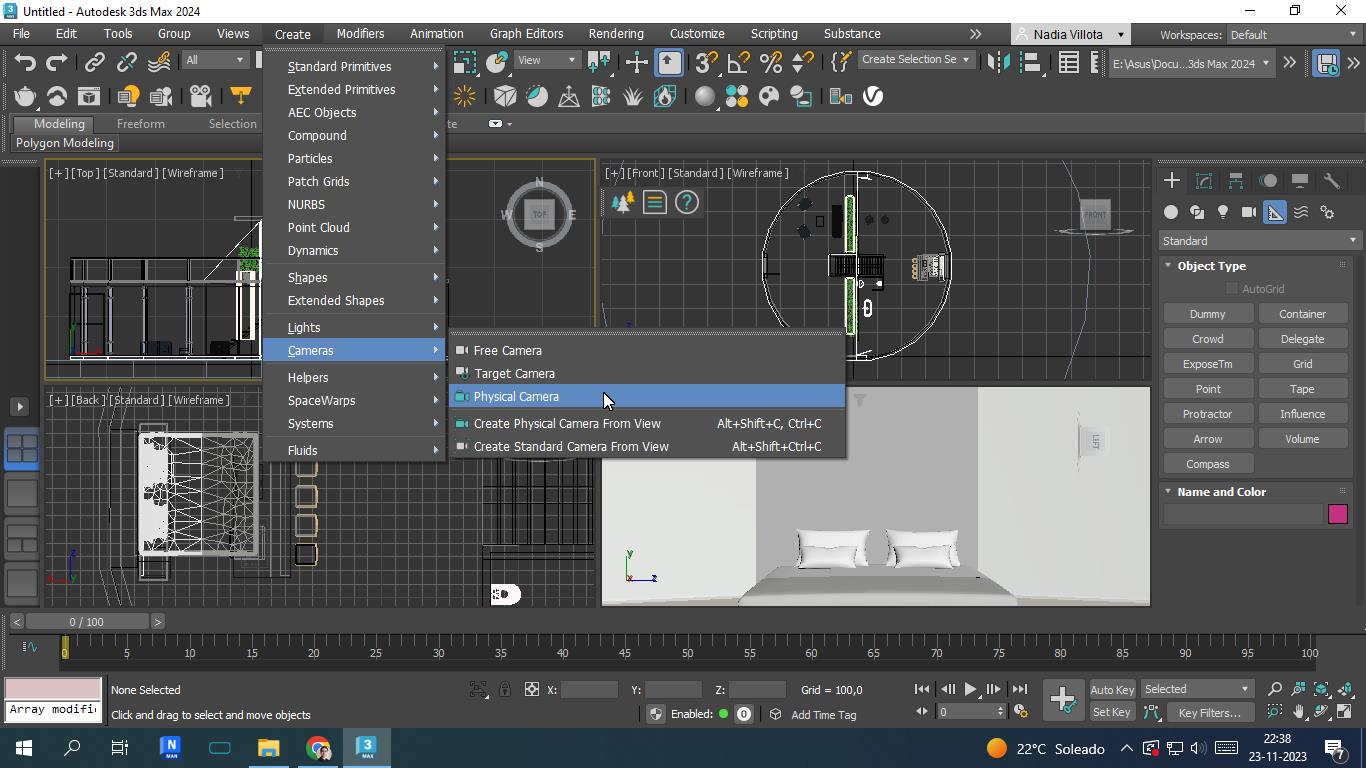
2. Setup the Vray Camera
- Open the scene in your 3D software (3Ds Max)
- Add a Vray camera (Physical camera) to your scene, in most cases, this can be done through the menu Create> Cameras > Physical camera or the other option is Create menu > Cameras > V-Ray > VRayPhysicalCamera
Step 2.0: Camera height and position
- Position the camera where you want the center of your 360 panoramas
- Place the camera height at 1.6mts (standing) or 1.2mts (sitting)

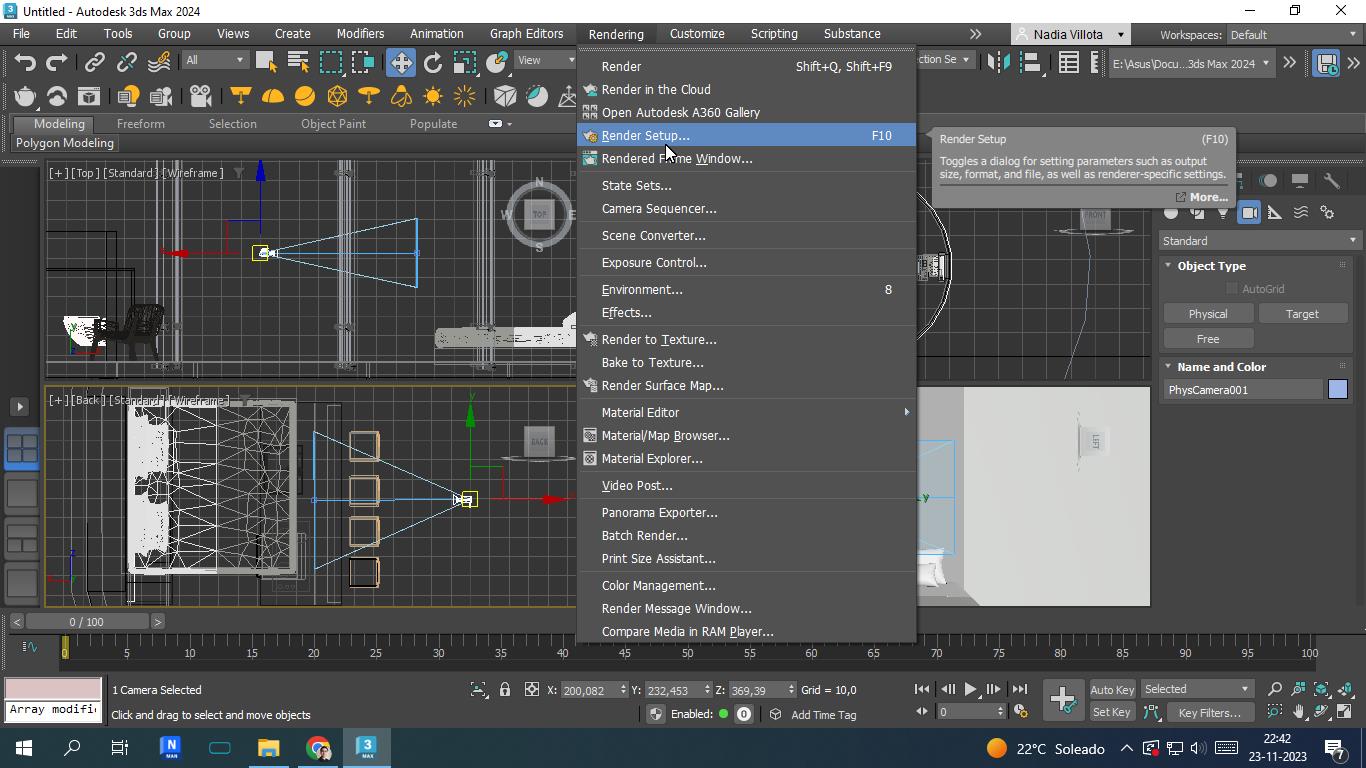
2.1 Open the Render Setup Tool
After clicking on Upload Management, you'll find an option to save your Panoramas as files on your PC
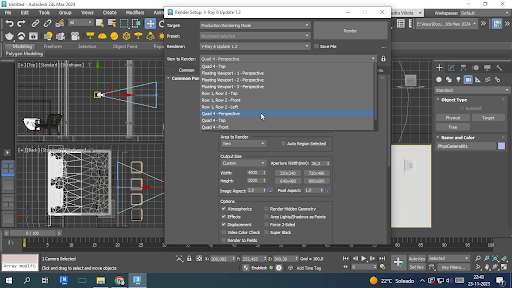
2.2 Choose the view to render
Select “View to Render” and choose the physical camera created previously
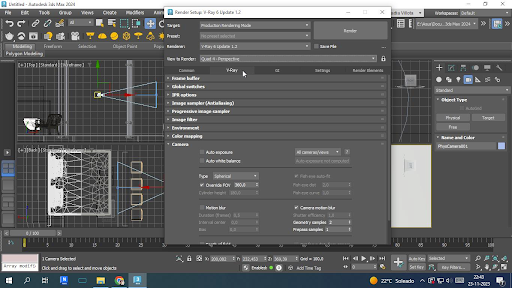
2.3 From the V-Ray tab, choose Camera
Change on Type as “Spherical” and FOV as “360”
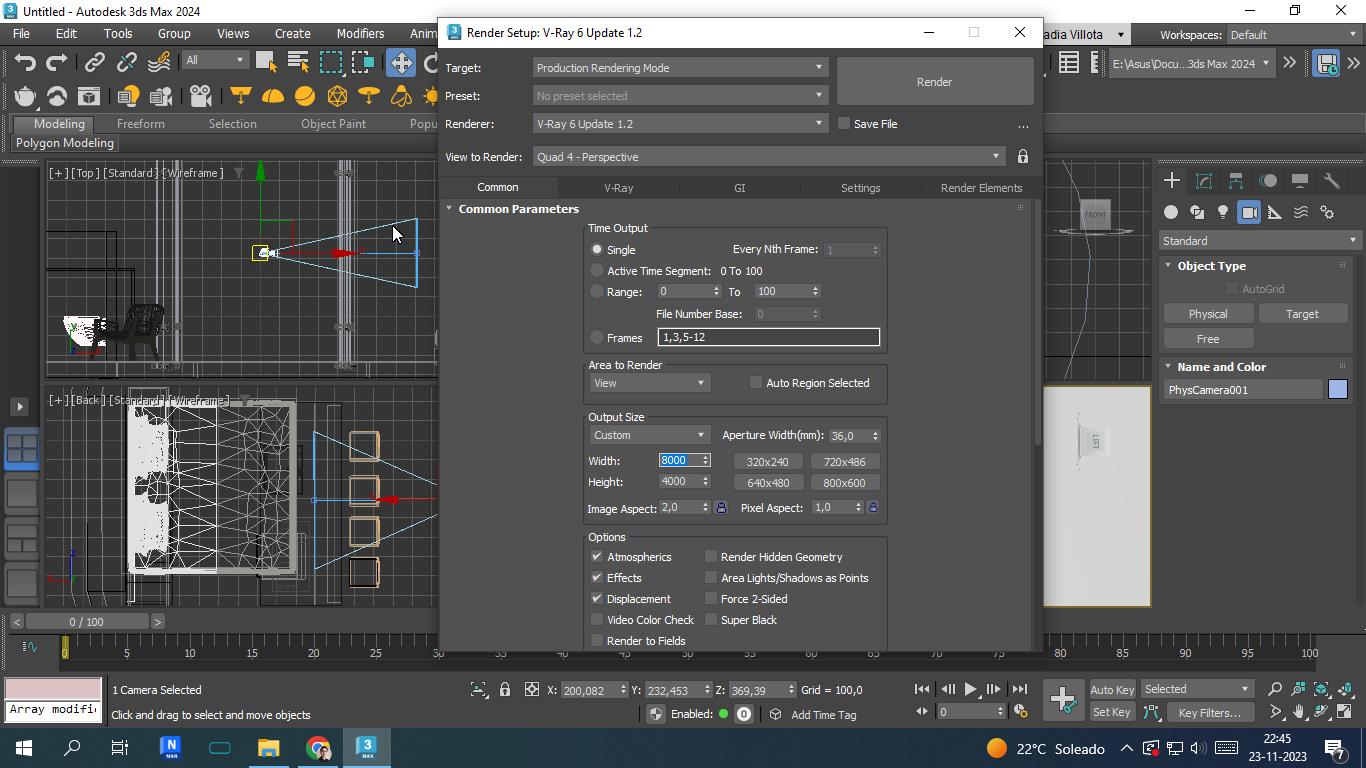
2.4 From the Common Tab, set the image “Width & Height”
Select size of the render (we recommend 8000 * 4000)
2.5 Click on Render
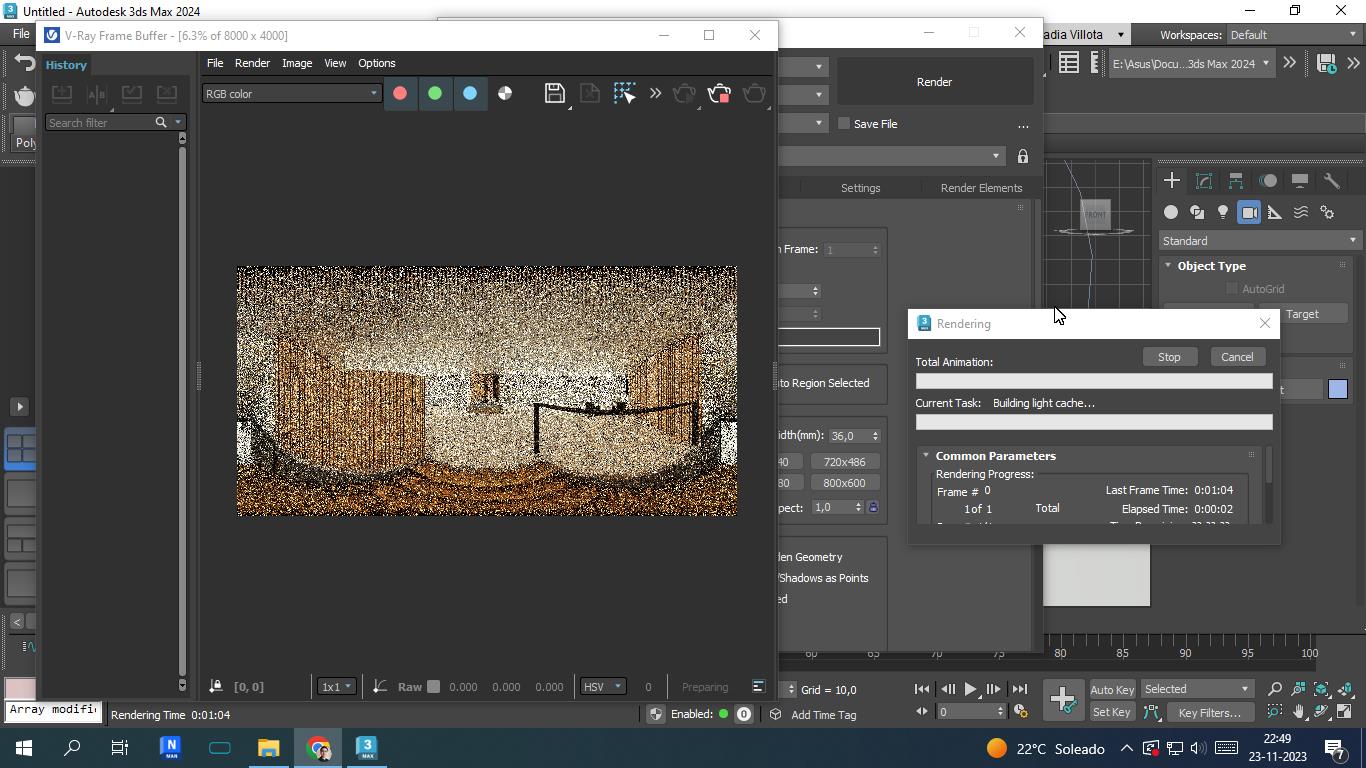
2.6 Save your render on the desktop

Updated 5 days ago