360 images using Autodesk Revit
How to create panoramic renders from Autodesk Revit ?
In case you use Autodesk products such as Revit or 3DS Max, you can use their cloud service that allows fast rendering while you can continue working. Get more information on it here

Click on the image to download this sampler!
First of all, to Render on the Cloud you will need to have an Autodesk 360 account, through this link:https://www.autodesk.com/#
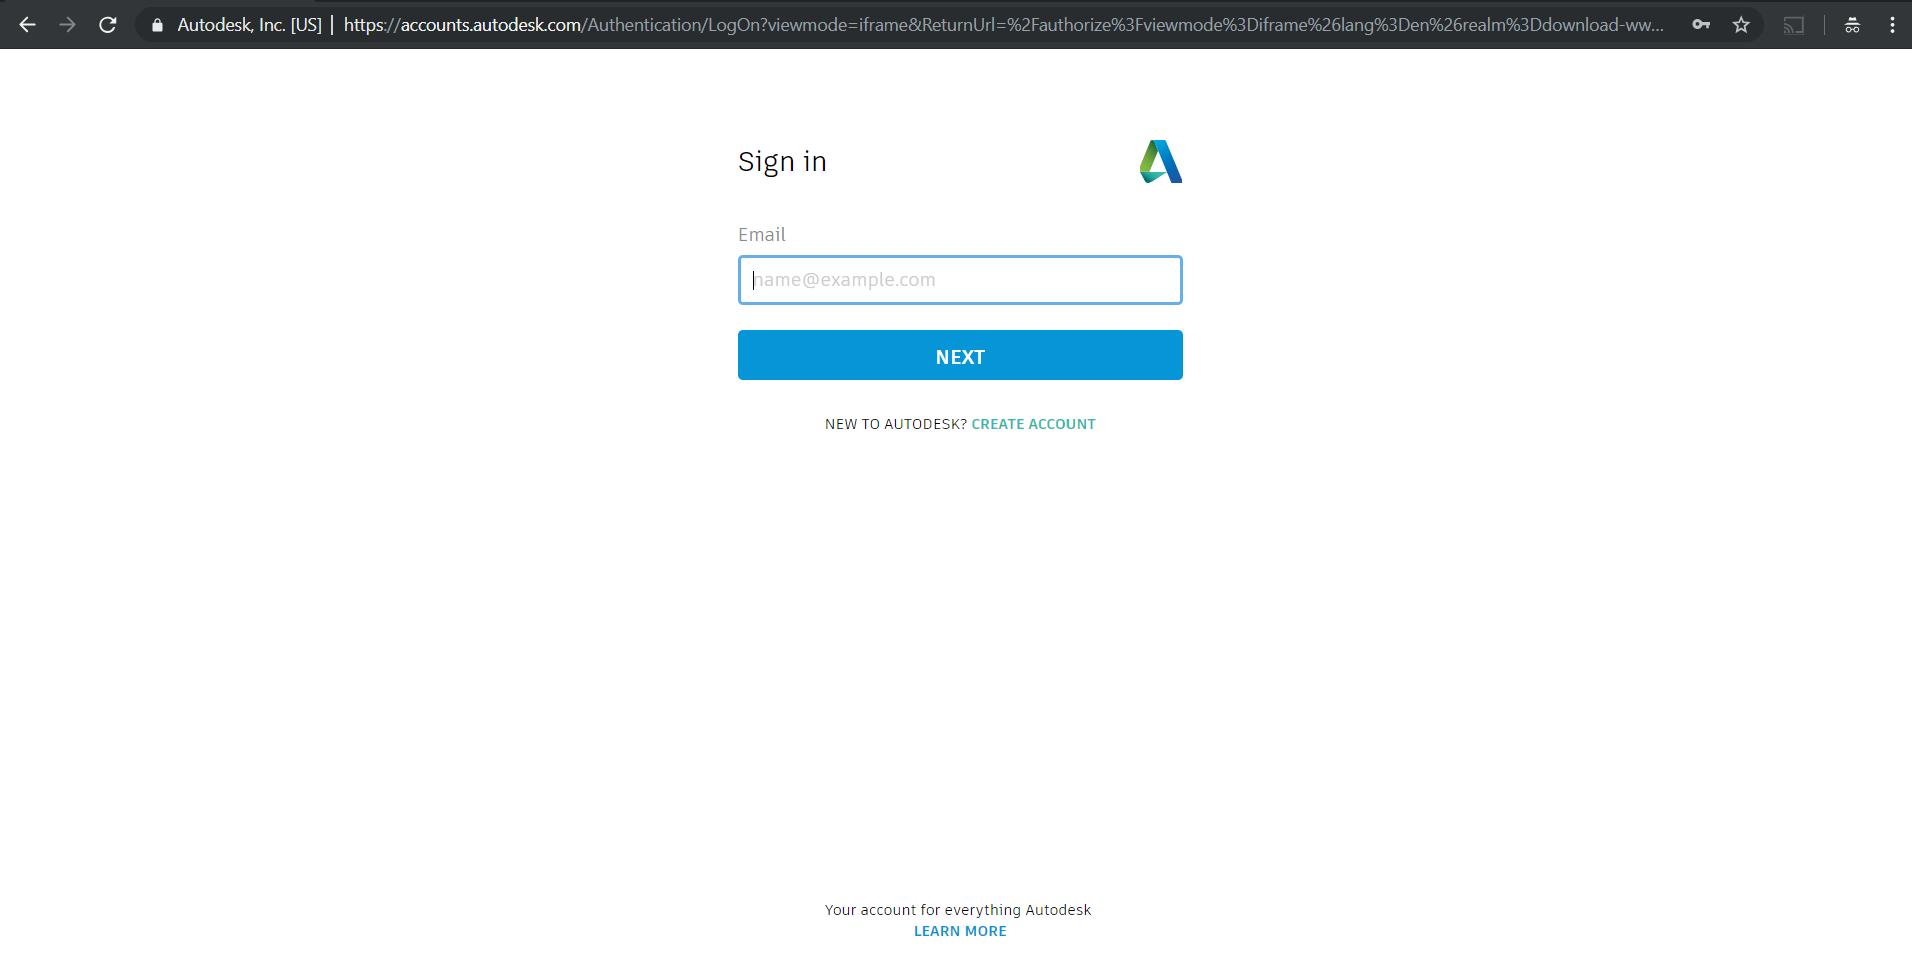
Once you are registered, or if you have already an account, Sing Up.
In Revit, you will need to open the 3D Model that you want to take 360 renders from, as the one showed in the picture.
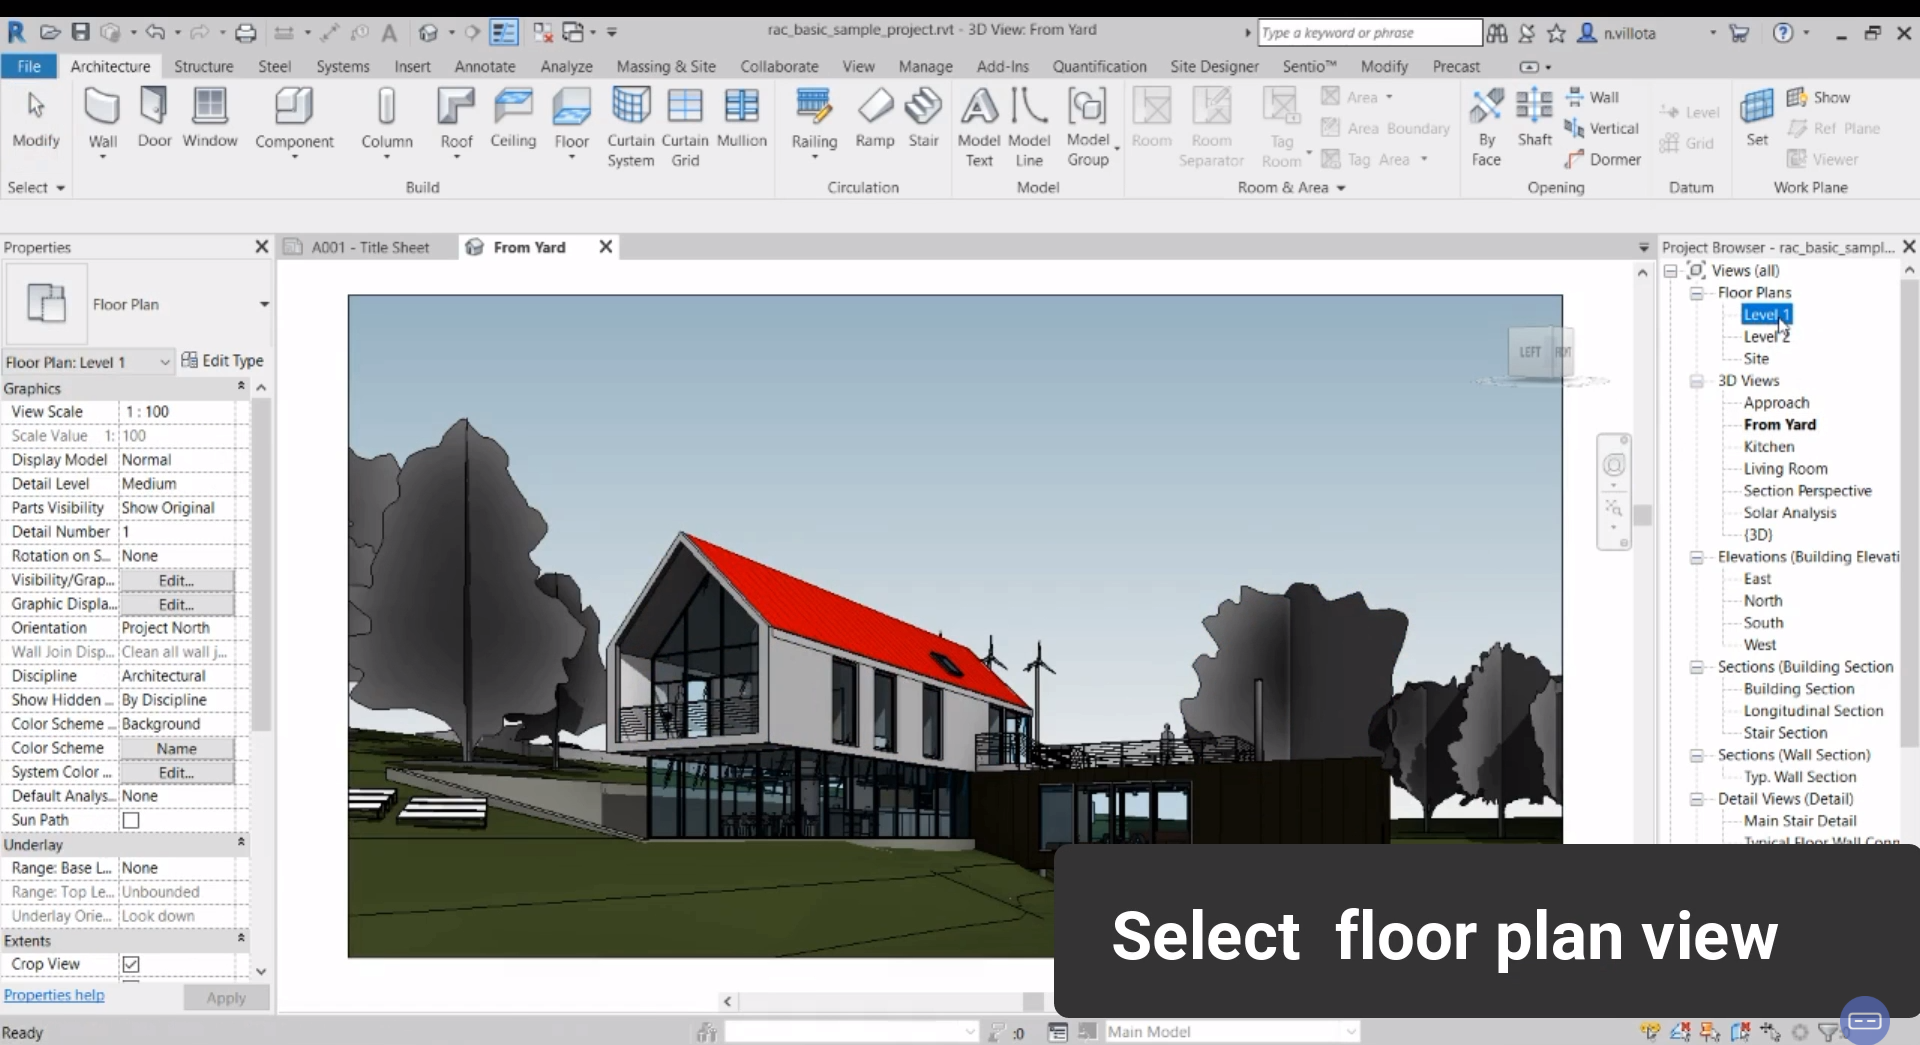
Then is time to Locate Cameras. Click on 3D View, and then Camera.
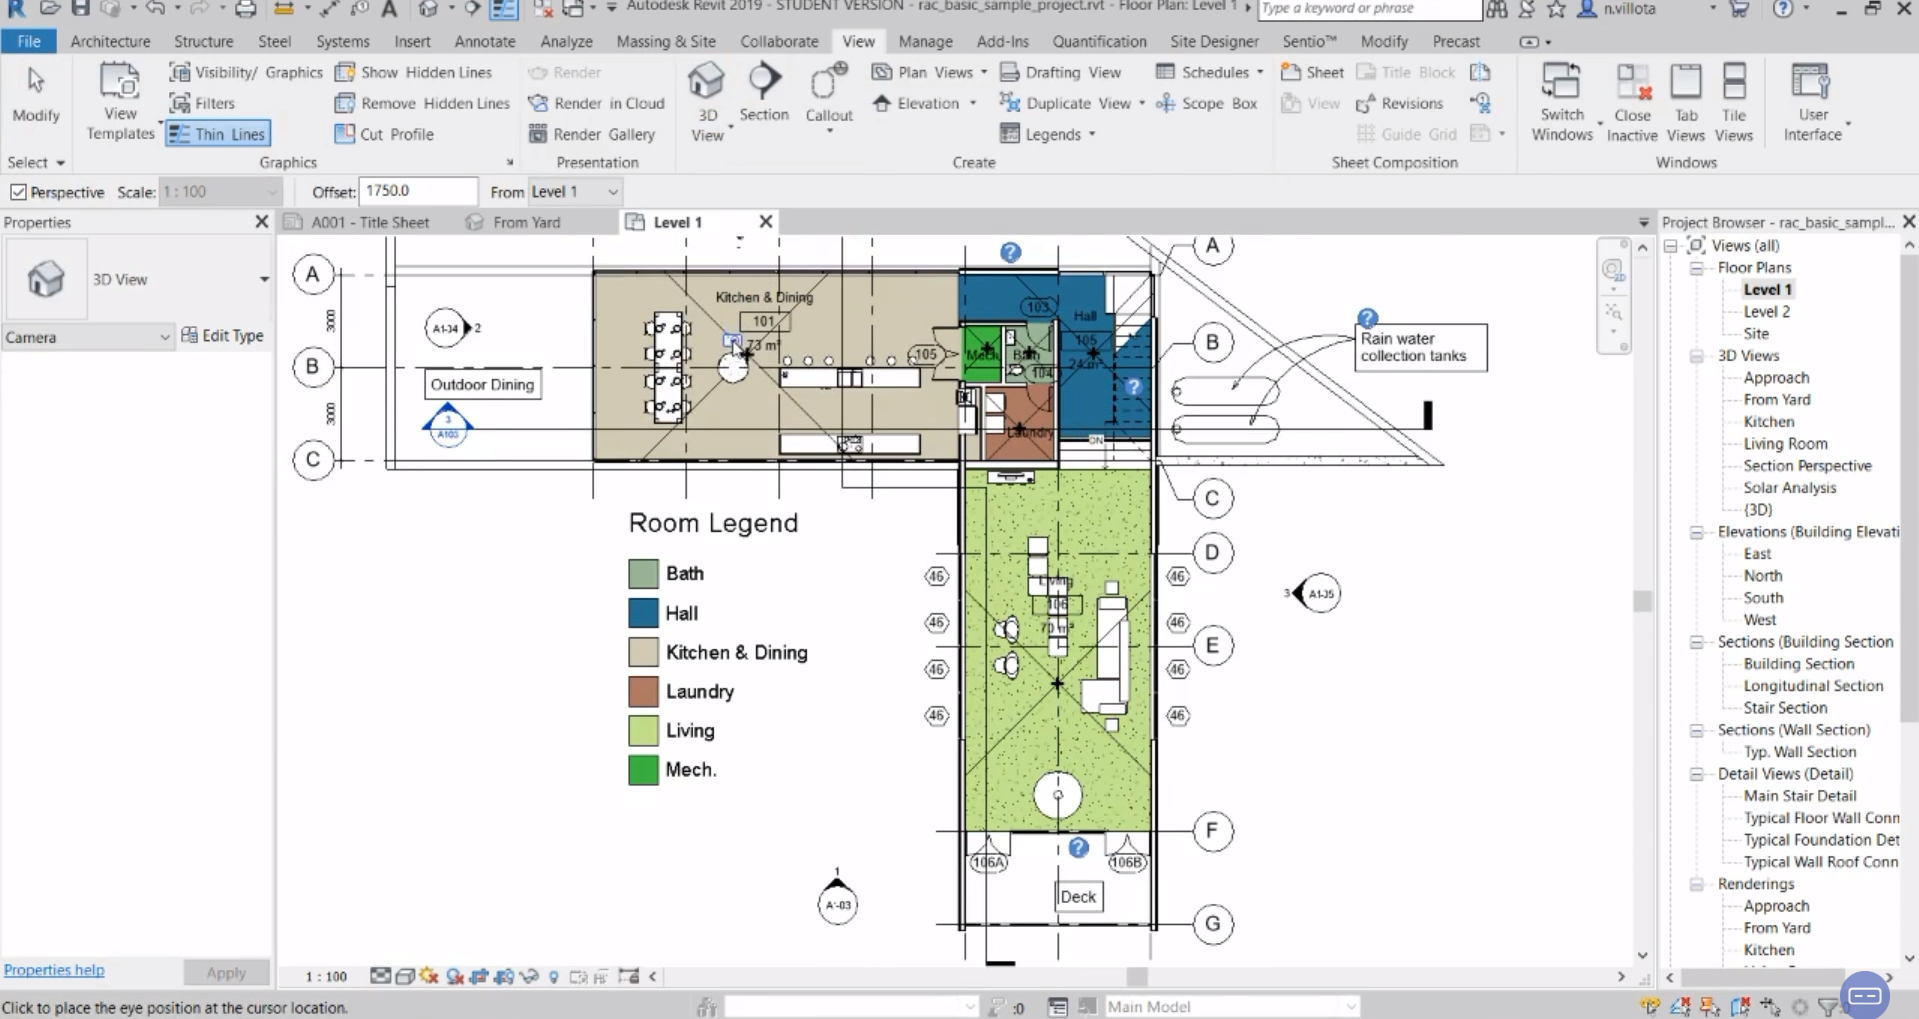
For this, go to one of the Floor Plant on the left side of your screen.
Position the camera, click on the area and drag it where you want to focus.
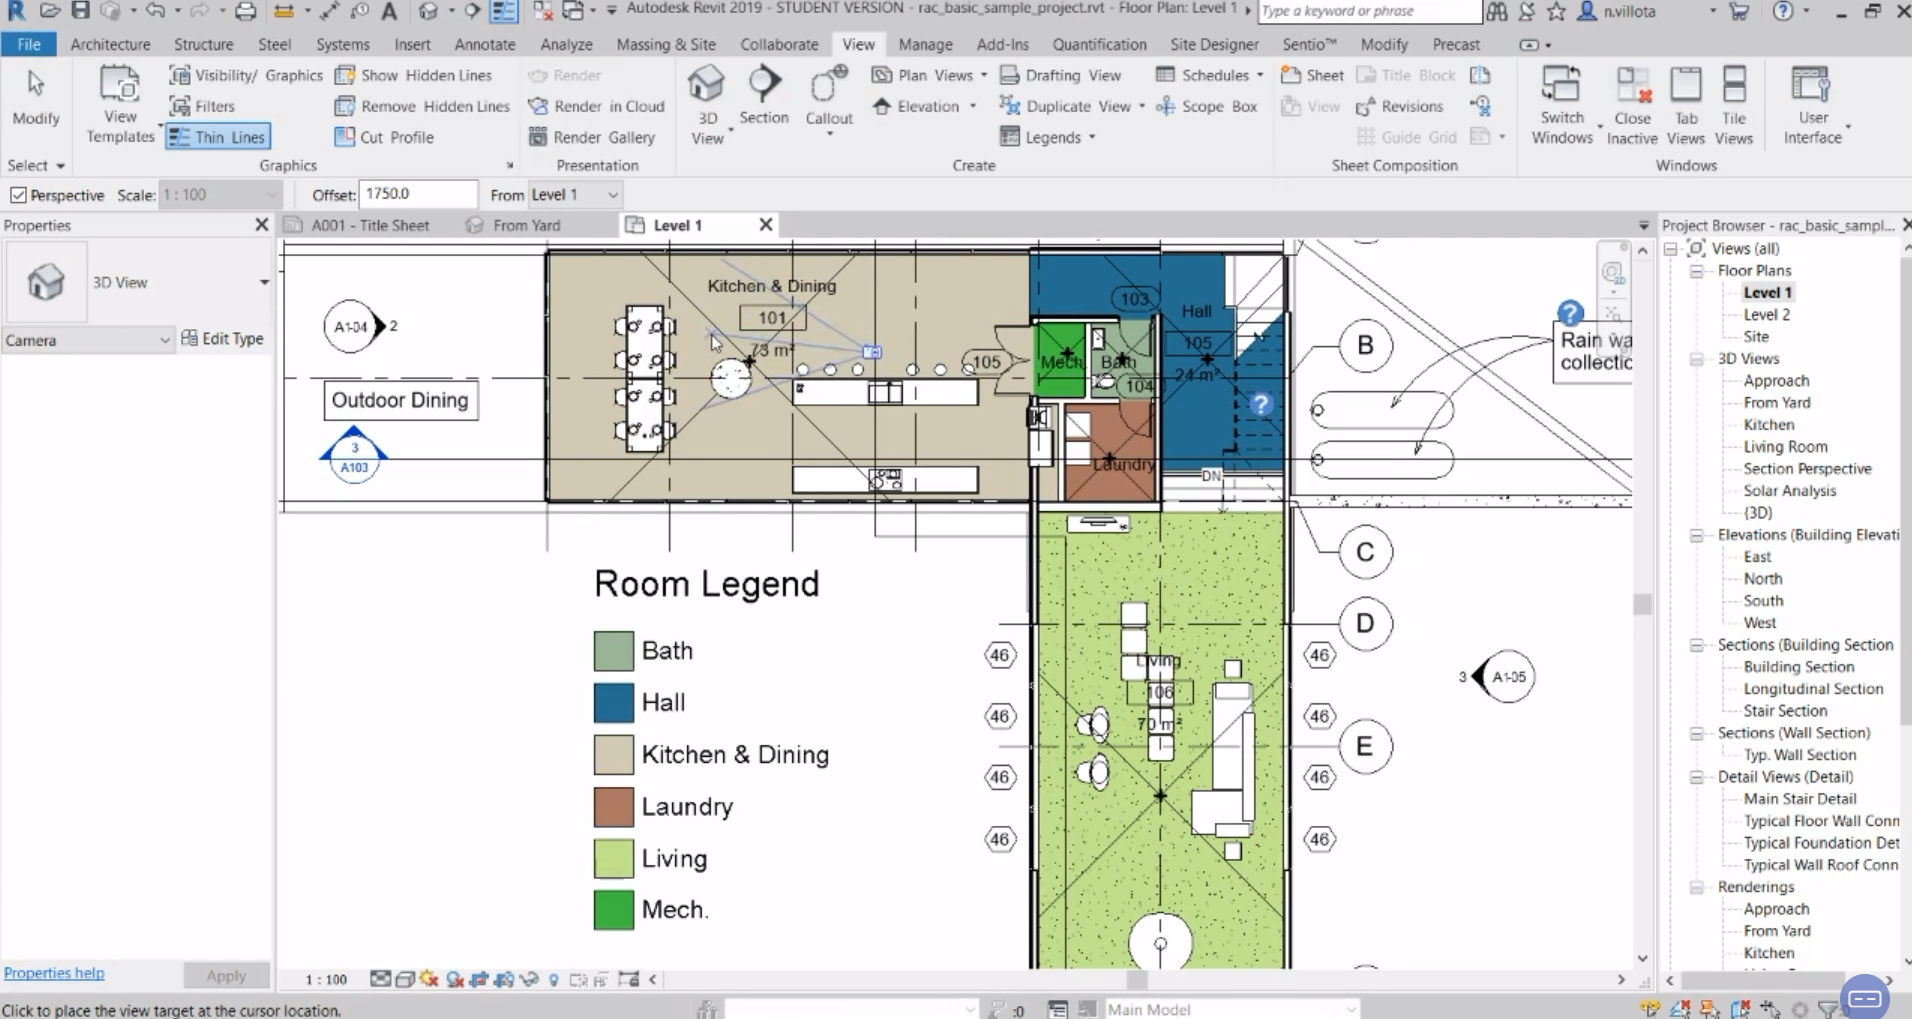
A new window, with your first camera set up, will show up.
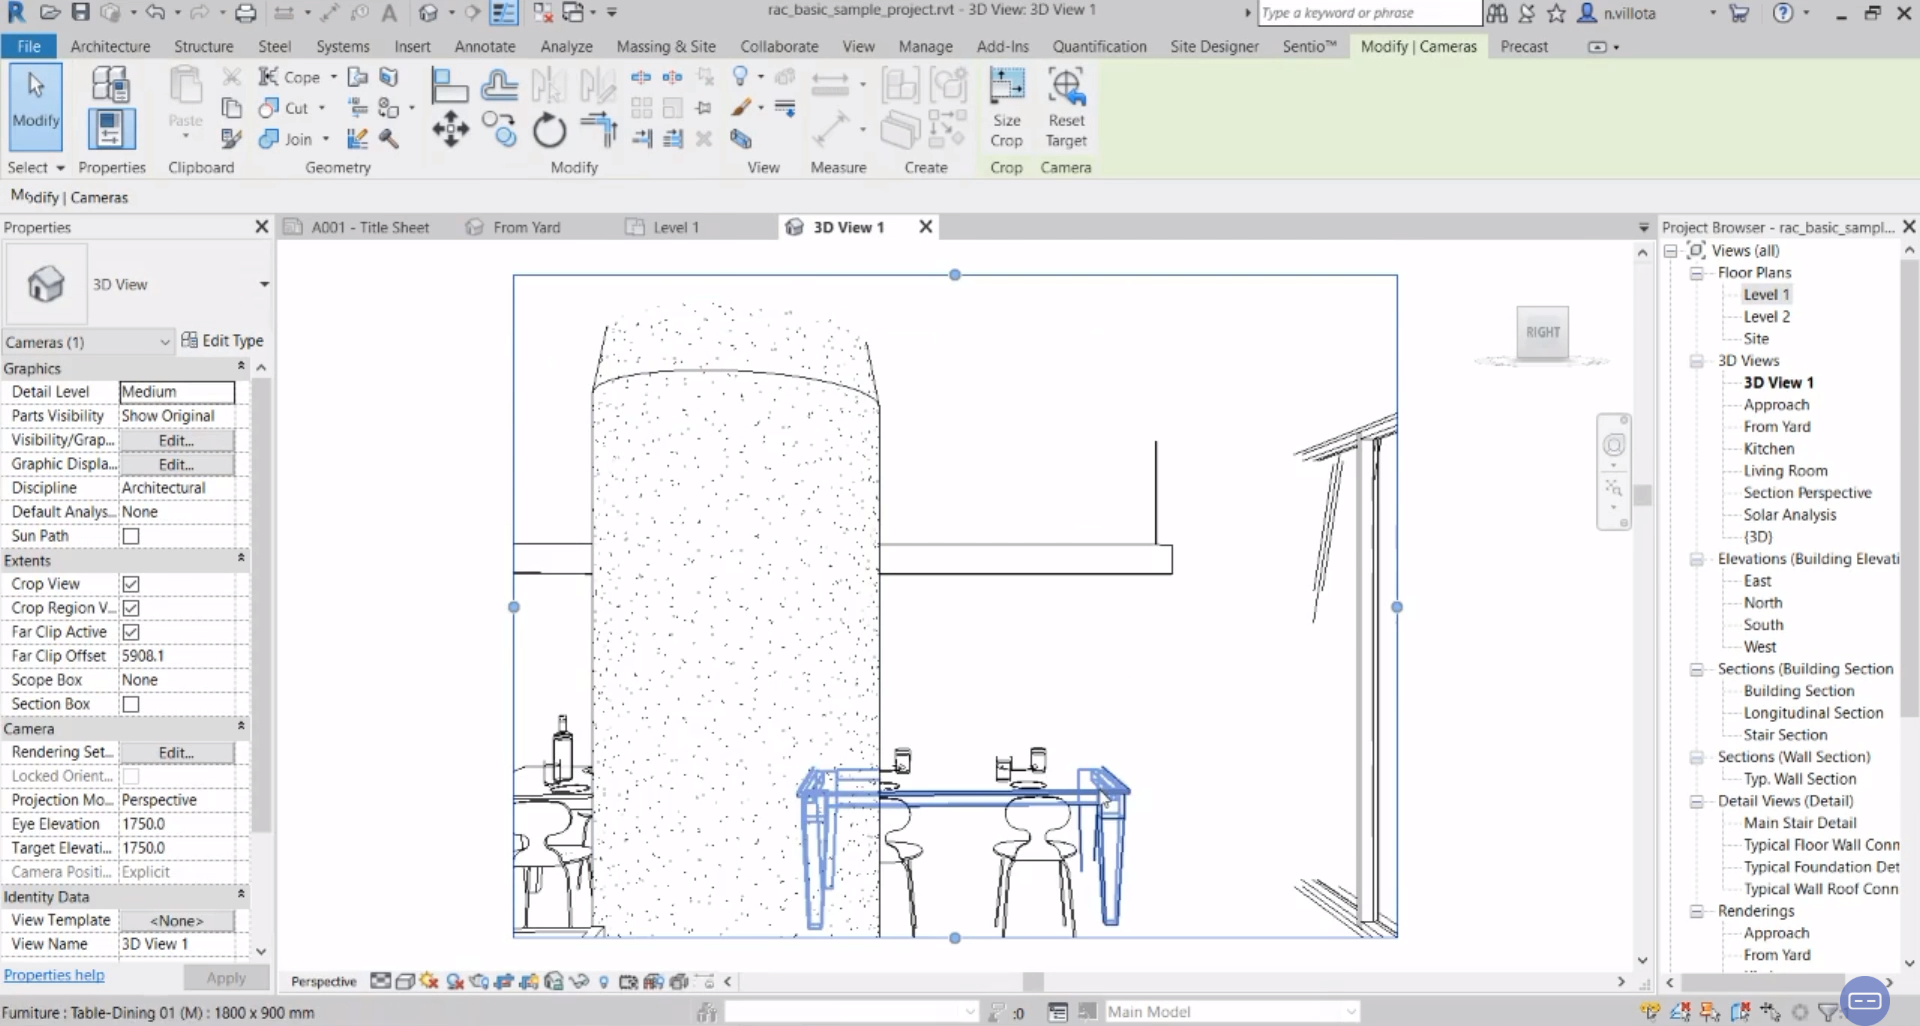
*Time to render. Click on the View tab, and then on Render on the Cloud**
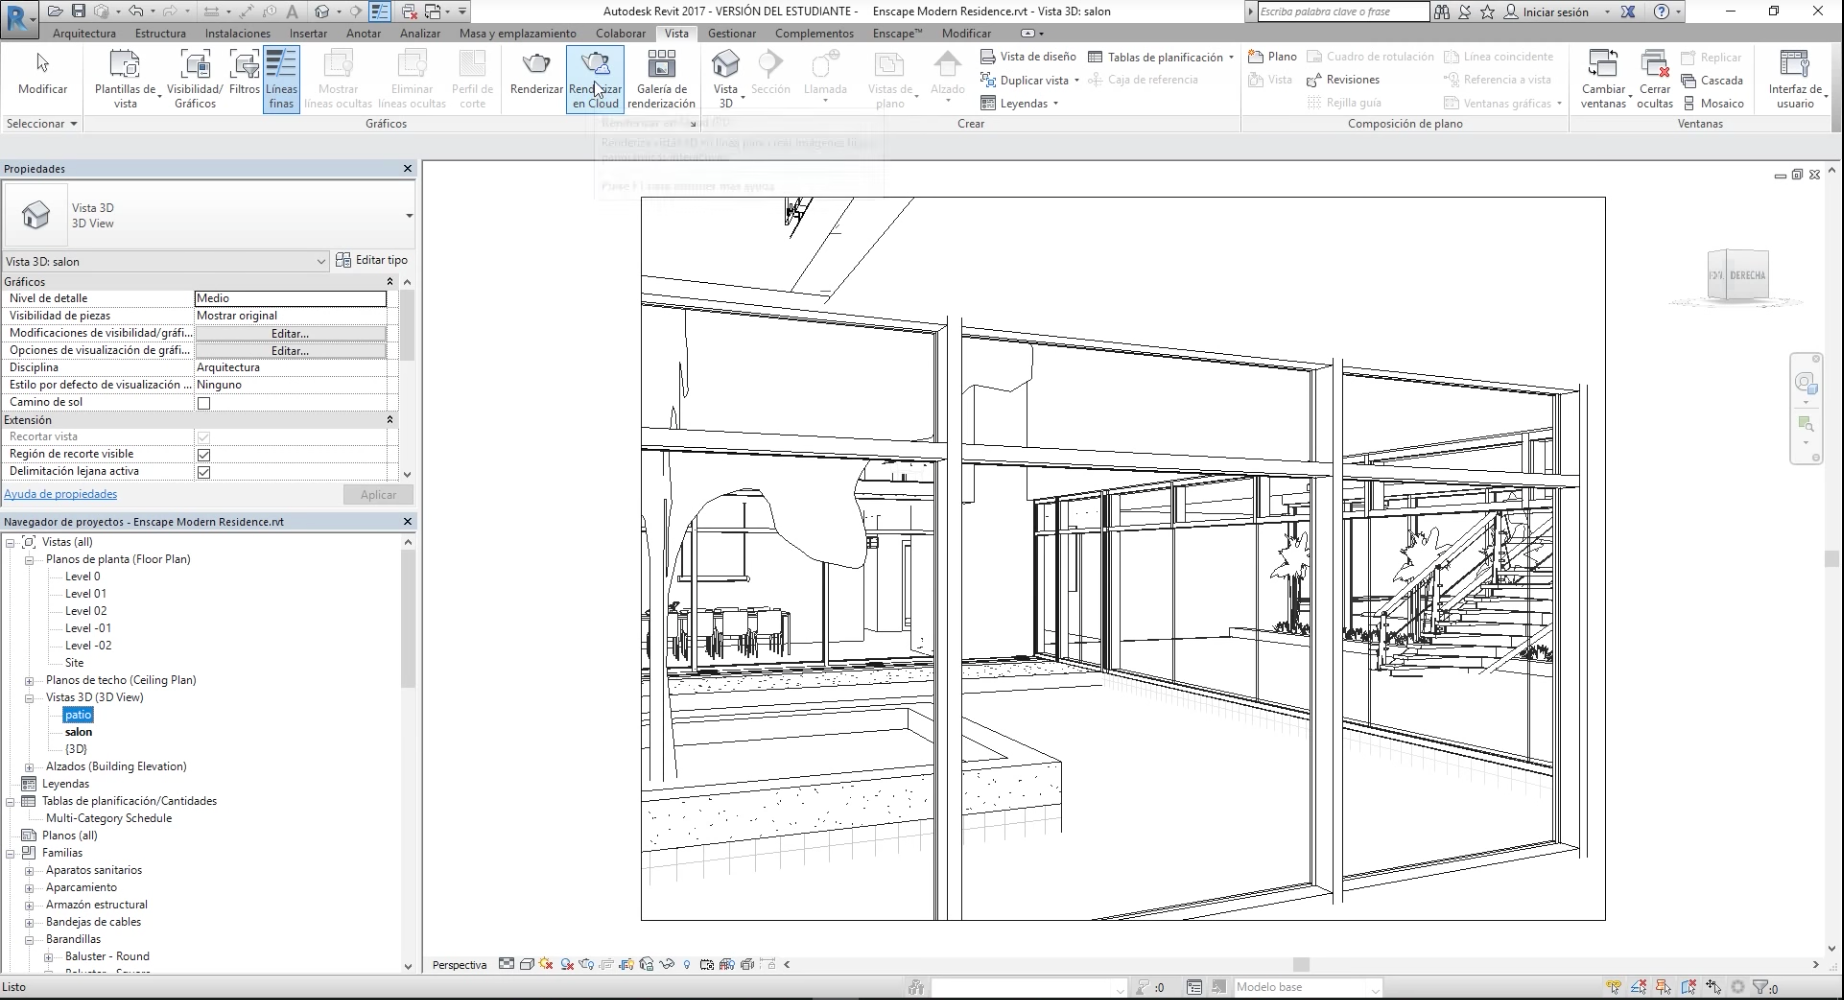
It's recommended to render on the cloud, over on your own processor. It will be faster and will enable you to keep working on your project.
A new window will show up for Render on the Cloud* which shows the steps to have our Render ready. (If we didn't sign up at the beginning Autodesk 360 will ask for before it)
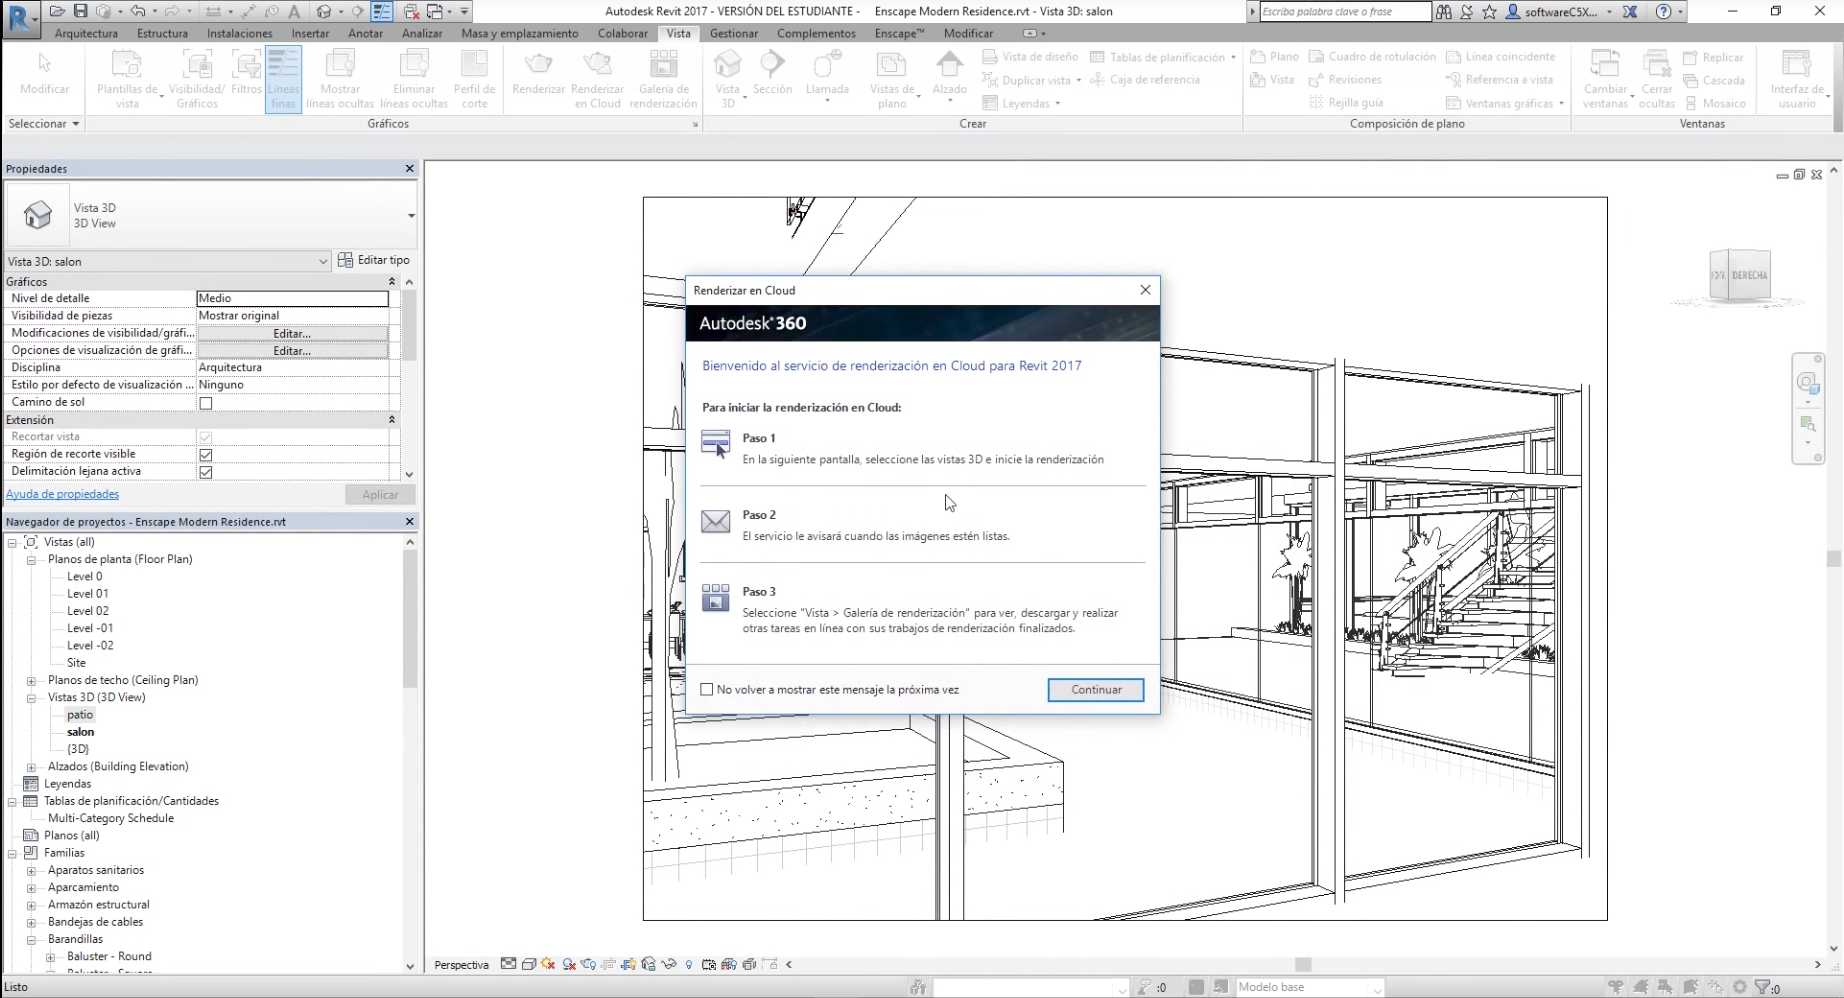
Click on Continue.
A new Rendering Menu will show up, to set up your render. To get a 360 render, select Panoramic or Stereoscopic Panoramic onOutput Type** *
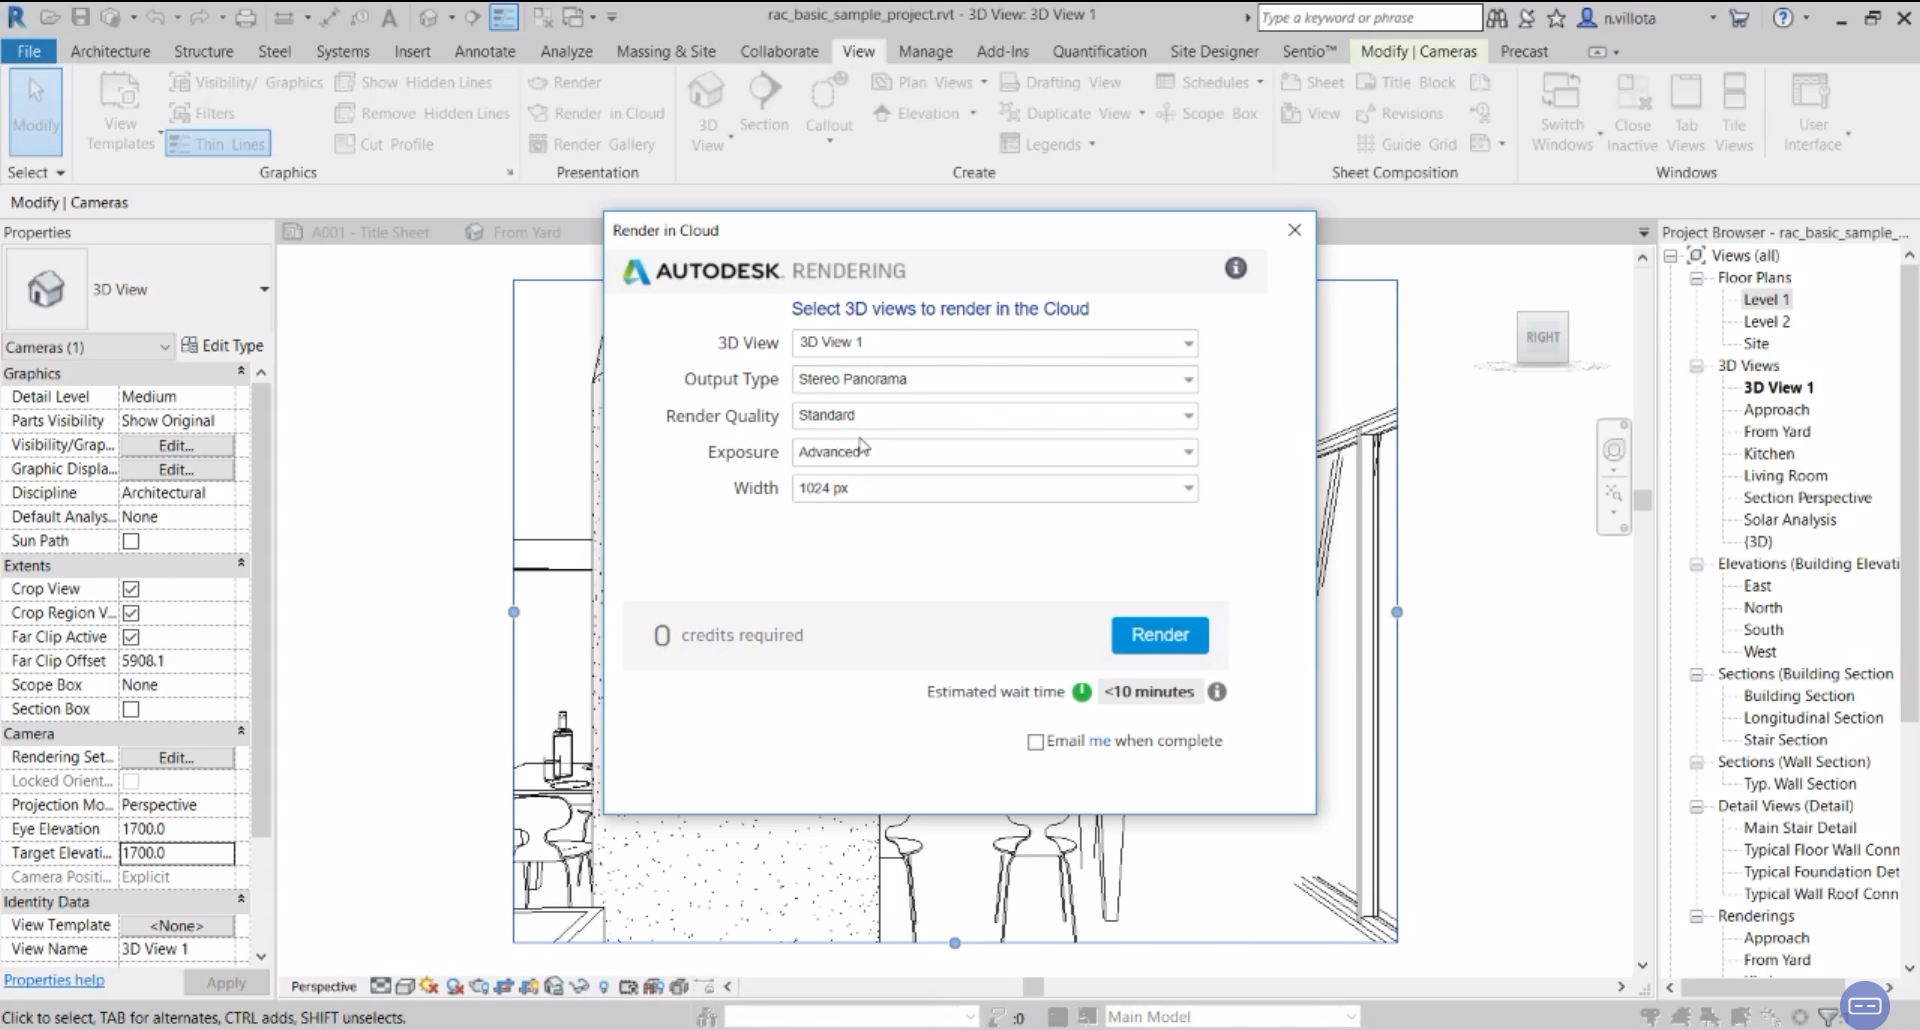
To simplify this example, We'll only render "Patio" with low quality, so it will take less time.
In this window you will also have information on Autodesk 360's Credits and Rendering Time.
Once the process on the Cloud is ready, you can go to Render Gallery and download your work from there!
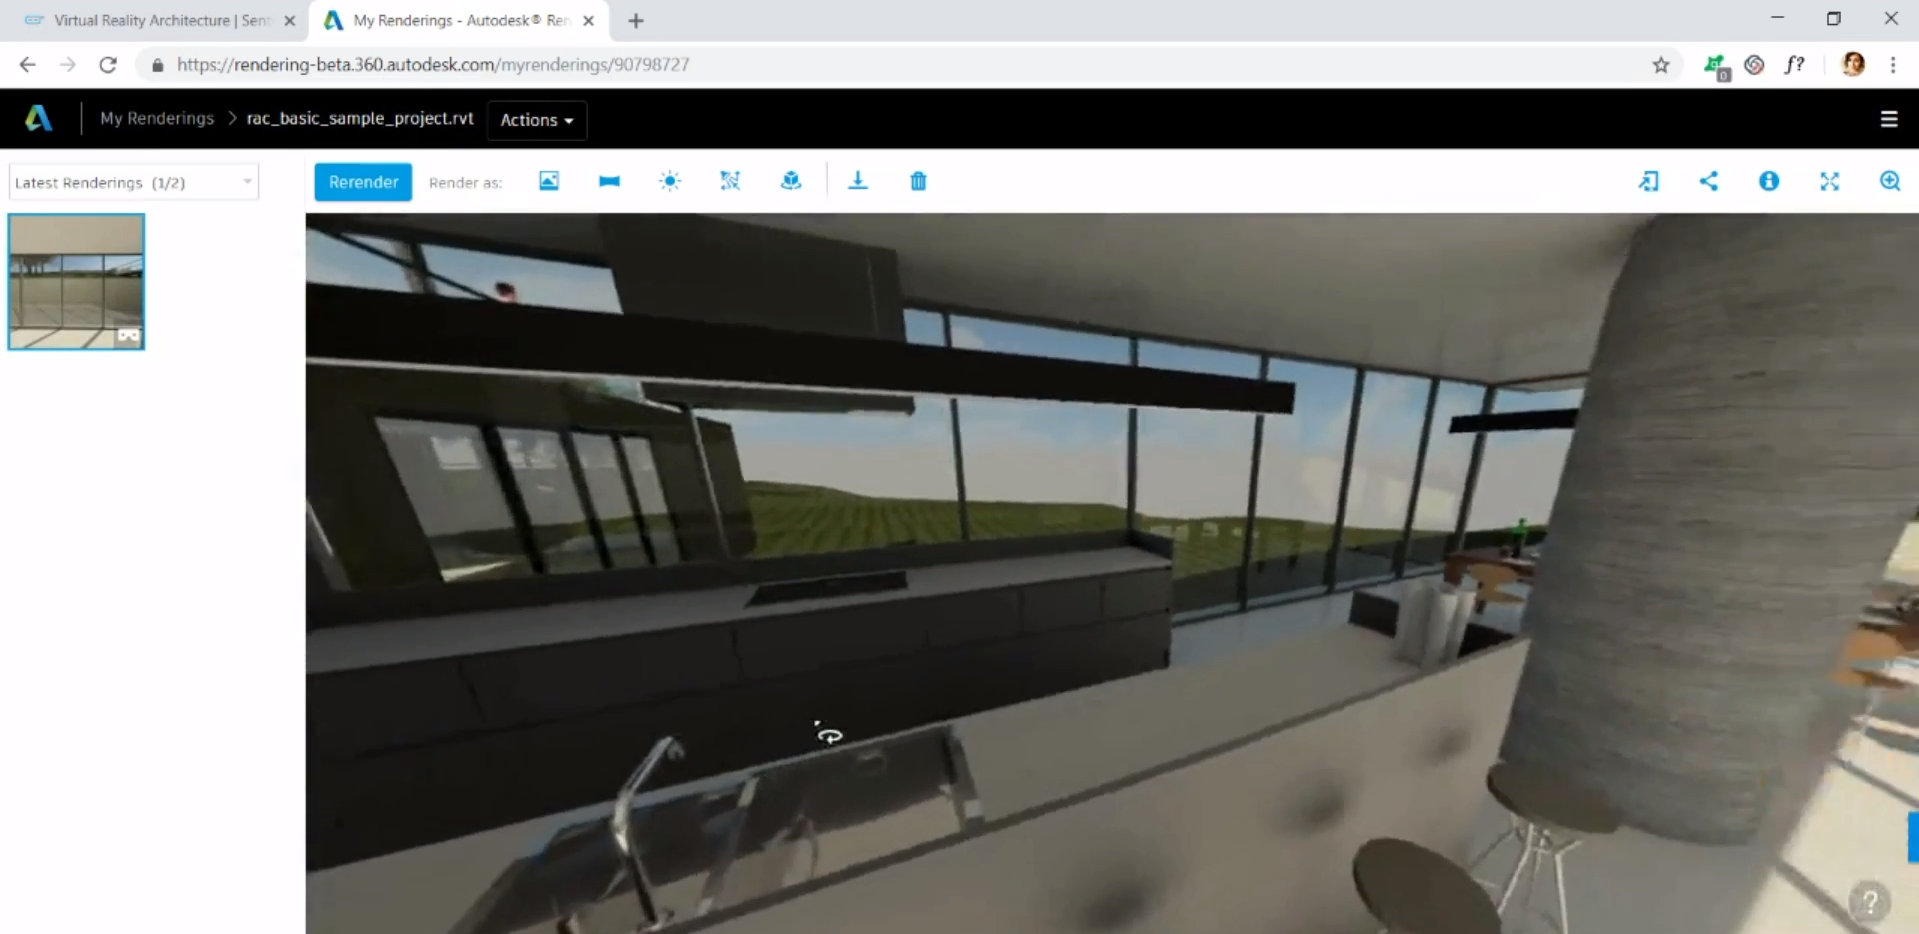
Your 360 render is ready for upload and creating a VR walkthrough !
Updated 12 months ago
