
Getting started with Rhino to VR
Step-by-step guide to view your Rhino files in VR using Meta Quest headsets
Use this to prepare, upload, and view your Rhino model in VR using Sentio VR.
To view a Rhino model in Meta Quest (2, 3, Pro, or 3S), you need to first export the 3D model from Rhino and upload it to the SENTIO VR platform. Once uploaded, you can easily access and view the model in VR using your Meta Quest headset. This guide will walk you through the steps to prepare and experience your Rhino model in virtual reality
What you need
- Rhino (compatible versions)
- Sentio VR account
- Sentio VR plugin for Rhino
- Compatible Meta Quest headset (or supported VR headset)
- Internet connection
Download Rhino Plugin
https://www.food4rhino.com/en/app/sentio-vr-rhino-vr-made-simple?lang=en
Steps
- Install the Sentio VR plugin for Rhino
- Download Sentio VR Rhino plugin. Close Rhino before installing if required.
- Open Rhino software
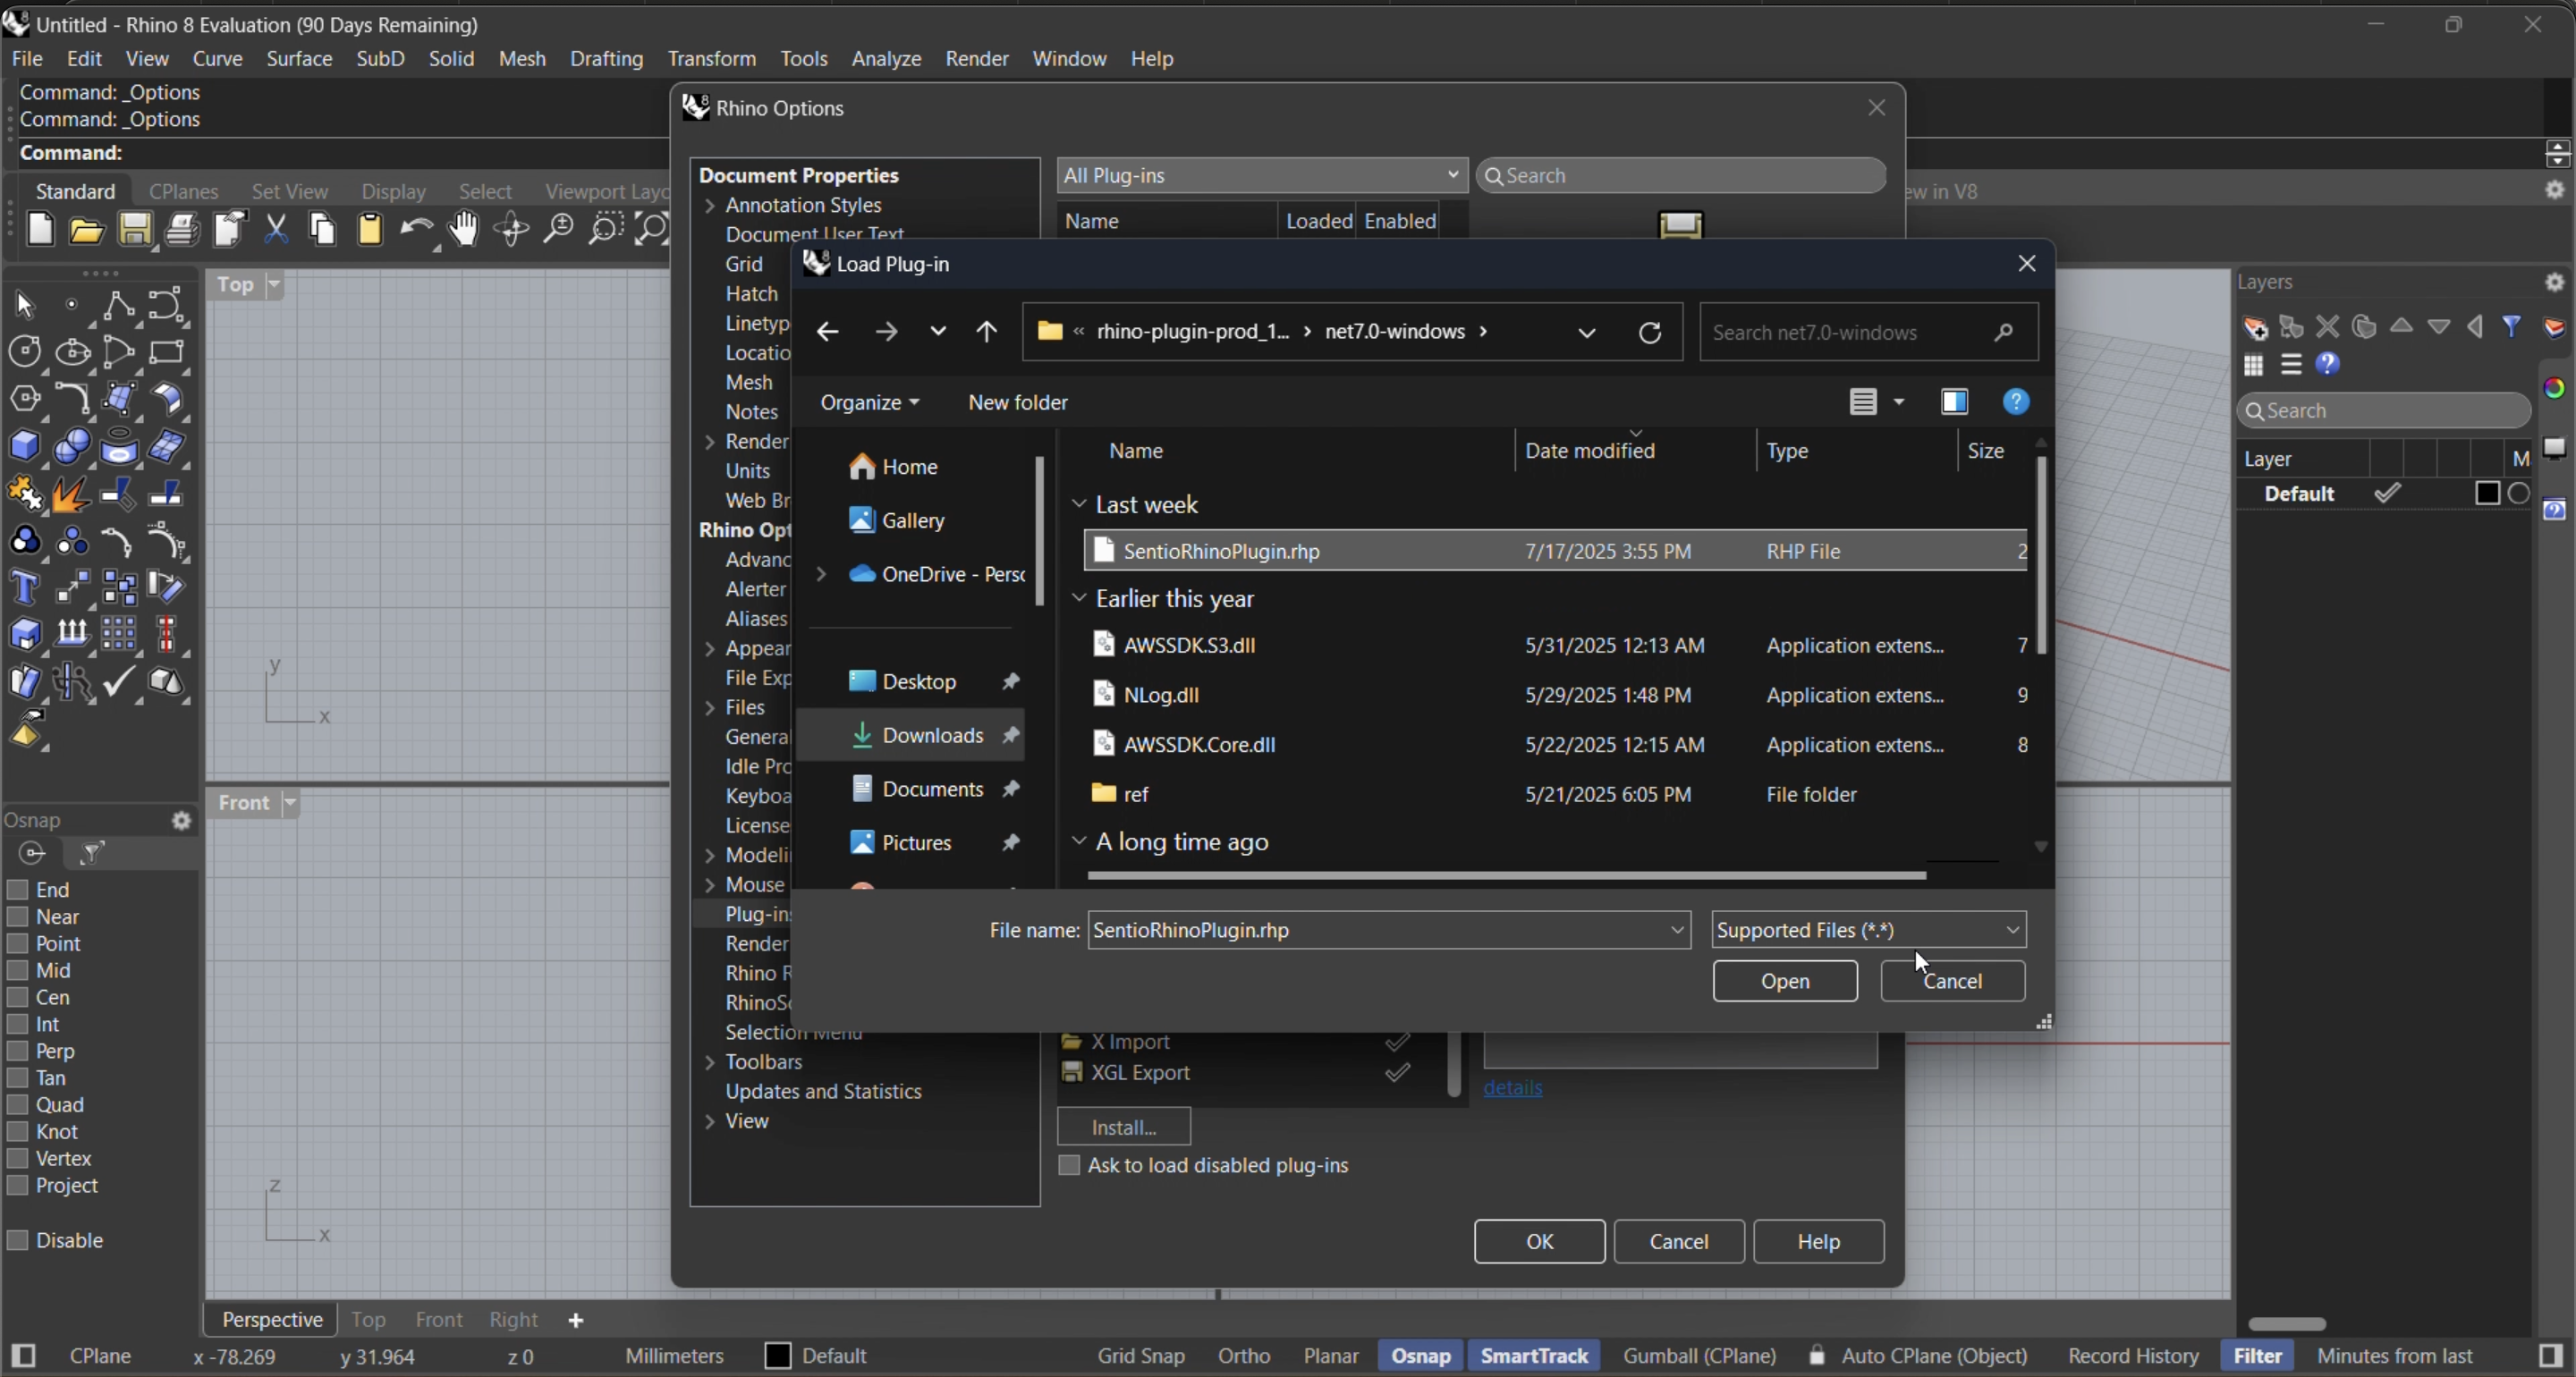
- Go to Tools > Options > Plug-ins
- Delete the existing Sentio VR plugin folder (if exist)
- Extract the new version to any folder
- Go to Tools > Options > Plug-ins > click Install > select SENTIO plugin folder
-
Launch Rhino, then open your Rhino model
-
Upload the model to Sentio VR
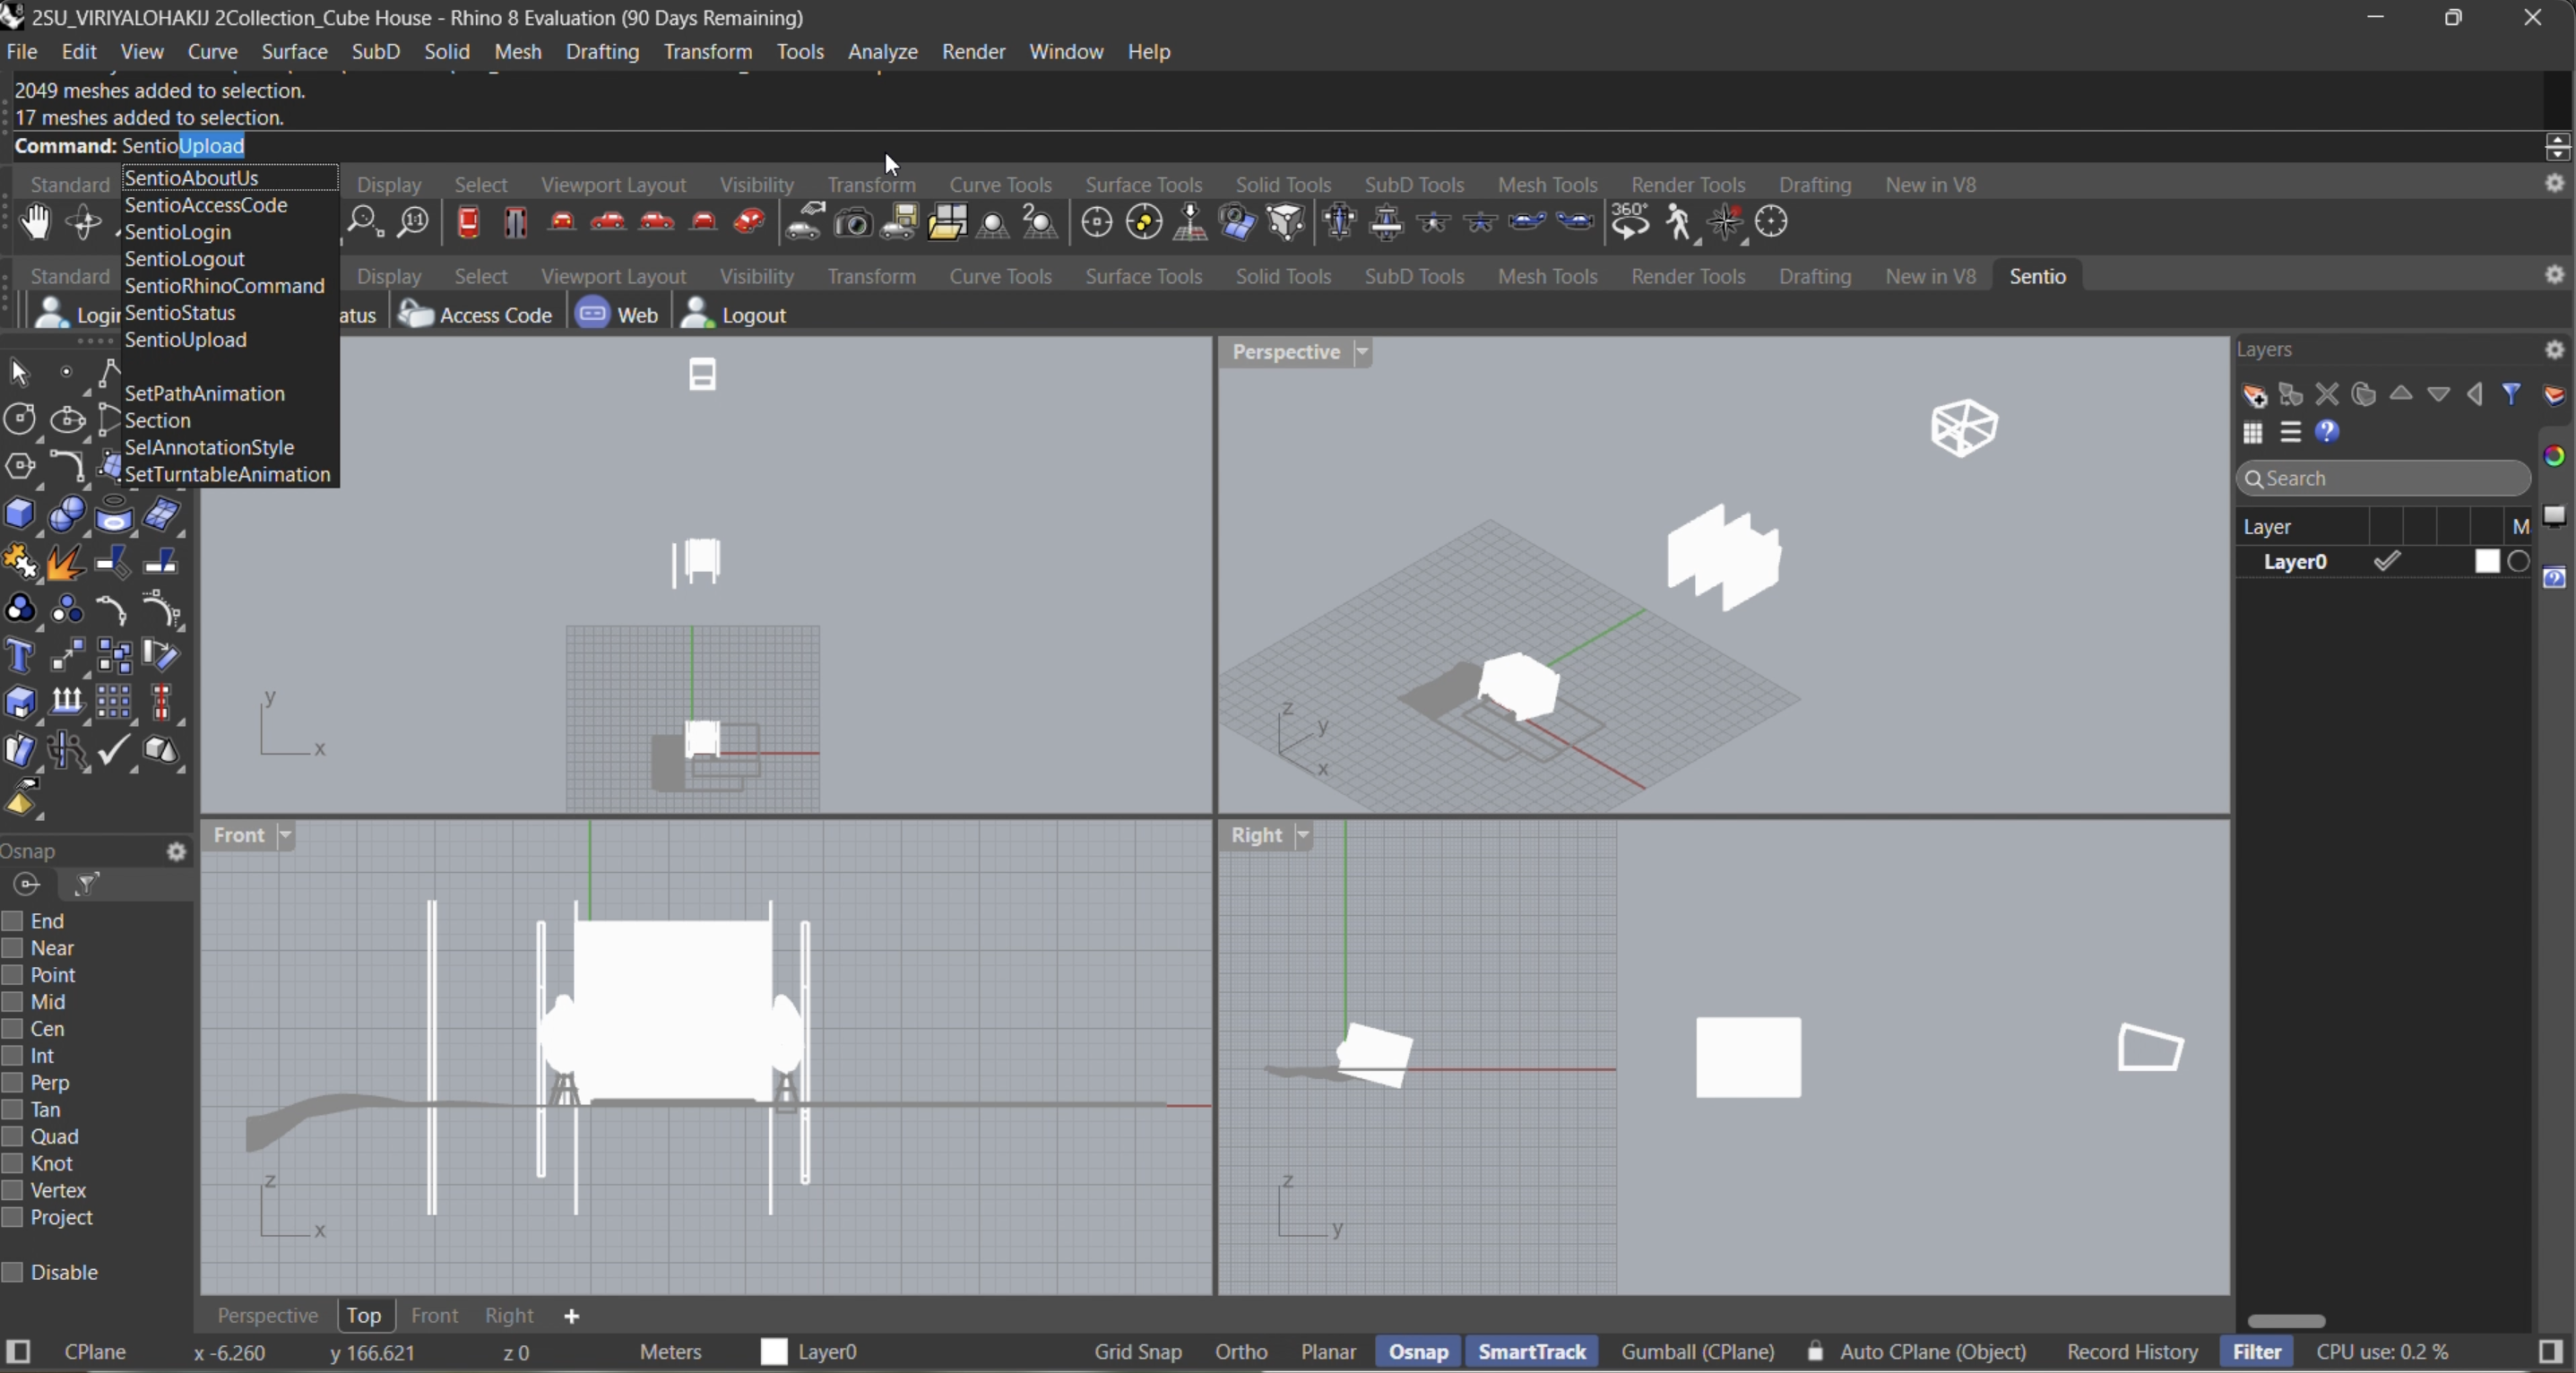
open the plugin and sign in with your Sentio VR credentials. If you don’t have an account, create one. Using the plugin, export and upload your model (geometry, materials, textures) to Sentio’s cloud.
Wait for upload to complete. Time depends on model complexity and internet speed. -
Get your access code
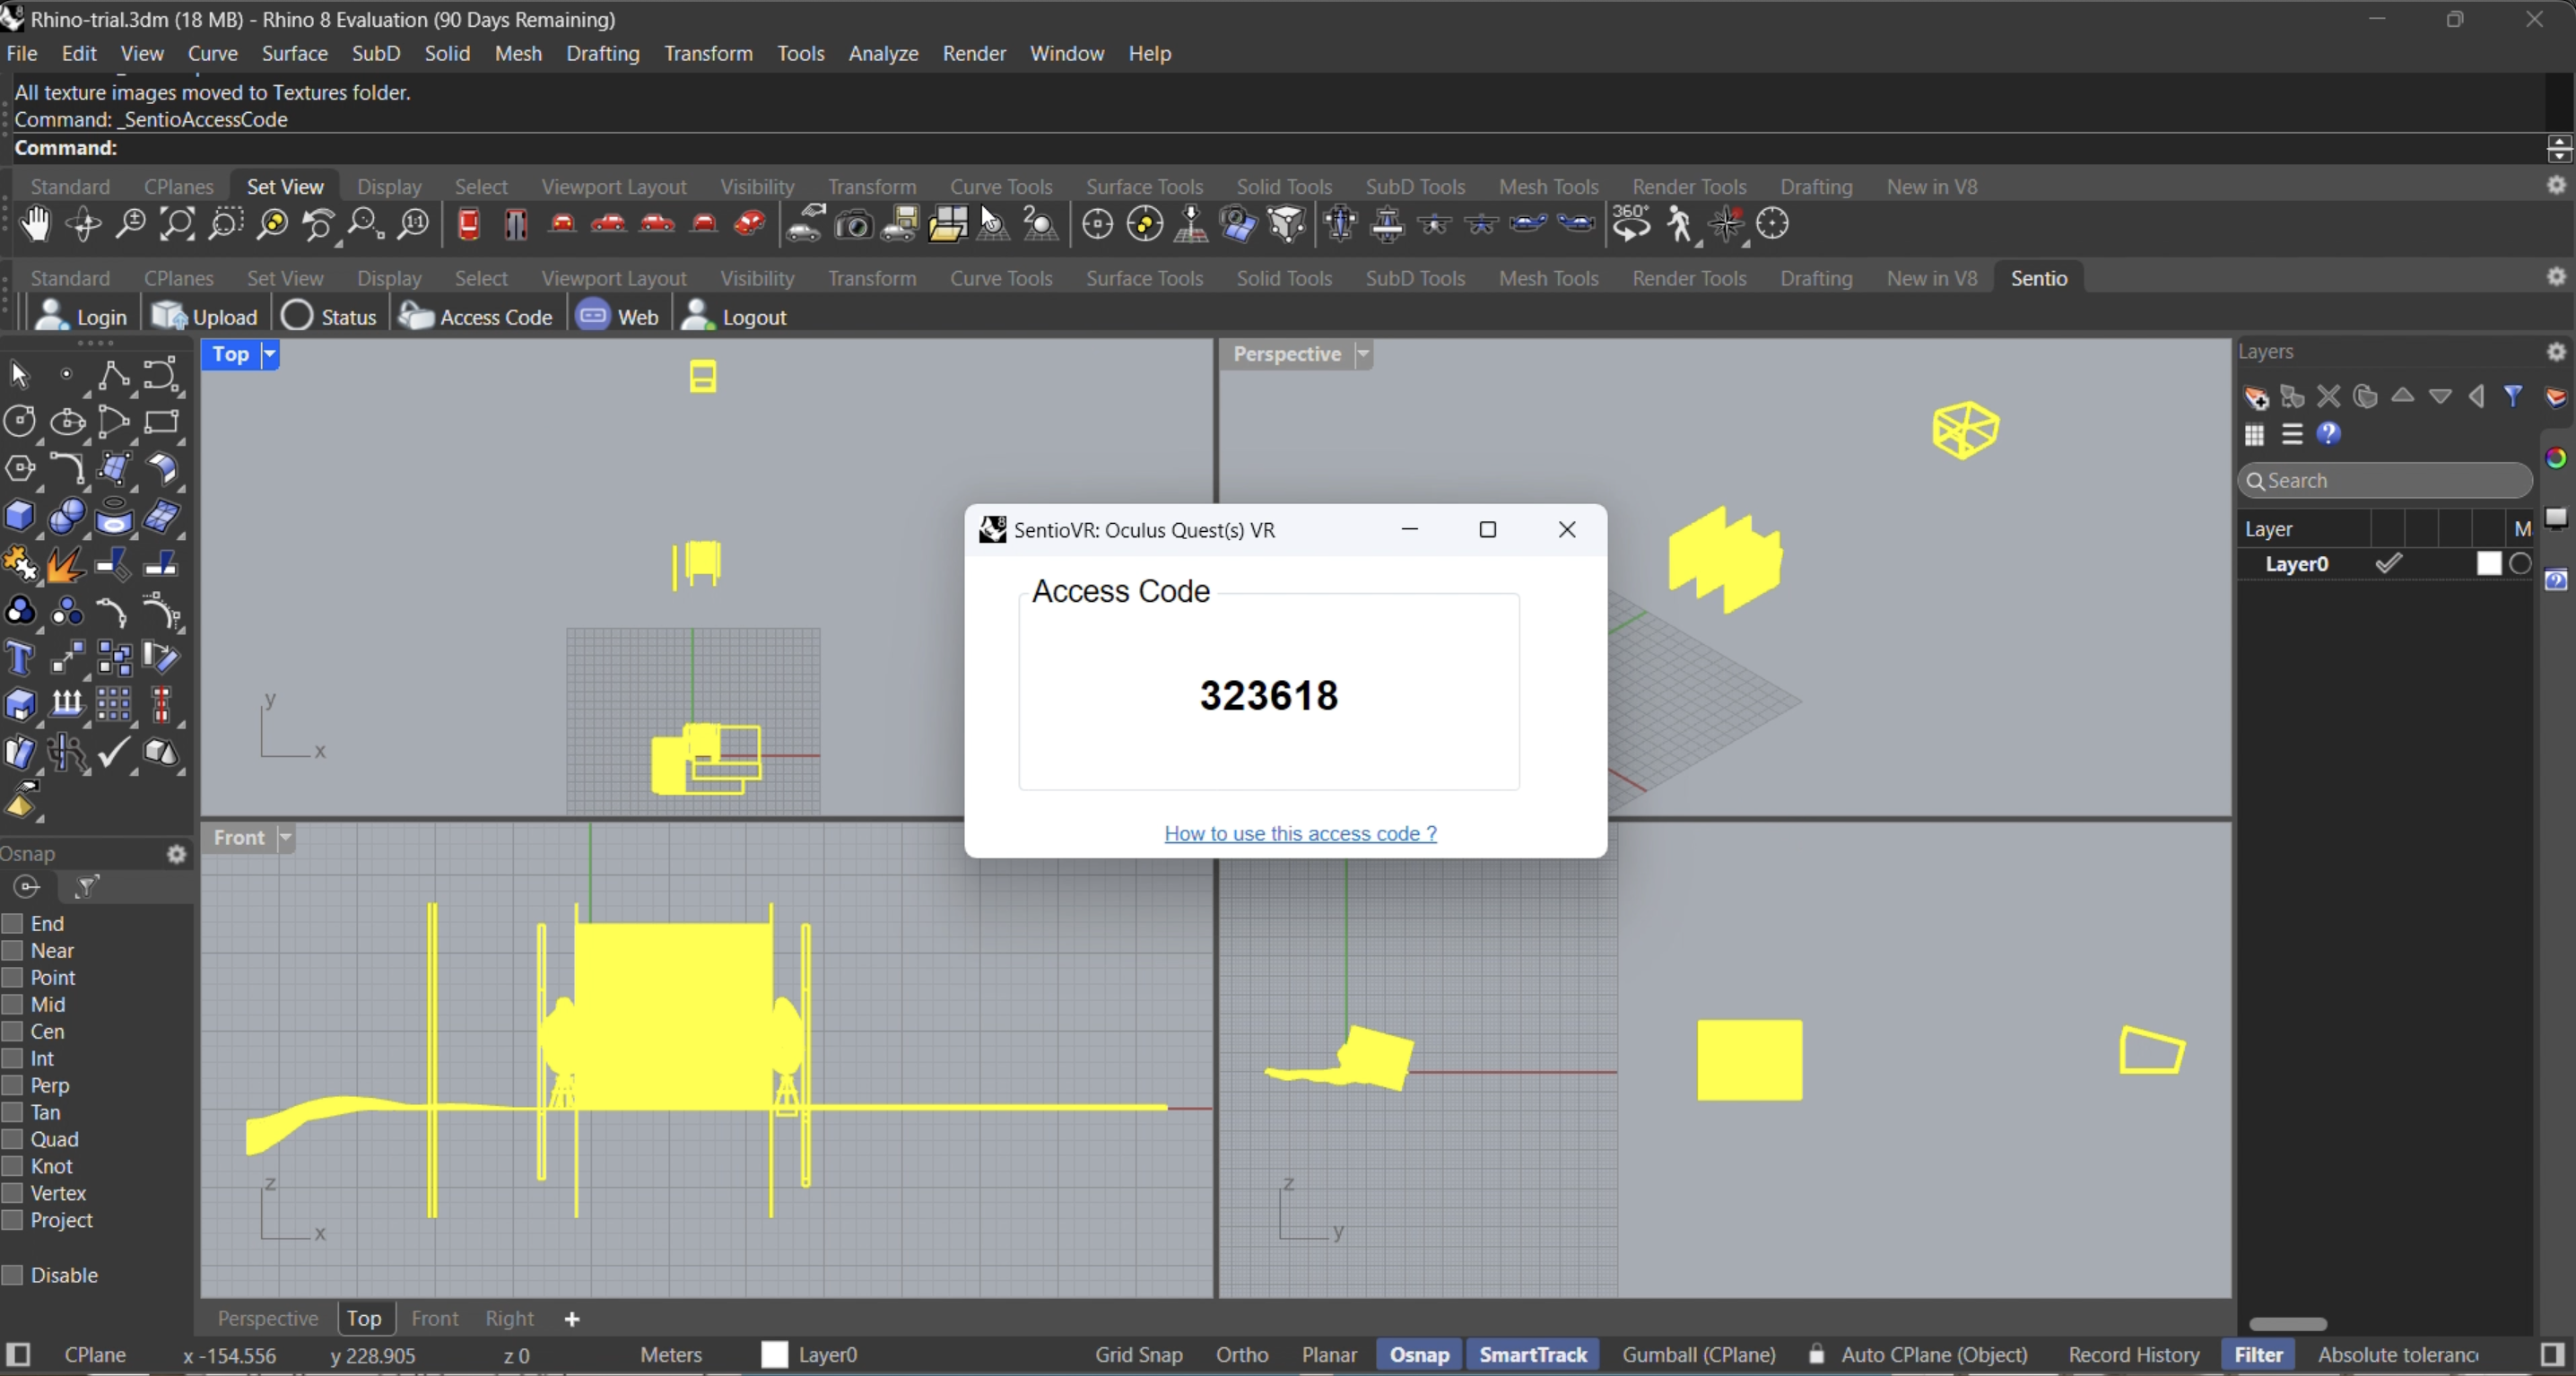
After upload finishes, note the unique code (often a 6‑digit or alphanumeric code) that Sentio VR assigns. You’ll use this in the VR headset to access the model.
-
Put on your Meta Quest (or supported headset)
-
Open the Sentio VR app, enter the access code.
-
First view might be a “Dollhouse” view: whole model visible, to get orientation.
-
Then enter the full‑scale walkthrough to experience the model in 1:1 size.
-
Explore your model, walk around, check materials, textures, spatial scale.
VIDEO Tutorial
The video below shows step-by-step instructions to view your Sketchup Models in VR
Updated 9 months ago