Getting started with Revit to VR
Step-by-step guide to view your Revit models in Meta Quest using SENTIO VR
Overview
Upload your Autodesk Revit (.rvt) 3D model to SENTIO VR and experience it in Virtual Reality on Meta Quest (2, 3, Pro, or 3S). There are two ways to upload your Revit model:
- Option 1: Web Upload (recommended) — Upload your .rvt file directly through the SENTIO VR web portal.
- Option 2: Revit Plugin — Export your model from within Revit using the SENTIO VR plugin.
Important — Linked files & section boxesWeb Upload does not include linked files. If your project relies on linked Revit files (architecture/structure/MEP links, linked CAD, etc.) or you need to respect section boxes, use Option 2, ie , Revit Plugin, which includes linked files and section boxes in the export.
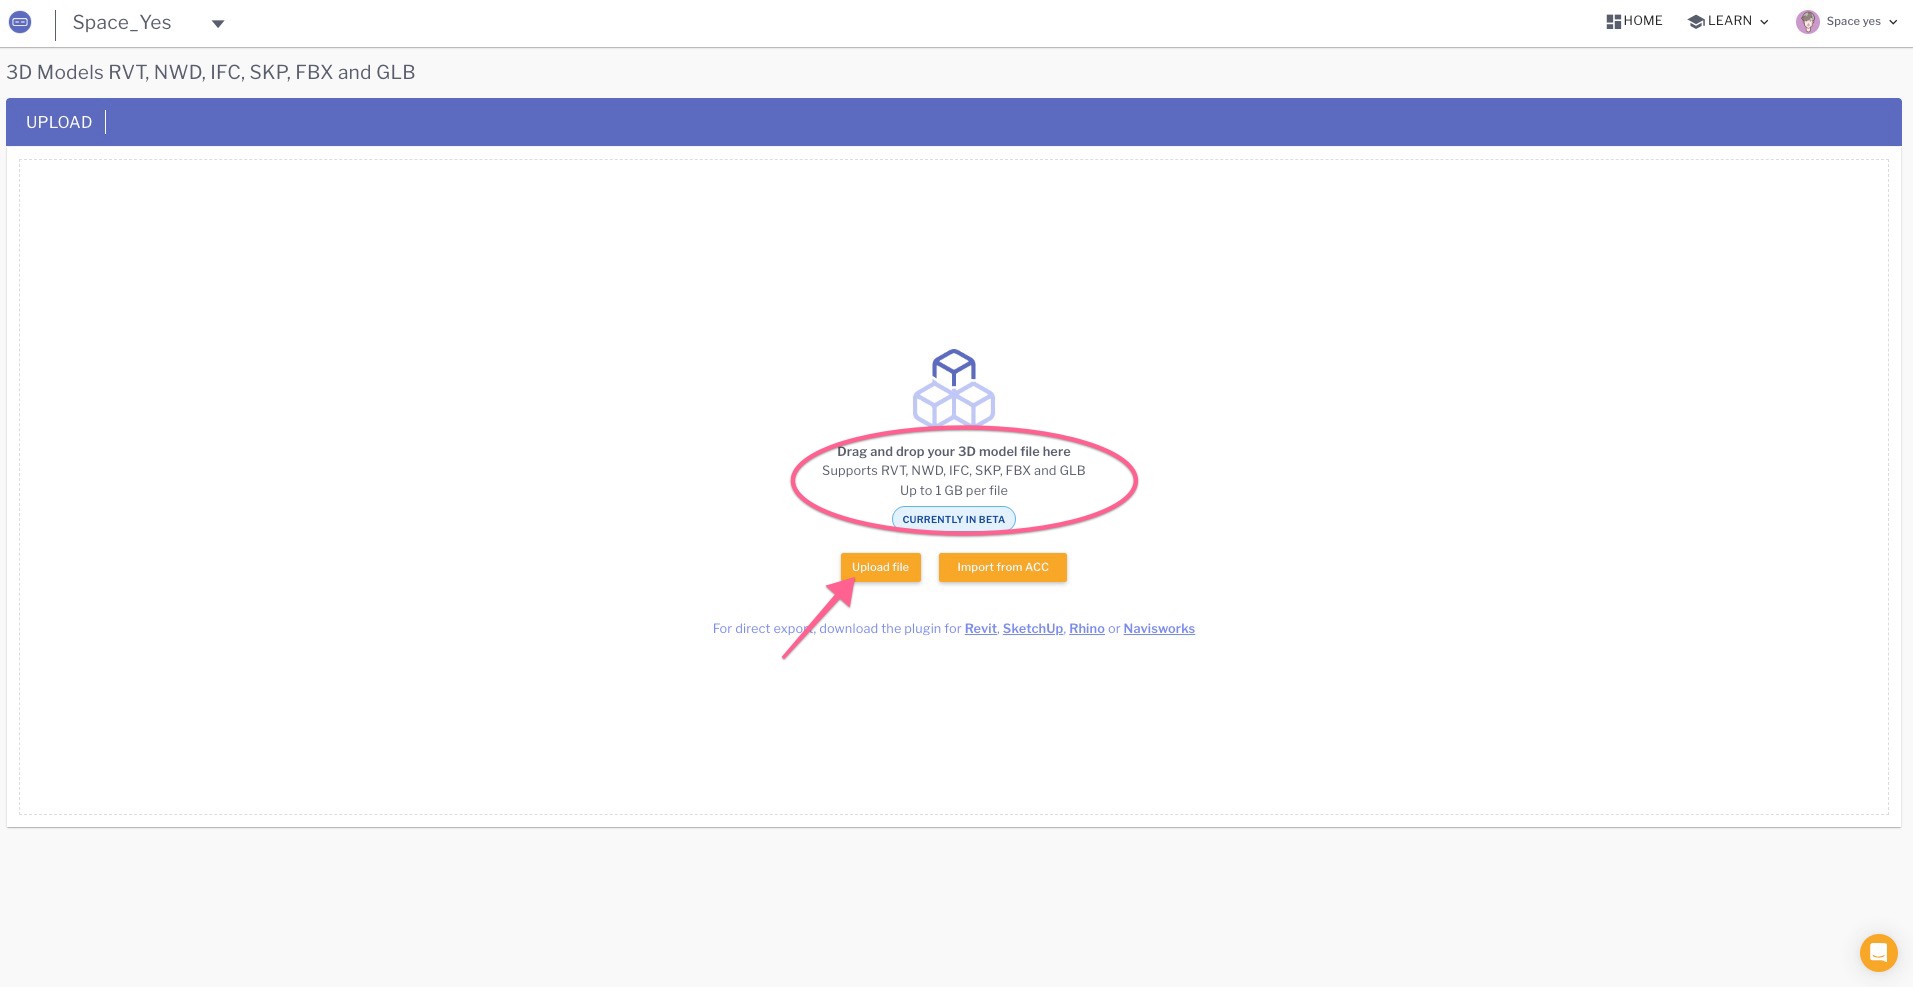
Option 1: Upload via Web Portal (Recommended)
Note: Web Upload exports the model geometry from your .rvt file but does not include linked files or section boxes. If you need either, use Option 2.
- Log in to your SENTIO VR account at Login.
- Navigate to Projects.
- Select 3D Walkthroughs.
- Click Upload Model and select your .rvt file from your computer.
- Wait for the upload and processing to complete.
- Once processed, you'll receive a 6-digit access code to view your model in VR using the SENTIO VR app on Meta Quest.
Option 2: Upload via Revit Plugin
The SENTIO VR plugin lets you export your model directly from Revit, with full support for linked files, section boxes, and 3D view selection so you can navigate between views in VR.
Link to plugin https://apps.autodesk.com/RVT/en/Detail/Index?id=669744176330748863&appLang=en&os=Win64
Install the Plugin
- Make sure you have signed up for SENTIO VR. If you haven't yet, sign up here.
- Close Revit before installing the plugin.
- Download and install the SENTIO VR Revit plugin from the Autodesk App Store using the link above.

Log in to the Plugin
- Open Revit.
- Click the SENTIO VR icon in the Revit toolbar and log in using your SENTIO VR credentials.

Export Your Model
- Open your model in Autodesk Revit.
- The plugin exports the entire model geometry, materials, and textures to the cloud — including linked files and section boxes.
- Select 3D Views — Choose the views you want to access in VR. The full model is still exported, but selected views will appear as quick-access viewpoints in the VR menu for a smoother presentation.
- Choose a Project — Select the project folder where you want the model saved to keep your content organized.
- Click Upload — The upload begins automatically. It usually takes 3–15 minutes, depending on model complexity and upload speed.
- Wait for the Success screen at the end of the process.
- Note your 6-digit access code from the plugin and enter it in the SENTIO VR app on Meta Quest to walk through your model in 1:1 scale.


Video Tutorial
Watch the complete walkthrough for Revit Models in VR:
Comparison at a Glance
| Feature | Web Upload | Revit Plugin |
|---|---|---|
| Upload method | Web Login | Directly from Revit |
| Linked files included | ❌ Not included | ✅ Included |
| Section boxes respected | ❌ Not supported | ✅ Supported |
| 3D view selection in VR | ❌ Not available | ✅ Available |
| Plugin install | Not required | Required (Autodesk App Store) |
| Platform | Windows & Mac | Windows (Win64) |
| Account required | Yes | Yes |