
Getting started with ACC (Forma) to VR/AR
Step-by-step guide to viewing ACC files in Meta Quest using Sentio
Overview
Sentio integrates directly with Autodesk Construction Cloud (ACC), allowing you to import 3D models from your ACC projects and view them in VR on Meta Quest — no file downloads or plugins required.
This guide covers:
- Setting up the ACC integration (one-time, admin only)
- Importing a 3D model from ACC into Sentio
- Viewing the model in VR on Meta Quest
Supports all file formats from ACC:
Prerequisites
- A Sentio account with Organization Admin privileges
- An Autodesk Construction Cloud (ACC) account with Account Admin privileges
- A Meta Quest headset with the Sentio app installed
Note: The integration setup requires admin access on both platforms. Once the setup is complete, any user in the organization can import models from ACC.
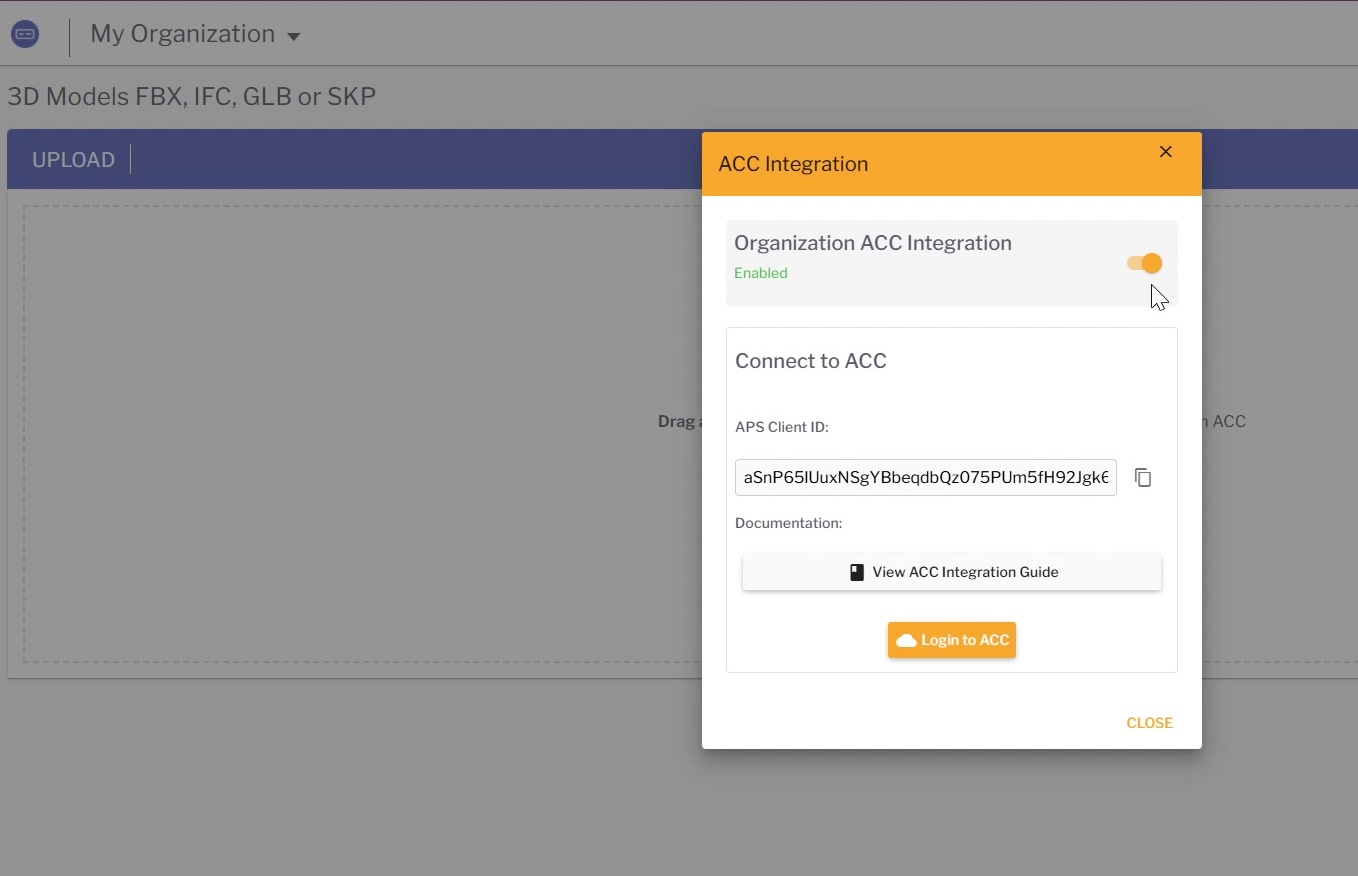
Step 1: Enable the ACC Integration in Sentio
This is a one-time setup performed by the Sentio Organization Admin.
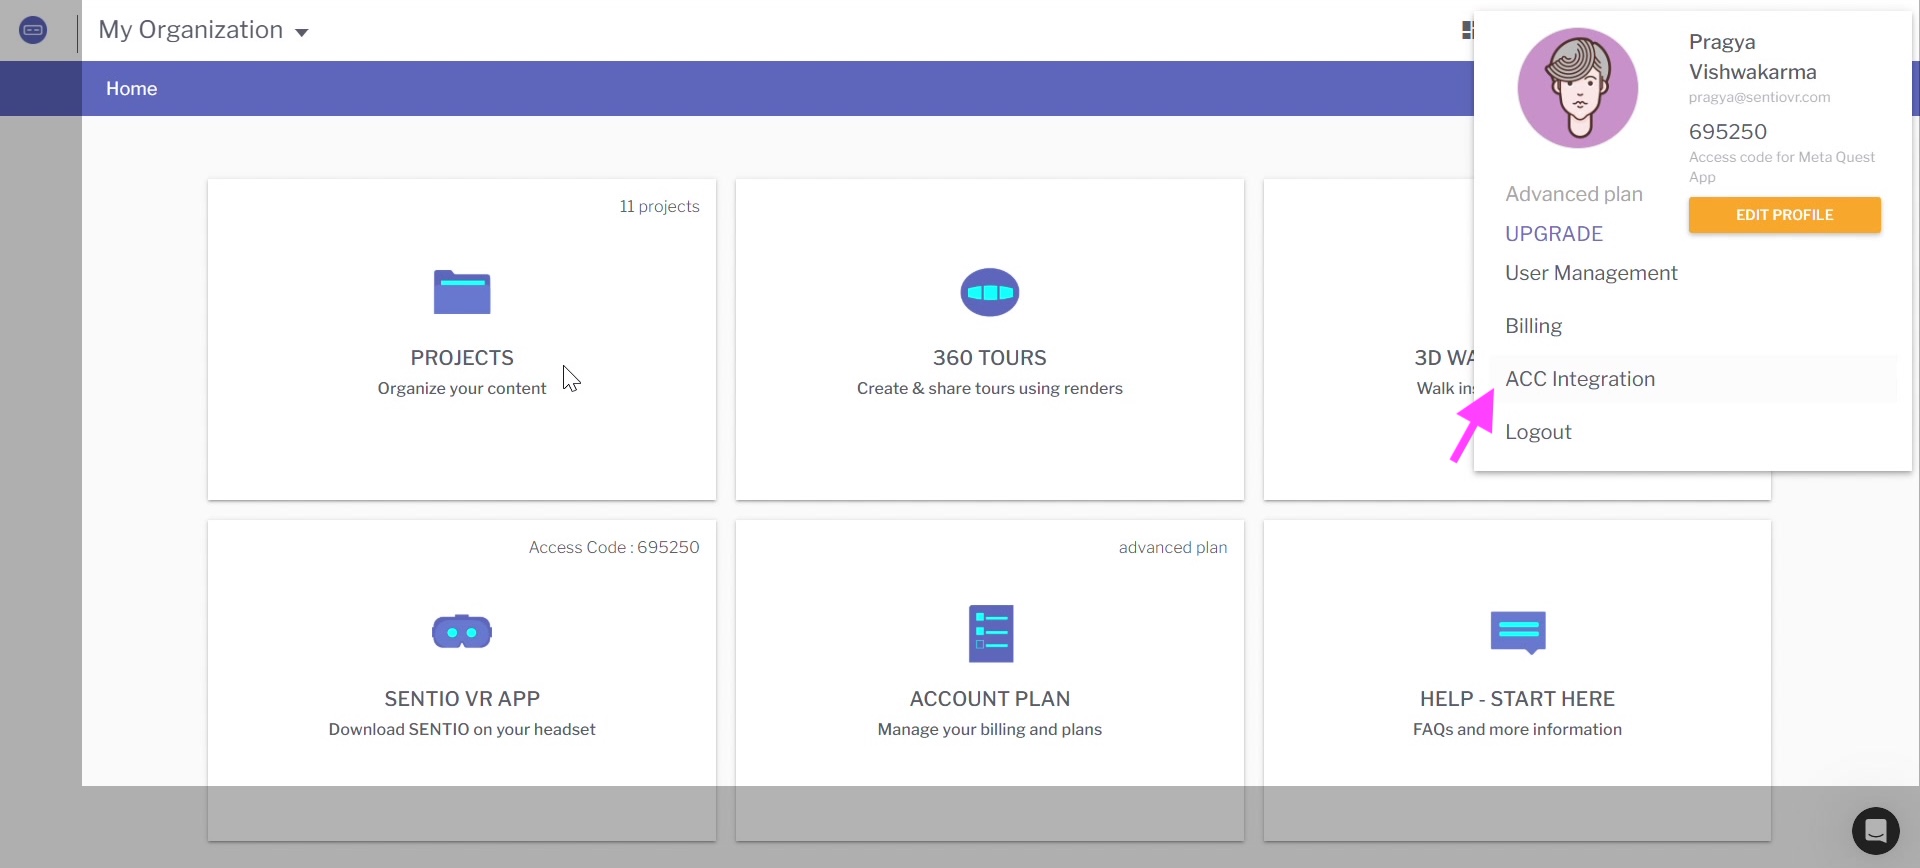
- Log in to your Sentio account
- Navigate to the ACC Integration settings
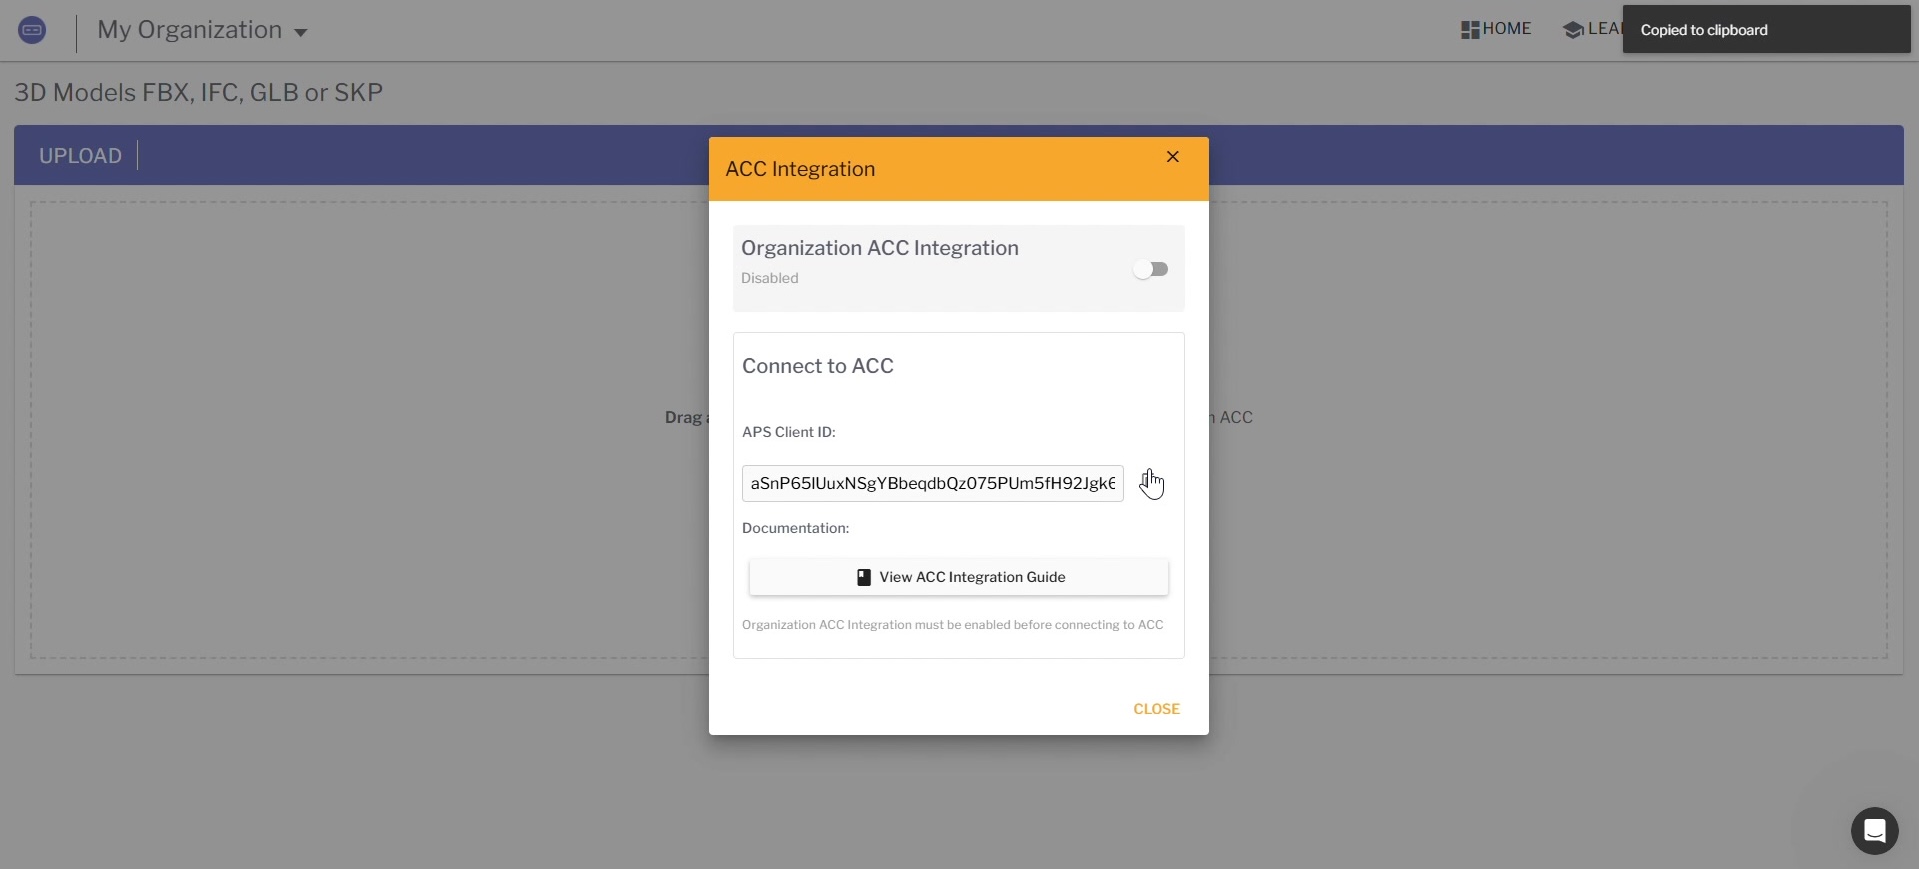
- In the ACC Integration dialog, toggle Organization ACC Integration to enabled
- Copy the APS Client ID displayed in the dialog — you will need this in the next step
Step 2: Add Sentio as a Custom Integration in ACC
This step is performed by the ACC Account Admin. If you are the admin of both platforms, you can complete both steps yourself.
- Go to Autodesk Construction Cloud and log in
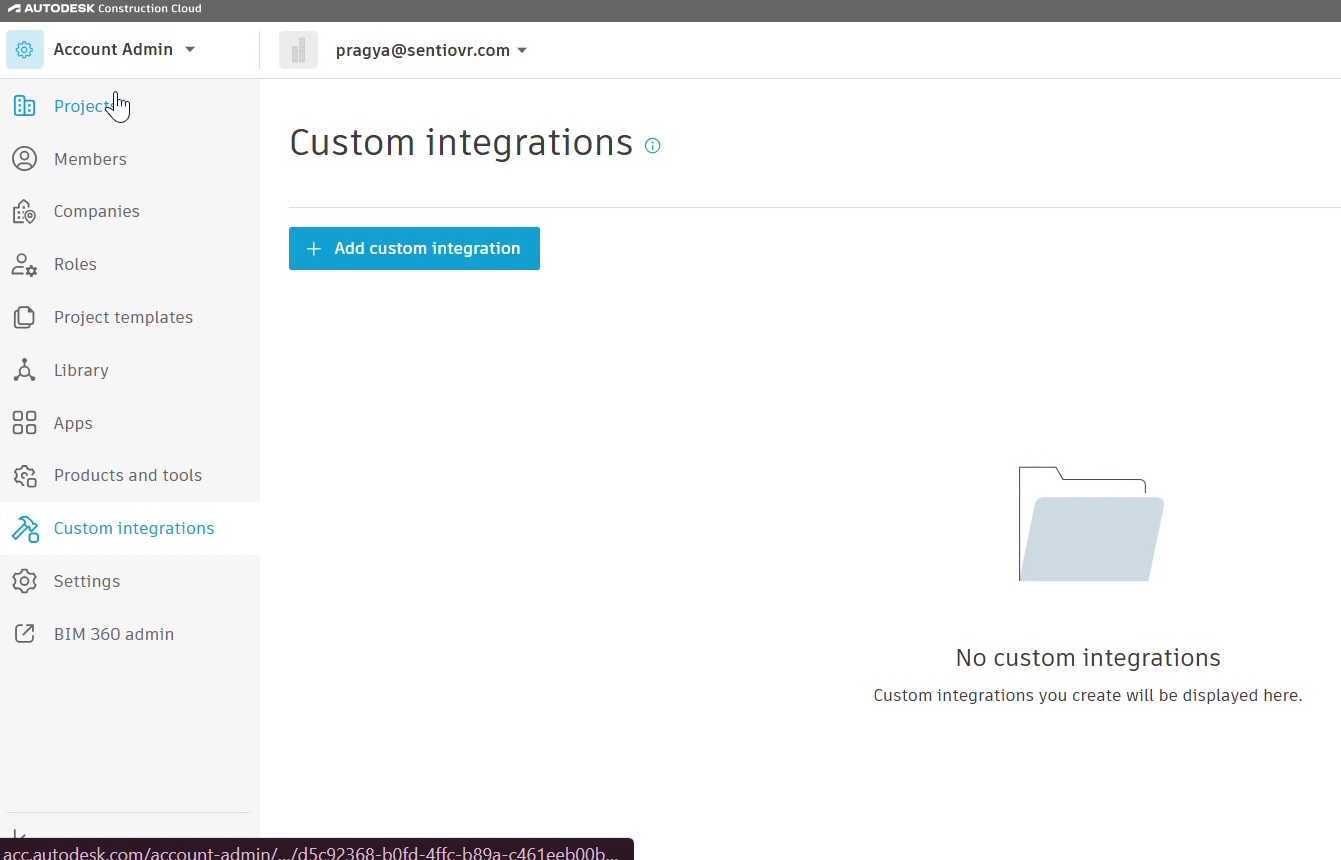
- In the left sidebar, click Account Admin
- Select Custom Integrations from the menu
- Click + Add custom integration
- In the dialog that appears:
- Autodesk Platform Services Client ID: Paste the APS Client ID you copied from Sentio
- Custom Integration name: Enter a name (e.g.,
ACCtoSentioVR) - Description (optional): Add a description for your team's reference
- Click Create
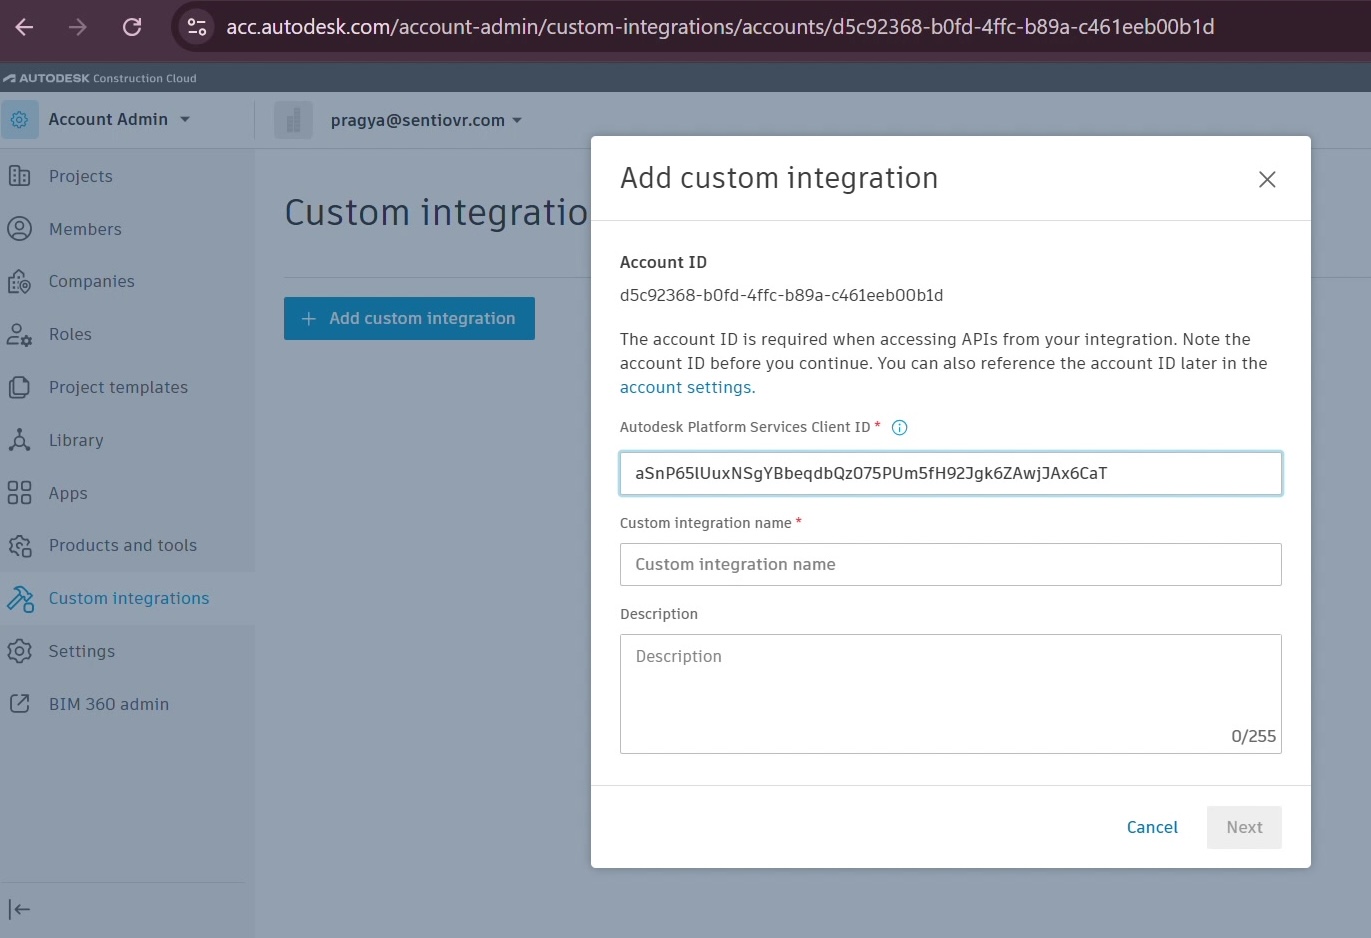
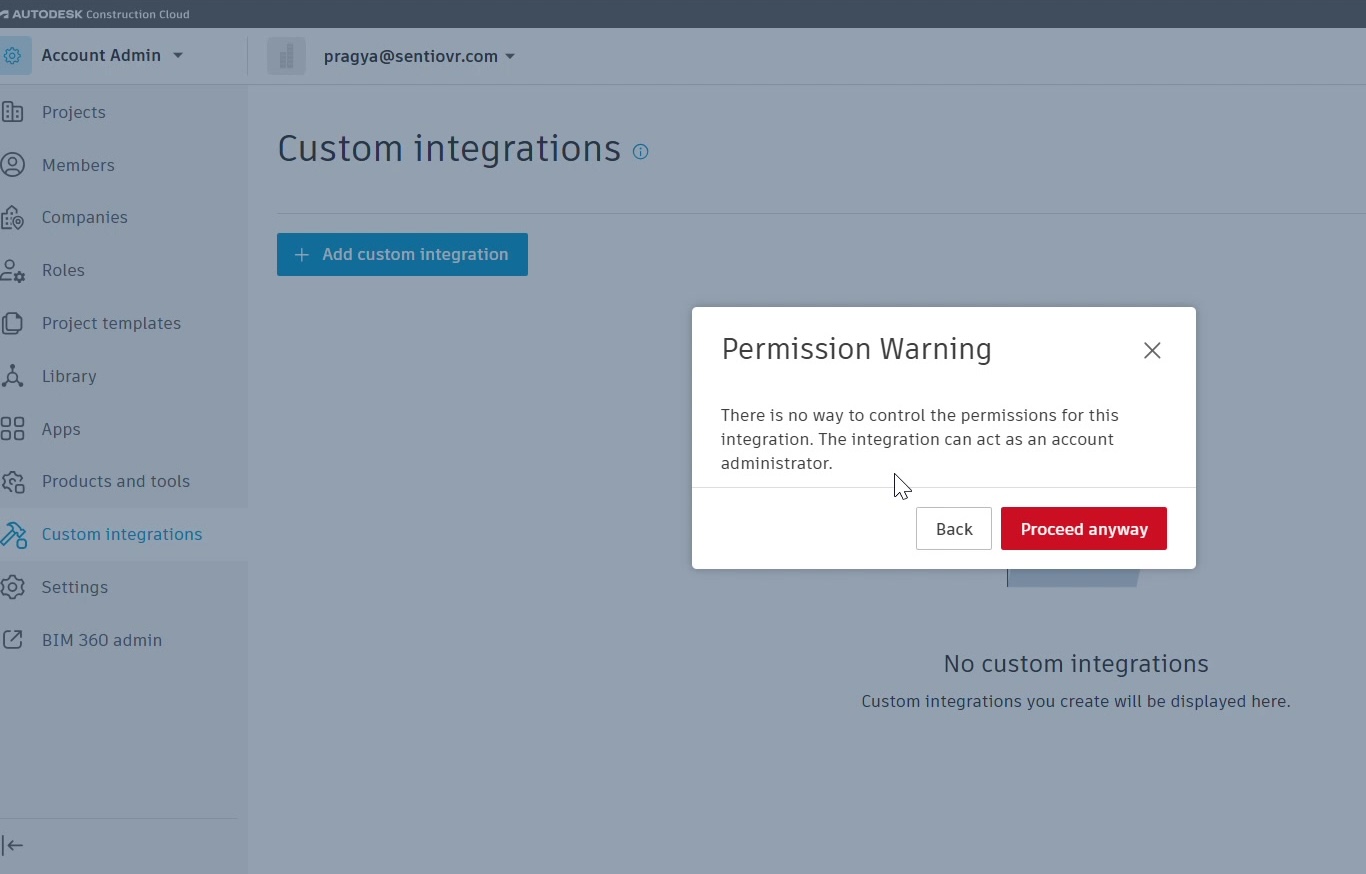
📷 [Screenshot: ACC Custom Integrations page → Add custom integration dialog]
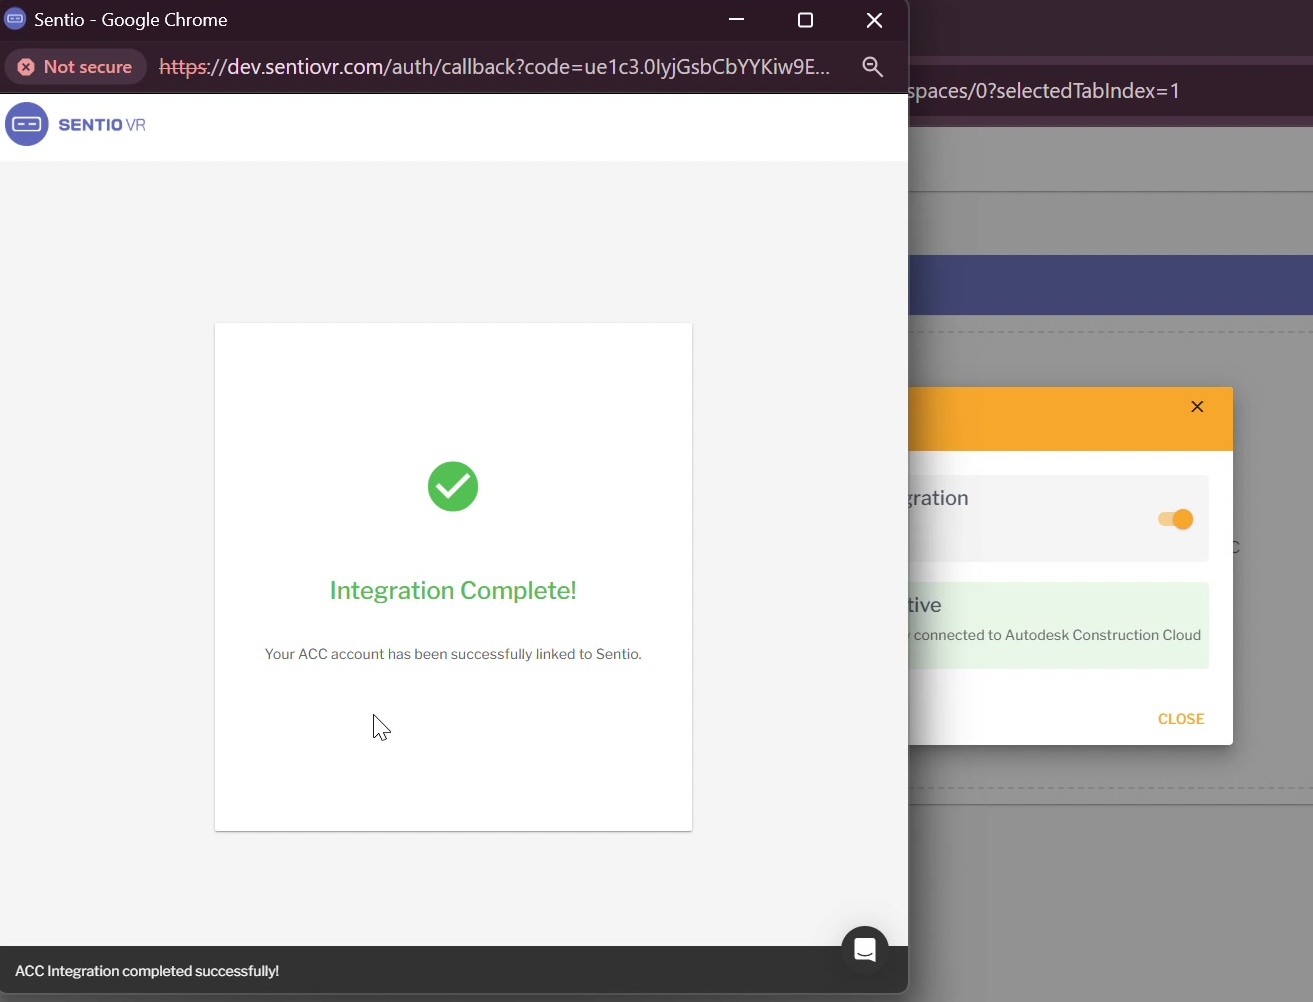
That's it for setup! The two platforms are now synchronized. This only needs to be done once — all users in your organization can now import models from ACC into Sentio.
Step 3: Import a 3D Model from ACC
Now that the integration is set up, any user can import files directly from ACC.
- Log in to Sentio and open your Project
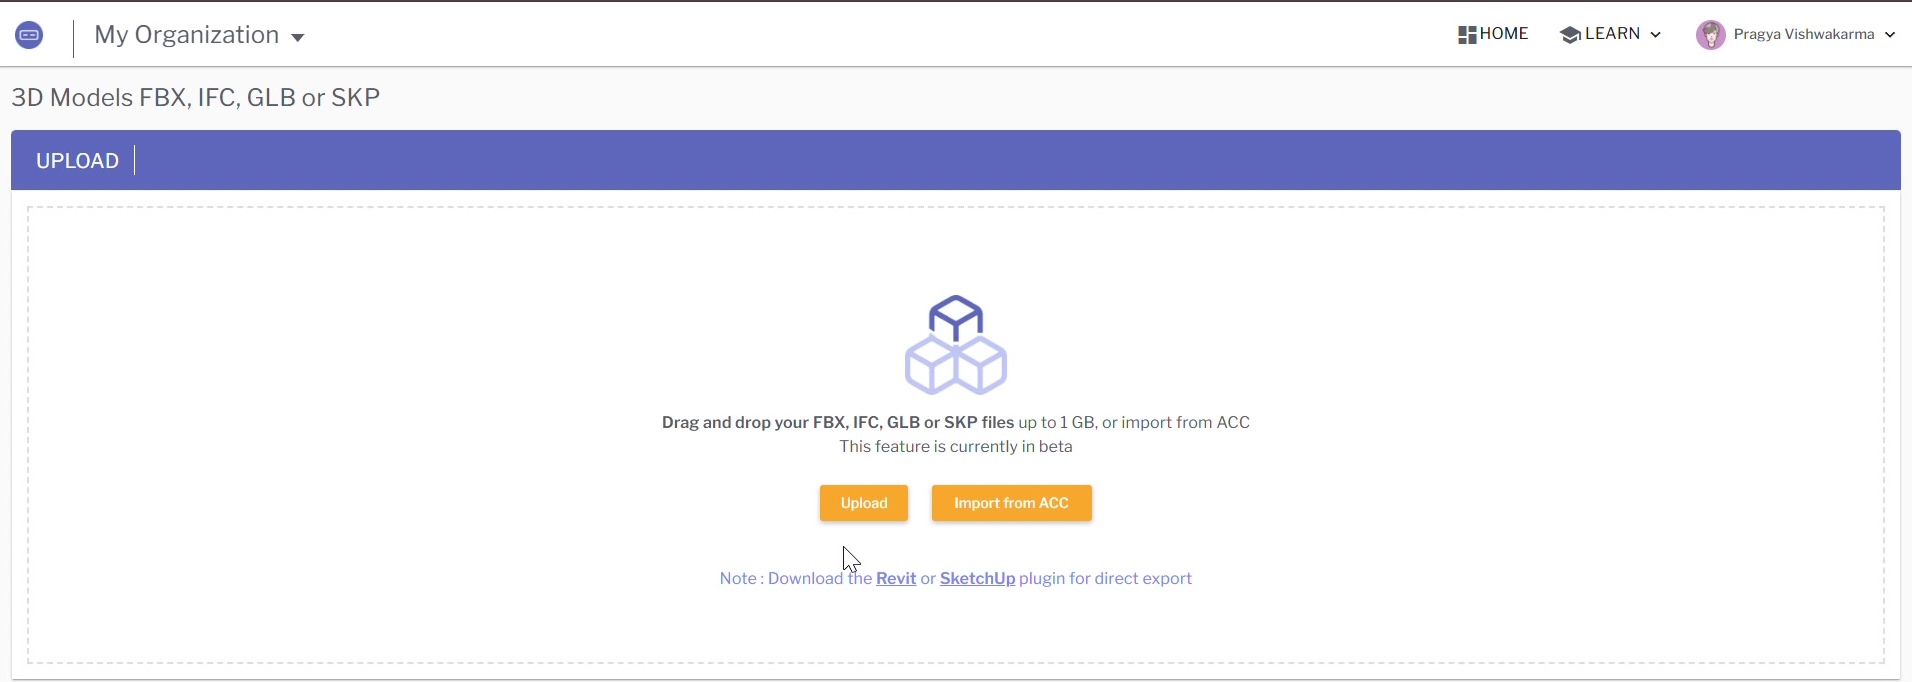
- Navigate to 3D Walkthroughs
- Click the Import from ACC button (next to the Upload button)
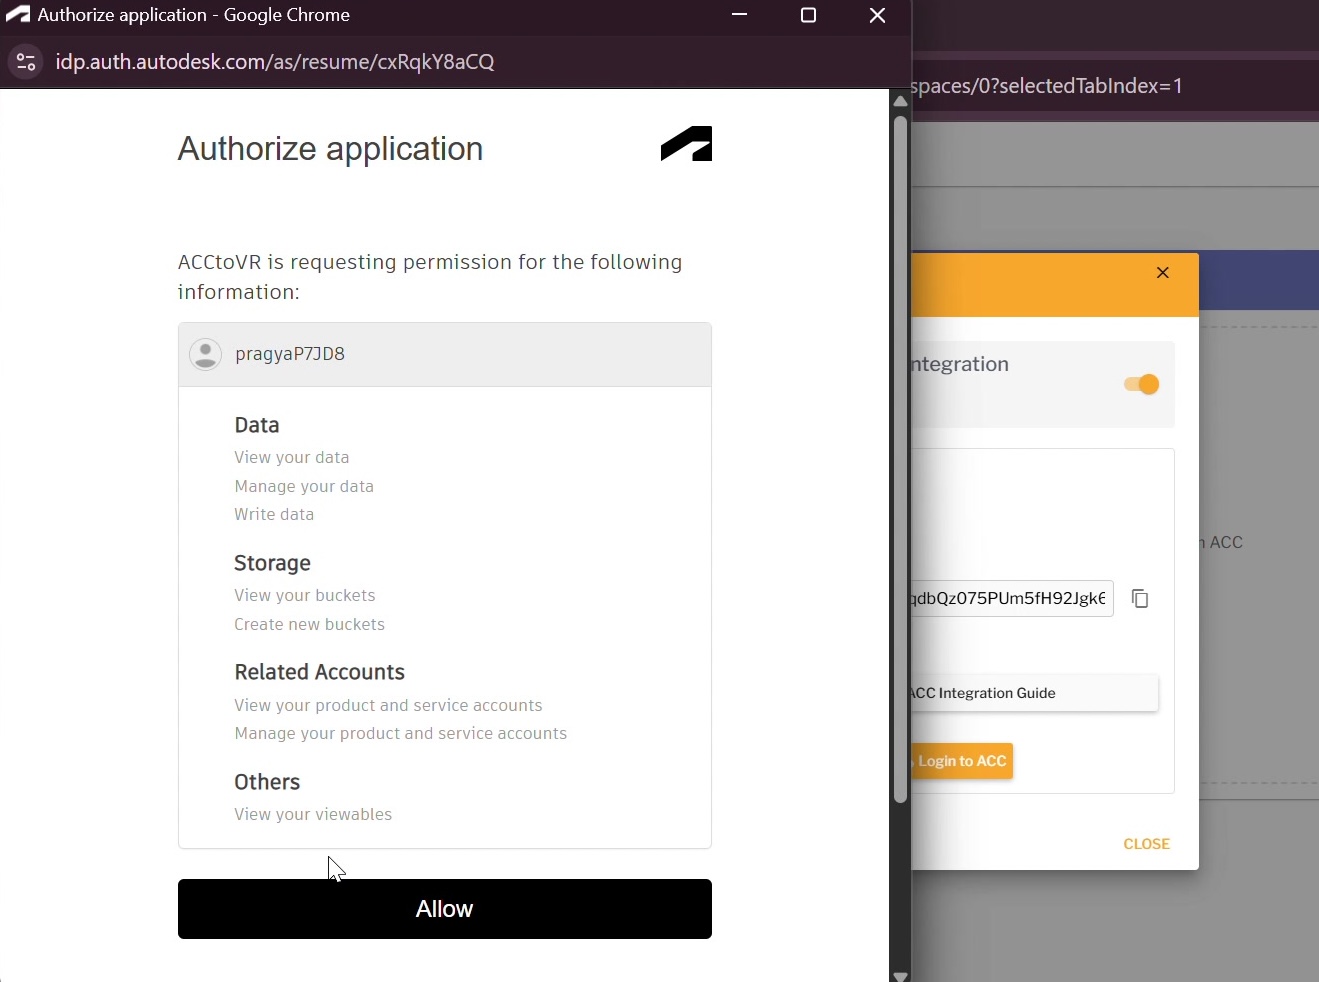
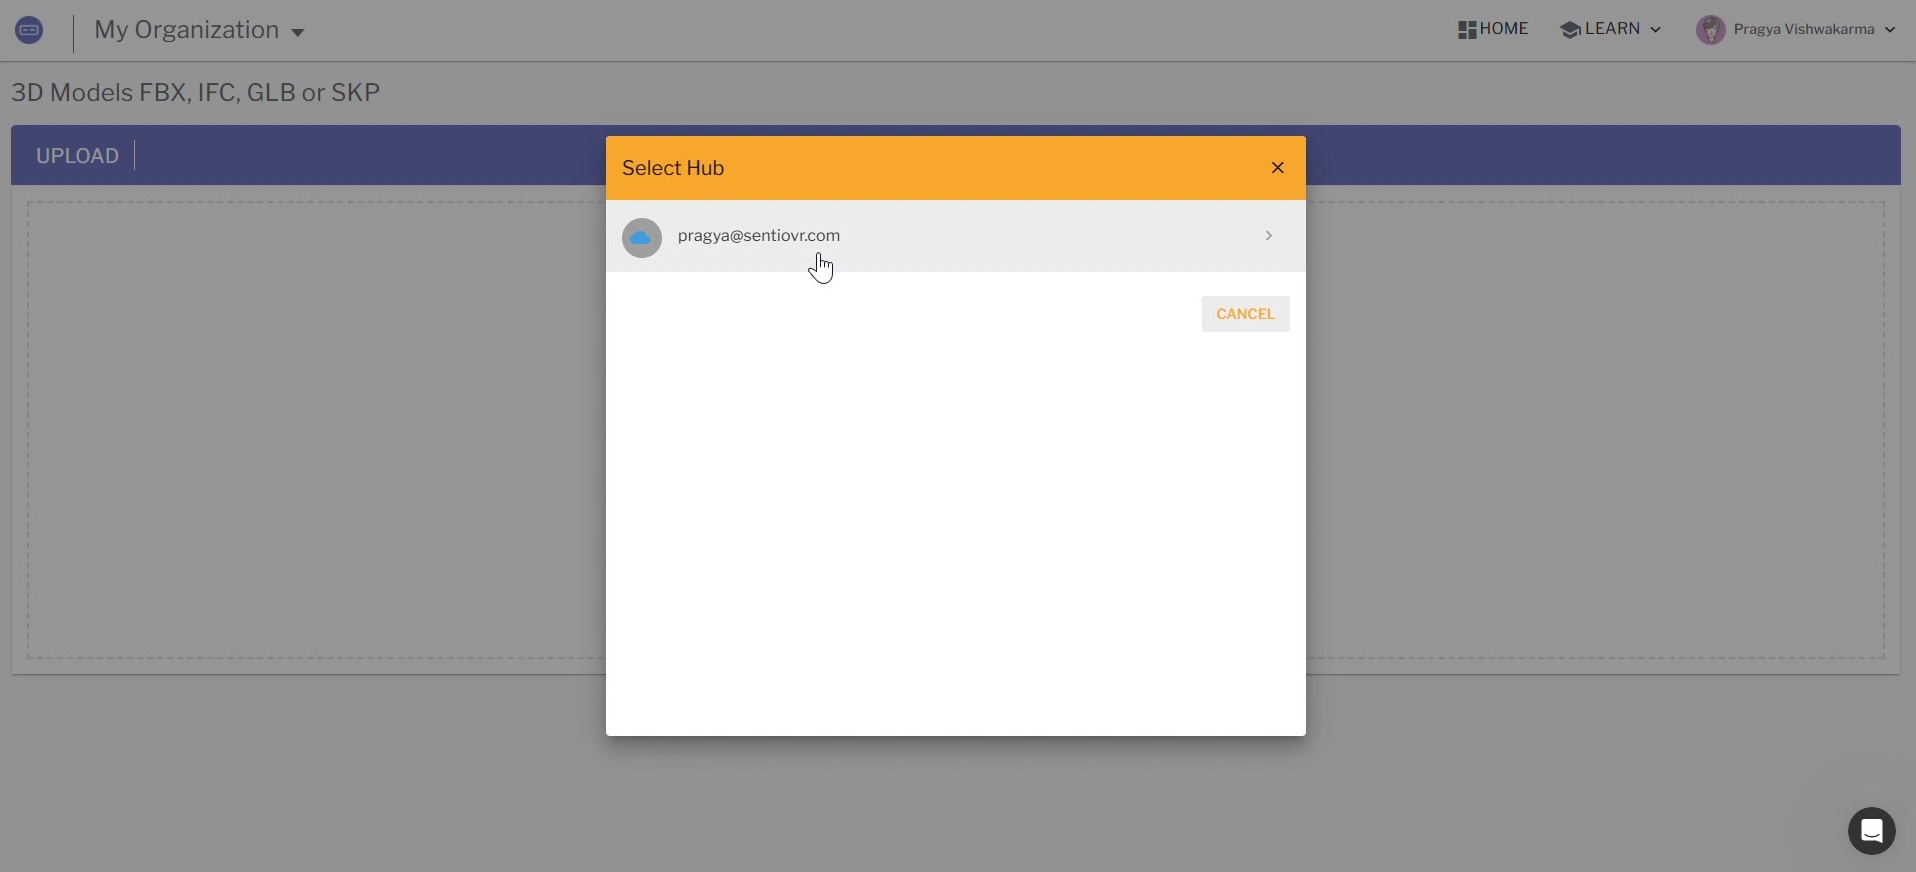
- If this is your first time, a login window will appear — sign in with your Autodesk account credentials
- In the Select Project dialog, choose the ACC project that contains your model
- Browse the project folders and select the file(s) you want to import
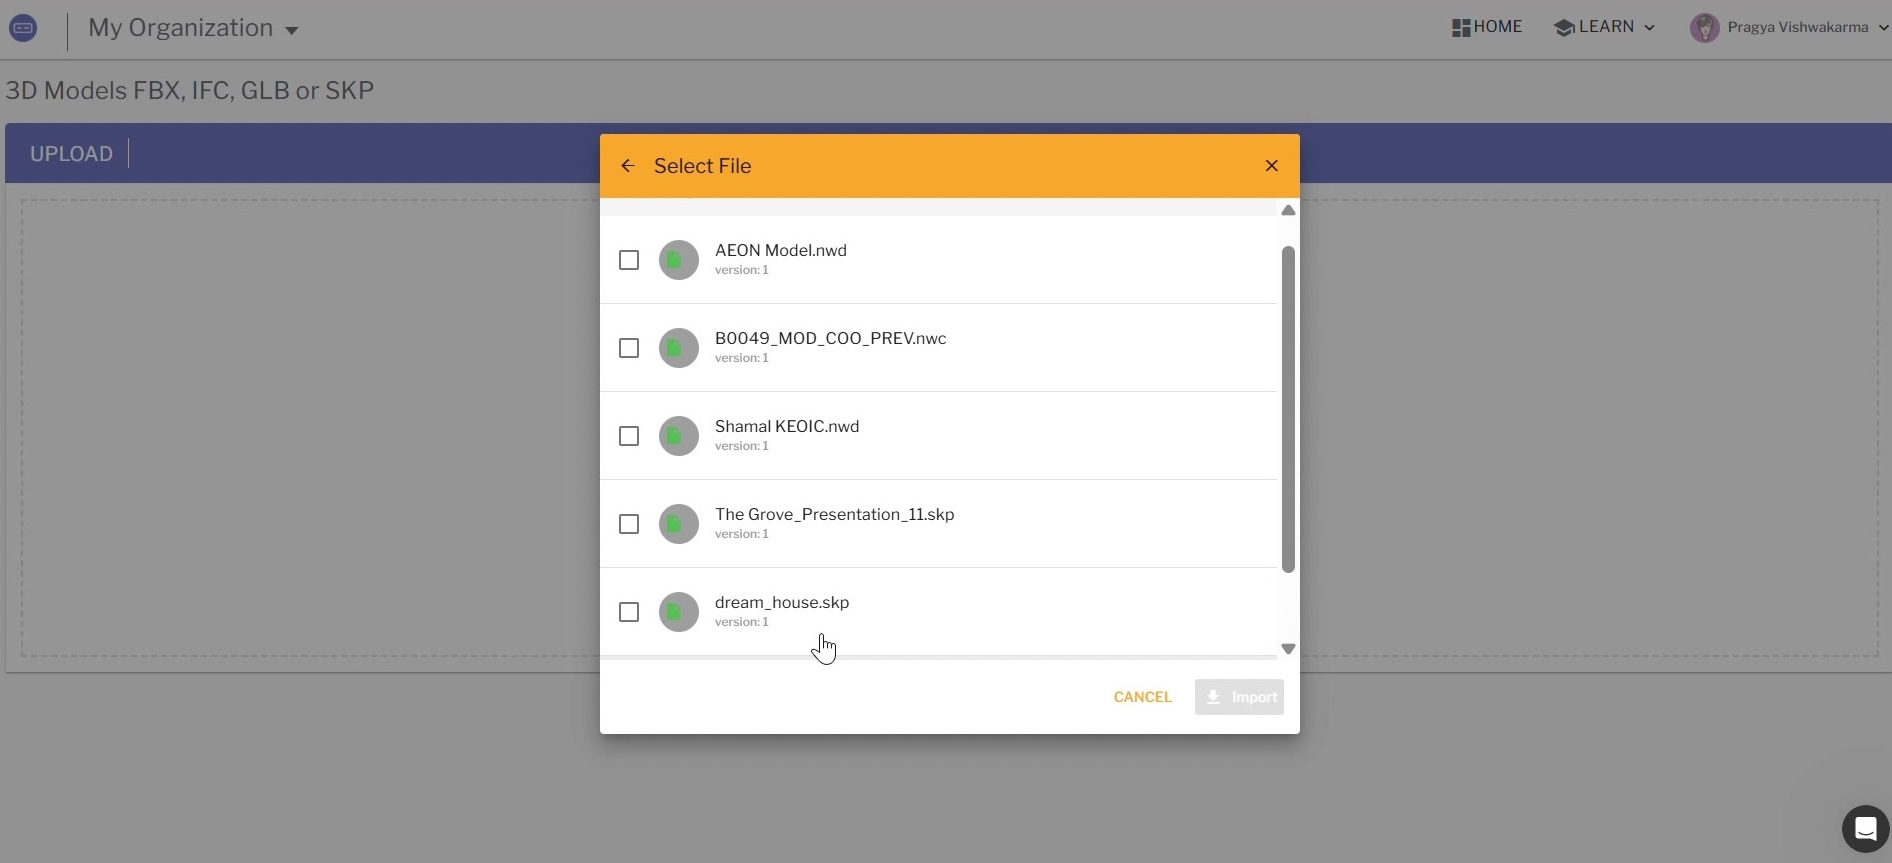
- Click Import

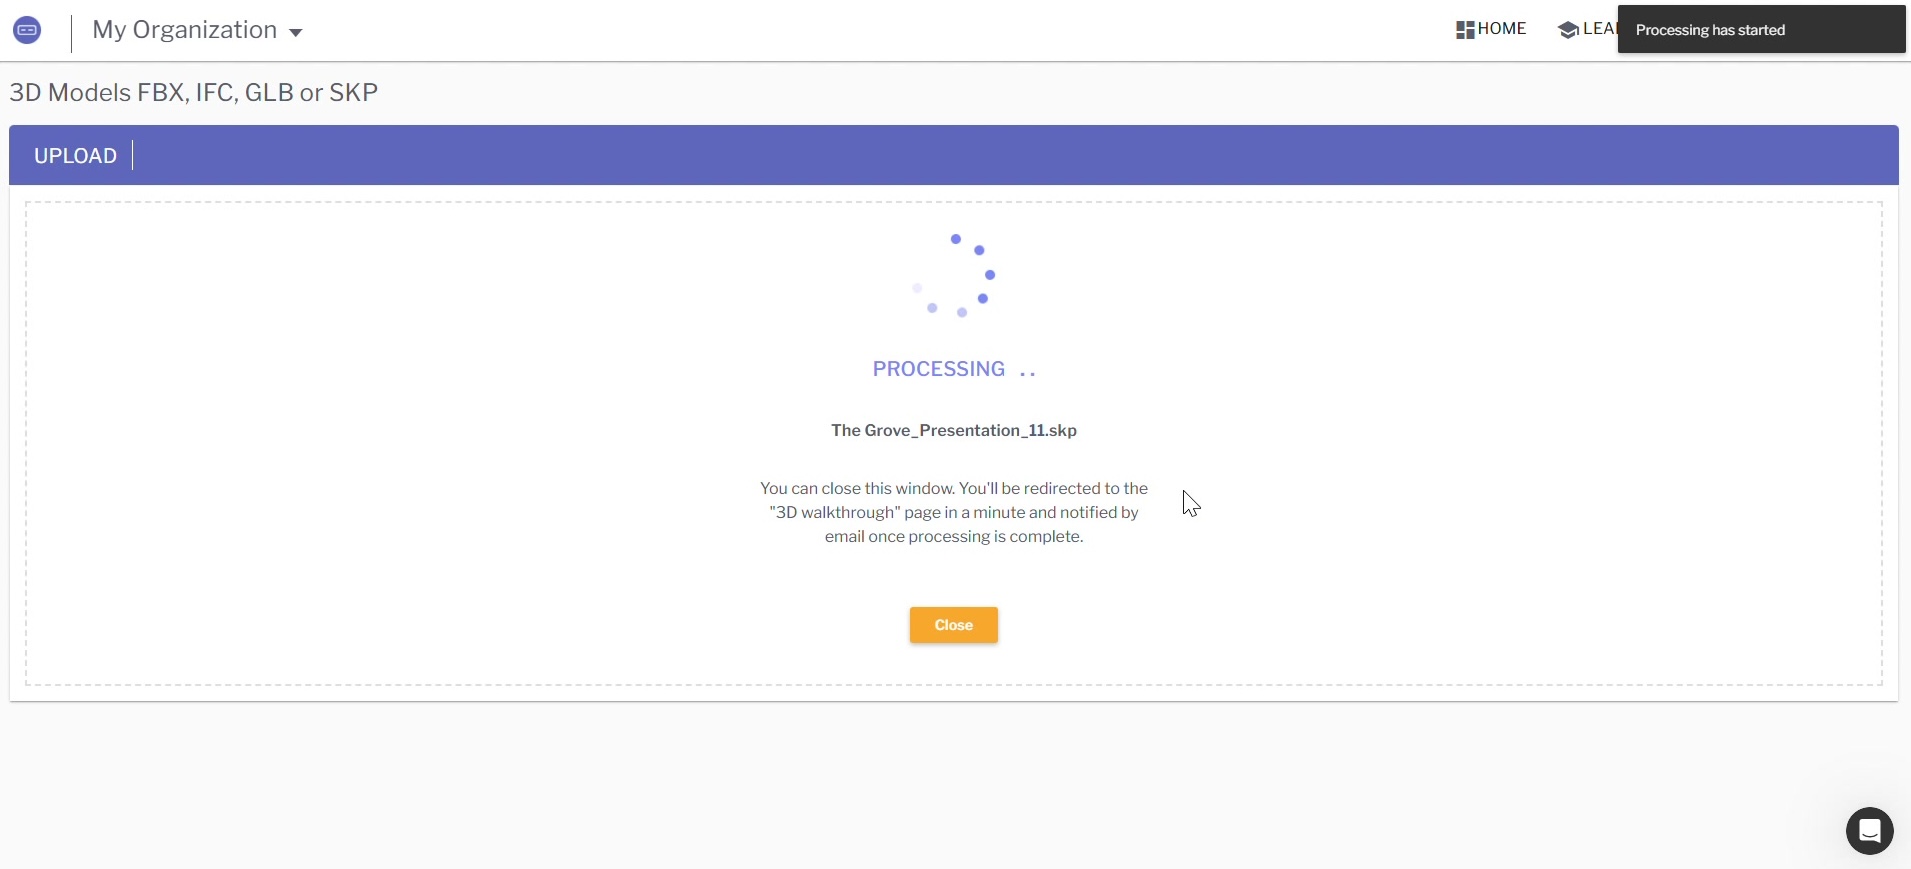
The file will now be imported and processed by Sentio. Processing time depends on file size and complexity. You can monitor progress on the 3D Walkthroughs page.
Step 4: View the Model in VR on Meta Quest
Once processing is complete, you can view the model in VR just like any other Sentio model.
- On the 3D Walkthroughs page, locate your imported model
- Note the 6-digit access code displayed on the model card
- Put on your Meta Quest headset and open the Sentio app
- Enter the 6-digit access code
- The model will load and you can explore it in VR
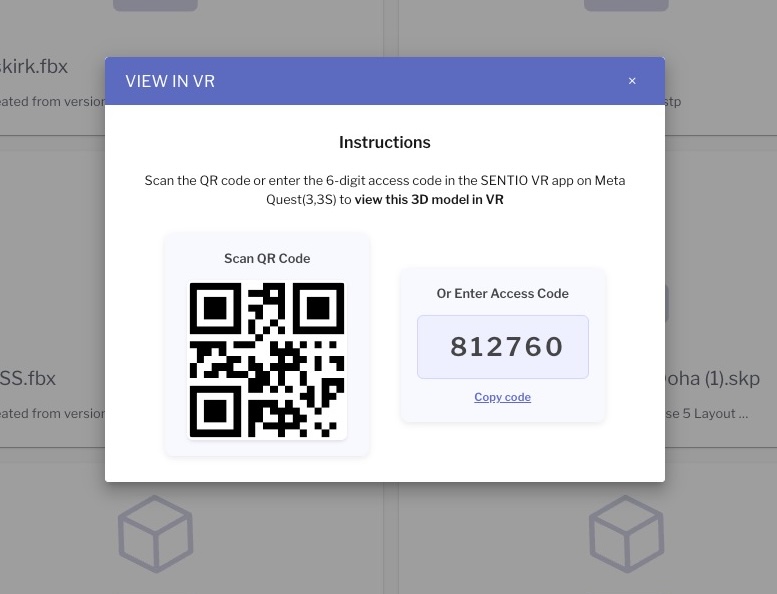
Tip: You can also use the VIEW IN VR button on the model card to generate a QR code for quick access.
Frequently Asked Questions
Do all users need to complete the integration setup?
No. The integration setup is a one-time task done by the admins of both Sentio and ACC. Once configured, all users in the organization can import models from ACC.
What ACC file formats does Sentio support?
Sentio supports all major 3D formats stored in ACC, including Revit (.rvt), Navisworks (.nwd, .nwc), IFC (.ifc), SketchUp (.skp), FBX (.fbx), and GLB (.glb).
Can I import files from multiple ACC projects?
Yes. After the integration is set up, you can browse and import from any project in your connected ACC account.
Is there a file size limit?
Files imported from ACC follow the same size limits as direct uploads — up to 1 GB per file.
Updated 22 days ago