
Using AR Mode on Meta Quest
Overlay BIM models on a real construction site at 1:1 scale using Meta Quest passthrough AR.
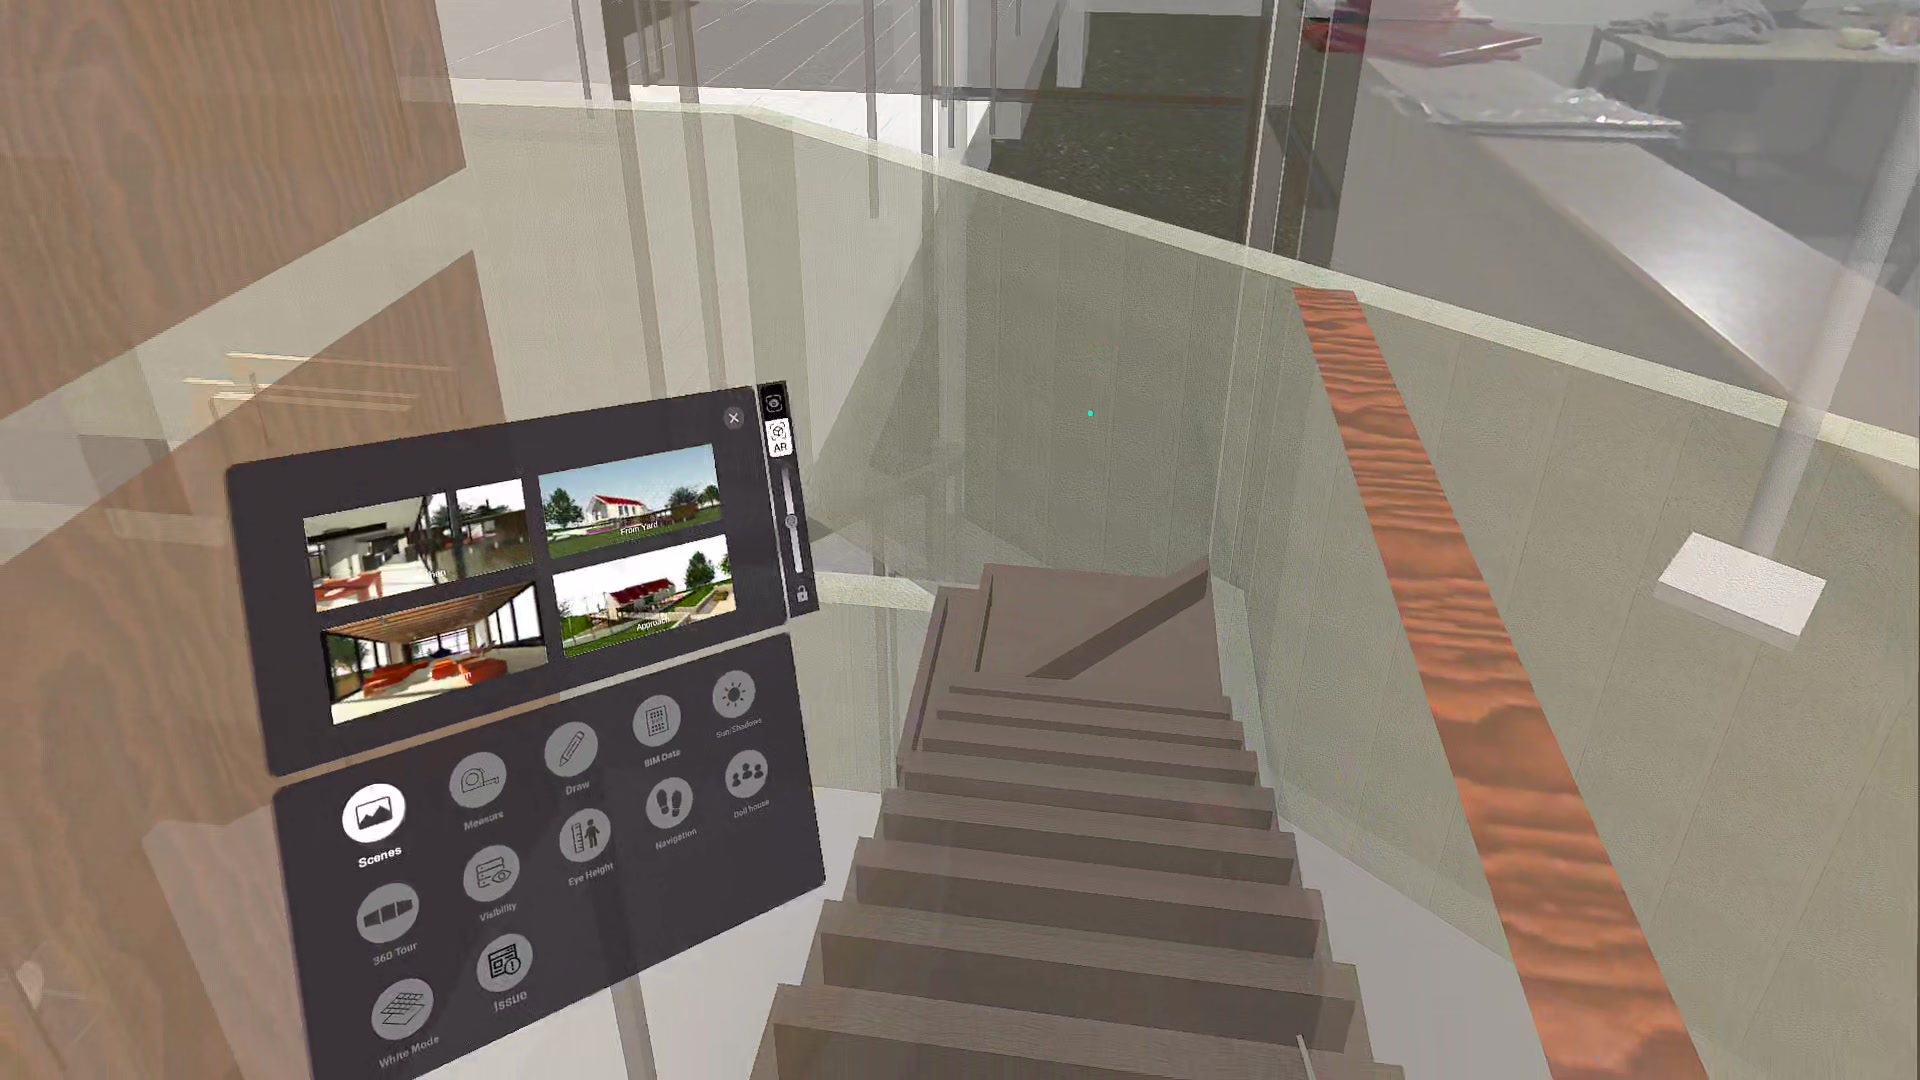
SENTIO VR's AR Mode lets you overlay 3D BIM models directly onto a real-world construction site at full 1:1 scale using the Meta Quest passthrough camera. Walk around the site and see your Revit, SketchUp, Navisworks, Rhino, IFC, FBX, or GLB model anchored in place — ideal for on-site design reviews, clash detection, and client walkthroughs.
Requirements
- Meta Quest headsetwith the SENTIO VR app installed
- Set up a roomscale (room-sized) guardian boundary on your Meta Quest before launching SENTIO VR. A small stationary boundary will limit how far you can walk in AR Mode. To walk a larger space, draw your guardian around the full area you plan to cover ( learn more )
- Set your eye heightOpen the VR menu and go to Settings. Check that your Eye Height matches your actual height. If the model's floor level appears too high or too low compared to the real floor, adjusting this value will fix the vertical offset.
Step-by-Step Workflow
Step 1: Open your 3D model in VR
- Put on your Meta Quest headset and launch the SENTIO VR app.
- Select and open the project that contains the model you want to view on site.
Step 2: Switch to AR Mode
- Press the left controller menu button (three horizontal lines) to open the VR menu.
- Select "AR Mode" from the menu. The headset will switch to passthrough view and your 3D model will appear overlaid on the real world.
Step 3: Position and scale the model
- The model displays at full 1:1 scale by default, matching real-world dimensions.
- Use Grab-to-Rotate to physically grab and reposition the model until it aligns with the structure on site.
- Fine-tune rotation with 1-degree precision using the rotation controls in the VR menu.
Step 4: Lock the orientation
- Once the model is aligned, enable Orientation Lock from the VR menu to fix it in place.
- This prevents accidental movement so you can walk around freely while the model stays anchored to the real-world position.
Step 5: Adjust transparency
- Use the transparency slider in the VR menu to make the model semi-transparent.
- This lets you see through the model to the real structure behind it, making it easier to compare the design against what has been built.

Step 6: Walk the site and review
- With the model locked and aligned, physically walk around the construction site to review it from every angle.
- Compare the BIM model against the as-built conditions to spot clashes, verify dimensions, or present design intent to stakeholders on site.
Tips
- For best tracking, use AR Mode in well-lit environments with visible floor and wall features.
- Use Grab-to-Rotate for coarse positioning, then switch to the 1-degree rotation slider for precise alignment.
- Enable Orientation Lock before passing the headset to a colleague — the model stays anchored in place so they see the same aligned view.
Updated 5 months ago